
If you’ve ever tried hanging a picture or mounting a shelf, you know the struggle. You grab the hammer, pick a perfect spot, but then you wonder—what if there’s nothing behind the wall but air? I used to guess where the studs were and hoped for the best. Sometimes it worked. Sometimes, well, not so much. Then I discovered the Ryobi Stud Finder, and honestly, it made my life so much easier. Today, I want to walk you through exactly how I use it, what I learned (including a few mistakes), and why I think it’s worth having in your toolbox.
What Is A Ryobi Stud Finder And Why Use One?
Before I got my own, I thought a stud finder was just a gadget for pro builders. But, it’s actually a simple tool anyone can use. The Ryobi Stud Finder helps you locate studs—the strong wooden beams behind your drywall. Screwing or nailing into a stud means your shelf or TV stays up. Miss the stud, and you risk pulling everything down.
I learned the hard way that drywall anchors aren’t always enough. My first wall shelf crashed down in the middle of the night! That’s when I realized I needed a reliable way to find those hidden supports. The Ryobi Stud Finder has saved me a lot of headaches (and repairs).
Getting Familiar With The Ryobi Stud Finder
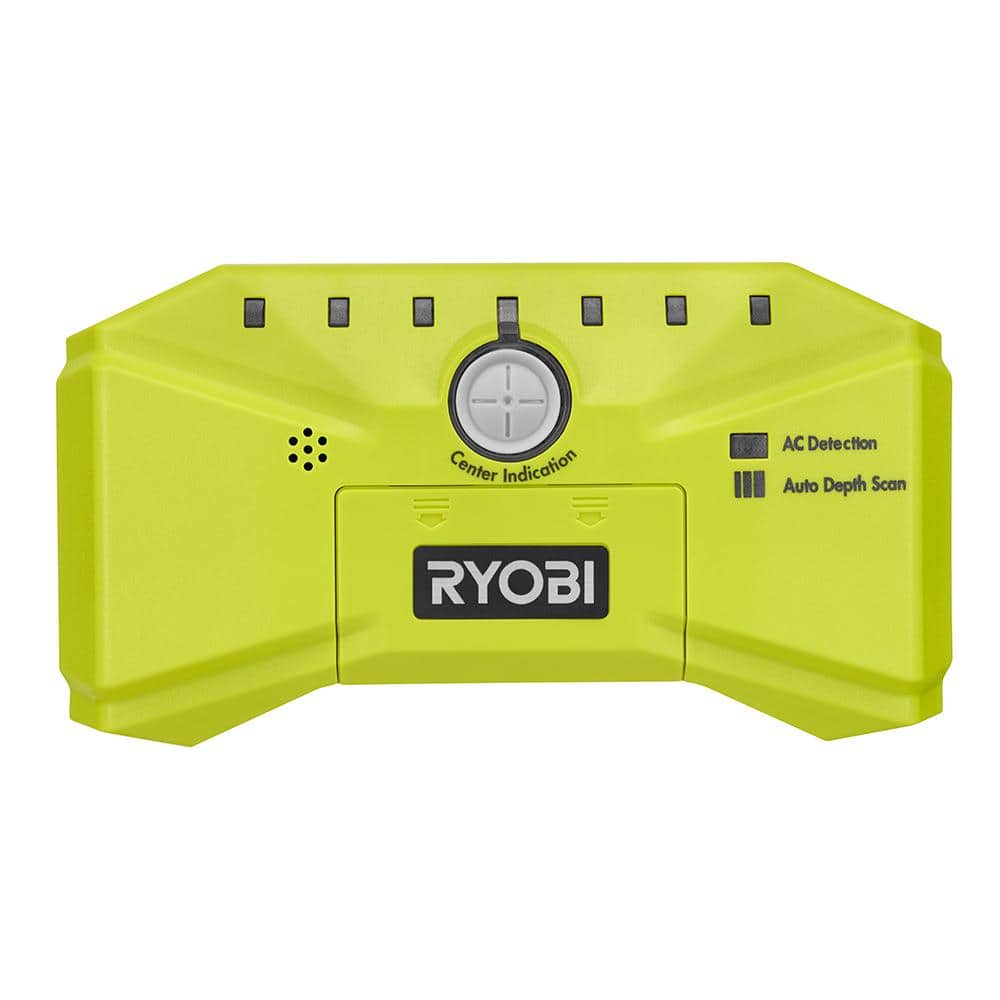
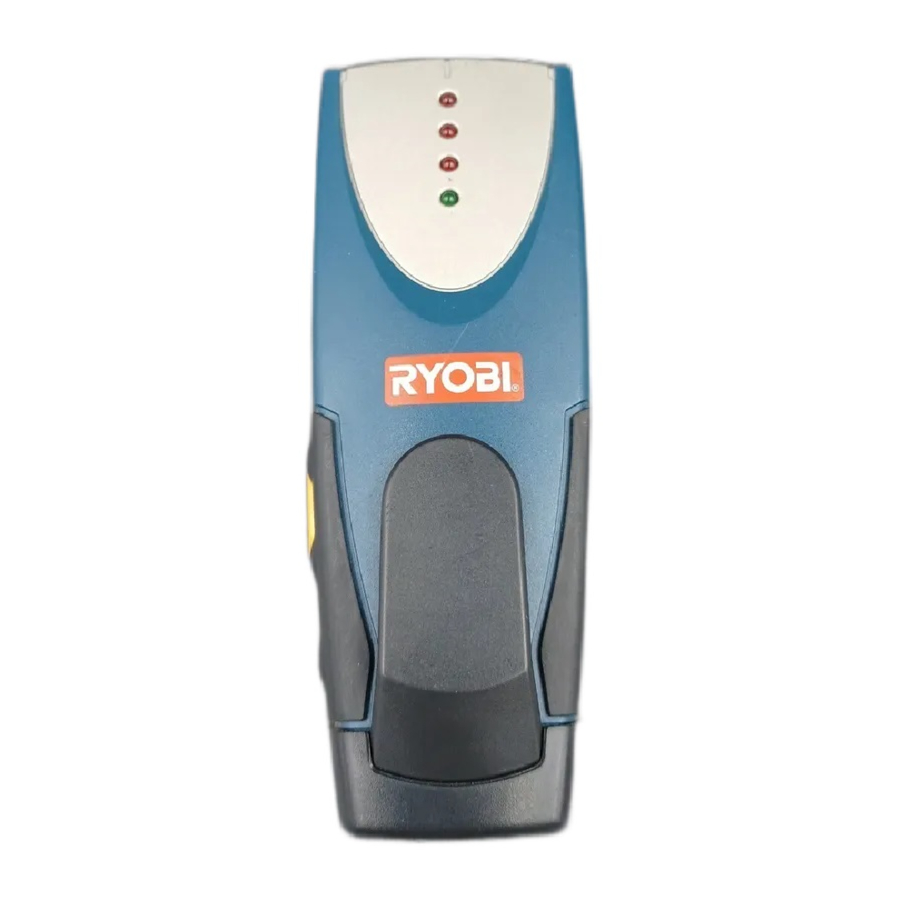
The first time I picked it up, I noticed how light and comfortable it felt. My model is the Ryobi ESF5001, but most Ryobi stud finders work in a similar way. Here’s what I noticed right away:
- Simple design: One main button, bright display, and a big pointer light.
- Battery-powered: Mine uses a single 9V battery. Easy to change.
- Auto calibration: When you turn it on and press it against the wall, it calibrates itself.
It’s not intimidating at all. If you’re like me, you’ll appreciate that you don’t need to read a huge manual. Still, I’ll explain each step so you don’t run into surprises.
Step-by-step: How I Use The Ryobi Stud Finder
Let me break down my process so you can avoid my early mistakes. Each wall can be a little different, but these steps work for me every time.
1. Check The Wall Surface
I always start by checking the wall. If there’s dirt, dust, or even wallpaper, I wipe it down. The stud finder works best on clean, dry surfaces. Once, I tried it over textured paint, and it gave me false readings. Now, I make sure the area is smooth and dry.
2. Insert Or Check The Battery
The Ryobi stud finder won’t work if the battery is low. I always pop off the back cover and double-check the battery before starting. It’s a quick check, but it saves a lot of frustration. If you notice the display looking dim or the tool acting strange, just swap in a fresh battery.
3. Power On And Calibrate
Here’s a key step I missed my first time: calibration. The Ryobi automatically calibrates when you press it flat against the wall and turn it on. If you lift it off or slide it around too soon, you might get the wrong reading.
- Hold the stud finder flat to the wall.
- Press the power button.
- Wait a second until the beep or light tells you it’s ready.
If I get an error, I just lift it off, wait a few seconds, and try again.
4. Slow And Steady Scanning
I used to slide the tool quickly, but I found out that slow movement gives better accuracy. I start about a foot left or right of where I want to drill. Keeping the tool flat, I move it slowly across the wall.
- As I scan, the pointer light turns on when it senses the edge of a stud.
- I mark that spot lightly with a pencil.
- Then, I scan from the other side to find the other edge of the stud.
When I have both edges marked, I know the center is right between them. That’s the best spot to drill.
5. Double-check Before Drilling
It’s tempting to trust the first reading, but I always scan a second time. Sometimes, wall wiring or pipes can confuse the signal. Scanning again from the opposite direction helps confirm I really found a stud.
6. Mark And Drill
Once I’m sure, I mark the spot with a small pencil dot. Then, I drill or screw directly into the stud. I’ve never had a shelf or TV mount fall down since I started using this process.
Comparing Ryobi Stud Finder Features
Over the years, I’ve tried a few different Ryobi stud finder models. Here’s a quick comparison of what you might see if you look at the store:
| Model | Display Type | Depth Detection | Battery Type | Additional Features |
|---|---|---|---|---|
| Ryobi ESF5001 | LED Light | Up to 3/4″ | 9V | Auto Calibration |
| Ryobi Whole Stud Detector | LED Bar | Up to 1.5″ | AA | Wide Scan, Center Finder |
| Ryobi AirGrip | Digital | Up to 1.5″ | 9V | Suction, Wire Warning |
Most Ryobi models are easy for beginners. If you want extra features, like wire warnings or a digital display, the higher-end models are nice. I started with the basic one and never felt lost.
Tips And Tricks I Learned
I wish someone had told me these things when I first started using a stud finder. Here’s what I’ve learned:
- Don’t rush calibration. Wait for the beep or light before moving.
- Avoid scanning over metal. Electrical boxes or metal corner beads can give false positives.
- Mark both edges of the stud. This way, you know exactly where the center is.
- Watch out for pipes and wires. If your stud finder has a wire warning, pay attention. I almost drilled into a wire once!
- Practice on an empty wall. If you’re unsure, try scanning in a closet or garage. It’ll help you get used to the beeps and lights.
One non-obvious thing: if you have plaster walls (not drywall), the readings might be less accurate. I learned this at my old house. The tool still works, but you need to scan extra slowly and double-check your marks.
Common Mistakes And How To Avoid Them
I’ve made plenty of mistakes with my Ryobi stud finder. Here are some common ones and how you can avoid them:
- Not holding the tool flat: If the tool isn’t flush against the wall, you’ll get wrong results.
- Forgetting to check the battery: Low battery can mean weak signals or false readings.
- Scanning too fast: The tool can miss the stud if you move quickly.
- Ignoring calibration errors: If you get an error, restart the process. Don’t just ignore it.
One more tip: Don’t trust old nail holes as stud markers. Builders sometimes miss the stud, or previous owners might have guessed wrong.
When The Ryobi Stud Finder May Not Work Well
While I love my Ryobi stud finder, it’s not perfect in every situation. Here’s where I’ve had trouble:
- Plaster and lath walls: Older homes with thick plaster can confuse the sensors.
- Tile or thick paneling: The tool isn’t designed for tile or very thick wall finishes.
- Very wide studs: Sometimes, the tool can’t detect the full width if you move too fast.
If you have these types of walls, try scanning from multiple directions and double-checking with a small nail. Sometimes, old-school tapping and listening works as a backup method.
Real-world Example: Hanging A Heavy Mirror
Last year, I bought a heavy mirror to hang in the hallway. I knew it needed strong support. Here’s how my Ryobi stud finder helped:
- I wiped the wall to remove dust.
- I checked the battery, then calibrated the tool.
- Scanned slowly, found both edges of the stud, and marked the center.
- Double-checked by scanning from the other side.
- Drilled into the marked spot, hit the stud perfectly, and mounted the mirror.
That mirror has stayed put ever since. I’m not worried every time someone walks by it!

Ryobi Stud Finder Vs Other Brands
I’ve tried a couple of other brands over the years—Zircon, Black+Decker, and a cheap off-brand. Here’s how they stack up against Ryobi, in my experience:
| Brand | Ease of Use | Accuracy | Price Range | Battery Life |
|---|---|---|---|---|
| Ryobi | Very Easy | High | Mid | Long |
| Zircon | Easy | High | Mid-High | Medium |
| Black+Decker | Moderate | Medium | Low-Mid | Medium |
| Off-Brand | Hard | Low | Low | Short |
Ryobi stands out for its user-friendly design and good accuracy. I trust it more than the cheap models, and it’s not as fussy as some advanced brands. For most people, it’s the right balance.
How To Care For And Store Your Ryobi Stud Finder
If you want your tool to last, a bit of care goes a long way. I keep mine in a small toolbox away from dust and moisture. Here’s what I do:
- Remove the battery if I’m not going to use it for months.
- Wipe the sensor area with a dry cloth after each use.
- Don’t drop it—while it’s tough, the sensors inside are delicate.
I’ve had mine for over three years now, and it still works like new.
Is A Ryobi Stud Finder Worth It?
After using it for dozens of projects—shelves, TVs, mirrors, and even a small climbing wall for my kids—I can honestly say yes. It’s saved me time, prevented wall damage, and made my home safer. Even if you only do a few DIY projects a year, it’s a smart investment.
If you want to read more about how electronic stud finders work, I found a detailed guide at Wikipedia that explains the science behind these tools.
Frequently Asked Questions
How Do I Know If I Found A Stud Or Just A Pipe?
I always scan the same spot two or three times. If the reading is consistent, it’s likely a stud. Some Ryobi models have a wire warning. If you’re unsure, drill a small pilot hole and check what’s behind.
Can The Ryobi Stud Finder Detect Metal Studs?
Yes, but it detects density, so it will show metal studs the same way as wood. If you live in a newer apartment, check your building plans—some use metal instead of wood.
What Should I Do If The Stud Finder Beeps But I Can’t Find The Stud?
Try recalibrating and scanning again. Make sure the wall is clean and the tool is flat. Sometimes, thick paint or textured walls confuse the sensors.
Can I Use The Ryobi Stud Finder On Ceilings?
Absolutely. I’ve used it to find joists for hanging a light fixture. Just be extra careful, as ceilings can have more insulation or wires.
How Often Should I Change The Battery?
I change mine every six months or whenever I notice the lights dimming. A fresh battery means better accuracy and fewer errors.
Finding studs used to be a guessing game for me. Now, with my Ryobi stud finder, I feel confident every time I pick up a drill. If you want your shelves and TVs to stay on the wall, this tool is worth every penny.
Happy DIY-ing!
As an Amazon Associate, We earn from qualifying purchases