If you’ve ever tried to fix a leaky sink or a stubborn pipe under your bathroom, you know how frustrating it feels when you can’t find a wrench. I’ve been there many times. One rainy afternoon, my kitchen pipe started dripping and my trusty wrench had disappeared. But I didn’t give up. Instead, I learned a few creative ways to loosen a pipe without a wrench. I want to share everything I’ve discovered, so you can handle this problem with confidence—even if you don’t have the right tool in your hand.
Prime Day Pick
Limited-time Prime Day price. Check current discount on Amazon.
Understanding The Problem
Before you start, it helps to know what you’re working with. Pipes can get stuck for lots of reasons. Sometimes they’re old and corroded. Other times, they’re just too tight. When you don’t have a wrench, it’s easy to feel helpless.
But I’ve found that with a little creativity, you can get the job done. I’ll walk you through what works, what doesn’t, and what to watch out for.
Prime Day Pick
Limited-time Prime Day price. Check current discount on Amazon.
Safety First
Whenever I work with pipes, I always think about safety. Trust me, it’s easy to scrape your knuckles or even hurt yourself if you rush. Here’s what I do before I start:
Prime Day Pick
Limited-time Prime Day price. Check current discount on Amazon.
- Turn off the water supply. You don’t want a flood.
- Wear gloves if you have them. They protect your hands.
- Keep a towel handy for leaks.
- Make sure the area is well-lit.
Taking these small steps saves a lot of headache later.

Household Items That Can Replace A Wrench
When I realized I didn’t have a wrench, I looked around my house for things that could work. You’d be surprised at what can help loosen a pipe.
| Household Item | How It Helps | Best For |
|---|---|---|
| Pliers | Gives grip and torque, like a mini-wrench | Small pipes or nuts |
| Duct Tape | Wraps around pipe to add grip | Slippery or smooth fittings |
| Belt | Works as a strap wrench | Round pipes |
| Coin & Cloth | Protects and twists small valves | Sink and radiator valves |
| Adjustable Spanner | Common substitute for a wrench | Hexagonal nuts |
Pliers and duct tape have saved me more than once. If you don’t have pliers, a belt or even a thick shoelace can work as a makeshift strap.
Step-by-step Methods To Loosen A Pipe Without A Wrench
Let me walk you through some methods I’ve used. Each one works for different situations. I’ll explain how to do them and when they come in handy.
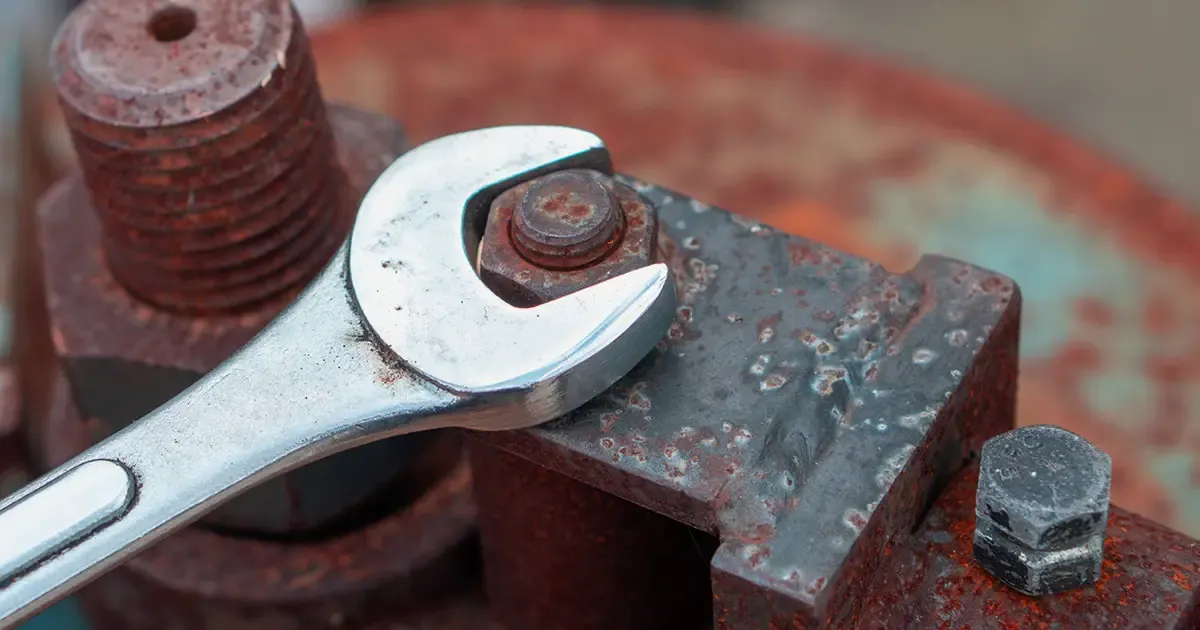
1. Using Pliers
Pliers are my first choice if I can’t find a wrench. Here’s how I do it:
- Open the pliers as wide as needed.
- Grip the pipe or fitting tightly.
- Turn slowly and apply steady pressure.
If the pipe is stuck, I sometimes tap the pliers gently with a hammer to get a little extra force. Just be careful not to squeeze too hard. You don’t want to crush the pipe.
2. Duct Tape As A Strap Wrench
One day, I saw my neighbor use duct tape to loosen a shower head. I tried it myself, and it worked like magic. Here’s what I did:
- Tear off a long piece of duct tape.
- Wrap it around the pipe or fitting, leaving a long “tail.”
- Hold the loose end and pull in the direction you want to turn.
The tape gives you grip and leverage. It’s best for smooth pipes that are hard to hold with your hand.
3. The Belt Trick
I once used an old leather belt to loosen a garden hose. This method works for round pipes:
- Wrap the belt around the pipe.
- Thread one end through the buckle to make a loop.
- Hold both ends and pull to tighten.
- Twist the belt in the direction you need.
This trick gives you a good grip without damaging the pipe. It’s great for plastic or chrome pipes that you don’t want to scratch.
4. Coins And A Cloth
Tiny valves can be hard to turn, especially if they’re stuck. I use a coin and a cloth:
- Place the coin in the slot of the valve.
- Wrap the cloth around the coin for extra grip.
- Turn the coin like a screwdriver.
The cloth protects your hand and gives you better control.
5. Adjustable Spanner Or Spade
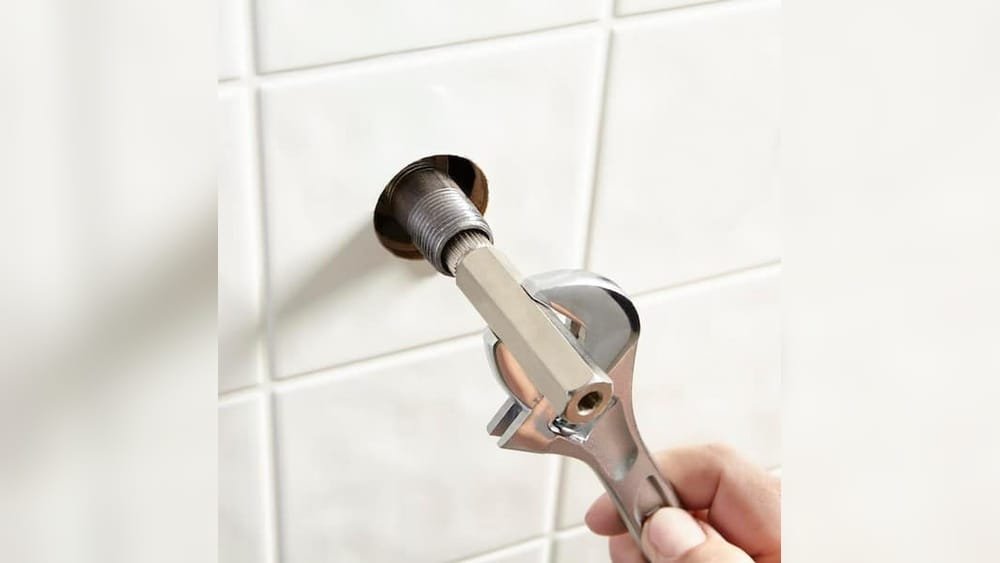
Sometimes, I use an adjustable spanner or even the end of a spade. These tools can fit over nuts and turn them if they’re not too tight. Just make sure you don’t strip the corners of the nut.
6. Bare Hands And Elbow Grease
If nothing else works, I try using my hands. Sometimes, just a bit of determination and twisting with both hands gets the job done. I make sure to dry my hands first so I don’t slip.
Lubrication: The Secret Weapon
When pipes are stuck, it’s often because they’re rusty or dirty. A little lubrication goes a long way. Here’s what I use:
- WD-40: This is my favorite. I spray it on, wait a few minutes, and then try again.
- Cooking oil: If you don’t have WD-40, a little oil from your kitchen helps.
- Vinegar and baking soda: I pour some vinegar over the joint, then sprinkle baking soda. The fizz helps break down rust.
After applying, I wait five to ten minutes. Then I try loosening the pipe again with one of the tricks above.
Heat To Loosen Stubborn Pipes
Some pipes just don’t want to move, no matter what. When that happens, heat can help. Here’s my approach:
- Use a hair dryer or a heat gun on the metal joint.
- Warm the area for a few minutes.
- Try to loosen the pipe again.
Heat makes metal expand, which can break the grip of rust or old thread sealant. I never use an open flame, as that can be dangerous—especially near water or gas lines.
Creating Extra Leverage
If a pipe is really stuck, extra leverage helps. I’ve used a metal pipe or even a broom handle. Slip it over the end of your tool (like the handle of your pliers) to make a longer lever. This gives you more turning power with less effort.
Be gentle, though. Too much force can snap the pipe.
When To Use Chemical Penetrants
Some joints are impossible to loosen by hand. In those cases, I reach for a chemical penetrant. Products like Liquid Wrench or PB Blaster are made to break down rust and grime. I spray it on, wait about fifteen minutes, then try again. These products are available at hardware stores.
Common Mistakes To Avoid
I’ve made a few mistakes in my early DIY days. Let me save you some trouble:
- Don’t use tools that are too small. They can slip and hurt your hand.
- Avoid hitting the pipe too hard. You might crack it.
- Don’t use open flames for heat. It’s a big fire risk.
- Never force a plastic pipe. They break more easily than metal.
The biggest mistake I made was rushing. Take your time. Double-check your grip, and don’t panic if it doesn’t budge right away.
Comparing Different Methods
Here’s a quick look at how some of these methods compare in terms of safety, cost, and effectiveness.
| Method | Safety | Cost | Effectiveness |
|---|---|---|---|
| Pliers | Medium | Low | Good |
| Duct Tape | High | Very Low | Moderate |
| Belt | High | Very Low | Good |
| Lubrication | High | Low | Very Good |
| Heat | Medium | Low | Good |
| Chemical Penetrant | High | Low | Very Good |
I find that starting with safe, simple methods is best. If that doesn’t work, then try lubrication or a chemical penetrant.
When You Should Call A Professional
There are times when it’s smart to call a plumber. If you notice any of these signs, get expert help:
- The pipe is making strange noises or leaking badly.
- You see cracks or damage in the pipe.
- It’s a gas or hot water pipe. These can be dangerous.
- You’ve tried everything and the pipe still won’t move.
I once tried to fix a rusty old pipe and ended up making a small leak much worse. A plumber fixed it quickly. Sometimes, it’s better to ask for help than risk damage.
Real-world Example: The Kitchen Pipe Nightmare
I’ll never forget the time I had to fix a kitchen pipe just before guests arrived. I didn’t have a wrench, but I found some duct tape and an old belt. I wrapped the tape around the pipe and pulled—but it was still stuck.
Then I sprayed some cooking oil on the threads and waited a few minutes. After that, I used the belt for extra grip, and the pipe finally moved.
This experience taught me to stay calm, look for creative solutions, and not to rush the process.
Practical Tips I’ve Learned
Here are two things I wish I knew sooner:
- Warm the pipe before you start. Even a hair dryer can make a big difference.
- Clean the area first. Dirt and grime make everything harder.
Also, keep your tools organized. I’ve wasted more time looking for lost pliers than actually fixing pipes.
How To Prevent Pipes From Getting Stuck
I’ve learned that a little prevention goes a long way. When I install or repair pipes, I try these tips:
- Apply plumber’s grease or Teflon tape to threads before tightening.
- Don’t overtighten pipes—just snug enough to stop leaks.
- Check pipes for corrosion once a year.
These simple habits make future repairs easier and save a lot of hassle.

Frequently Asked Questions
How Do I Loosen A Pipe If I Have No Tools At All?
If you have no tools, use your hands, a belt, or duct tape for grip. Apply cooking oil or vinegar to loosen rust. Wait a few minutes, then twist firmly.
Is It Safe To Use Heat On All Pipes?
No, only use heat on metal pipes. Never use it on plastic pipes—they can melt or deform. Always use a hair dryer or heat gun, not an open flame.
What If My Pipe Is Leaking After I Loosen It?
Turn off the water supply right away. Dry the area and check for cracks. Tighten the pipe gently. If the leak continues, call a plumber.
Can I Use Wd-40 On Drinking Water Pipes?
Yes, but clean the area well after. Avoid spraying inside the pipe. For drinking water, use food-safe lubricants if possible.
Where Can I Learn More About Pipe Repair And Safety?
You can find more tips and safety advice at the Family Handyman website.
Fixing a pipe without a wrench might seem tough, but with the right tricks and a calm approach, it’s totally doable. Next time you face a stuck pipe, remember these tips—and don’t be afraid to get creative. You might surprise yourself with what you can fix, even with just a roll of duct tape and a little patience.
As an Amazon Associate, We earn from qualifying purchases