When I first picked up the Jaxwq Stud Finder, I was a bit nervous. I had just moved into a new apartment, and I wanted to hang my TV without making a mess of the wall. I had heard stories of people drilling into pipes or missing studs completely. I didn’t want to be one of them. If you’re like me and not a pro at home improvement, using a stud finder can feel scary. But after using the Jaxwq, I realized it’s much simpler than I thought. In this article, I’ll walk you through my process, what I learned, and tips that saved me from making big mistakes.
Why Use A Stud Finder?
Before I bought the Jaxwq, I used the old “knock on the wall” trick. I would tap and listen for a solid sound. Sometimes it worked, but most of the time, I ended up guessing. That’s risky, especially with heavy items. A stud finder like the Jaxwq makes this job safer and faster. It tells you exactly where the wood or metal studs are. This means your shelves or TVs stay on the wall, and you avoid drilling into wires or pipes.
Getting To Know The Jaxwq Stud Finder
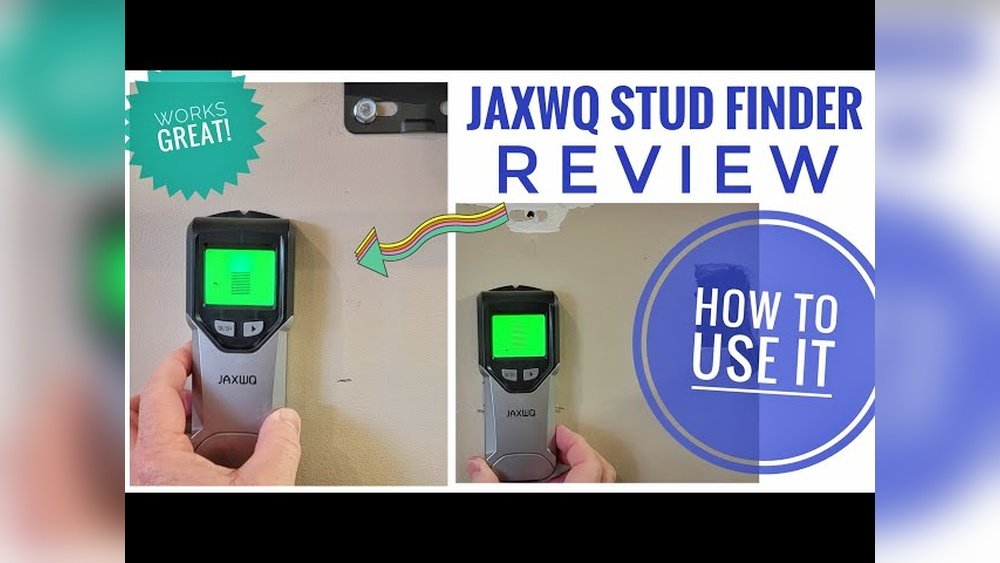
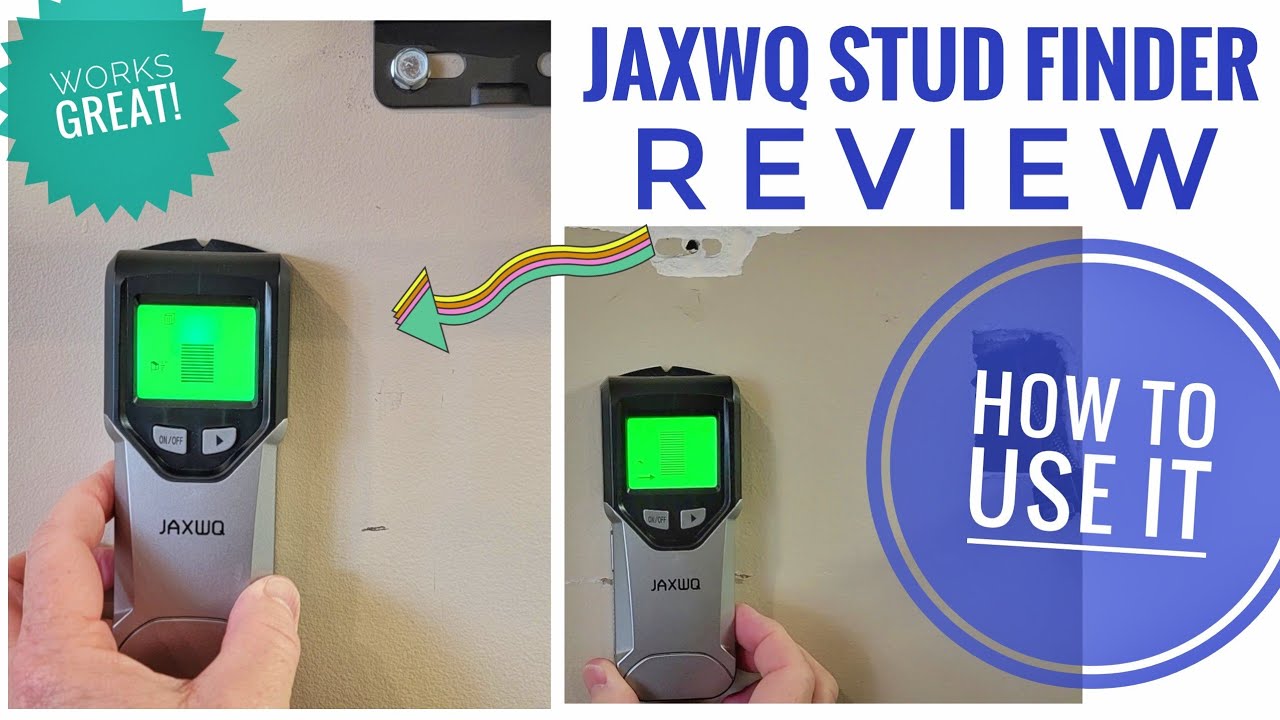
When I opened the box, I was surprised by how light it was. The Jaxwq fits nicely in one hand. The buttons were easy to find. There’s a clear LCD screen, a power button, and a few mode buttons. The model I got can detect wood studs, metal studs, and even live wires.
That’s useful if you live in an older building where you never know what’s behind the wall.
Here’s a quick look at the main parts:
| Part | Function |
|---|---|
| LCD Screen | Shows stud location, battery, and mode |
| Power Button | Turns the device on/off |
| Mode Button | Switches between wood, metal, and wire detection |
| Sensor Area | Scans the wall for studs |
| Battery Slot | Holds the battery (usually 9V) |
One thing I learned right away: always check the battery before you start. The Jaxwq needs enough power to work well. Once, I tried scanning with a low battery and got false readings. That’s a mistake I won’t make again.
Step-by-step: How I Used The Jaxwq Stud Finder
Let’s get into the steps I followed the first time I used it. It was much easier than I expected.
1. Preparing The Wall
First, I made sure the wall was clean. Dust and dirt can confuse the sensor. I wiped the wall with a dry cloth. I also removed any nails or screws left by the last tenant. This helped me get a clear reading.
2. Inserting The Battery
The Jaxwq uses a 9V battery. I opened the slot, popped in the battery, and closed it up. There’s a small beep and the screen lights up when it’s ready.
3. Choosing The Right Mode
I wanted to find wooden studs, so I pressed the mode button until the LCD showed “Wood. ” If you want to find metal studs or wires, just keep pressing the mode button. The screen will change to “Metal” or “AC” for live wires.
4. Calibrating The Device
This is important. I held the stud finder flat against the wall and pressed the power button for a few seconds. The screen blinked and then went steady. That’s how you know it’s calibrated. If you skip this, you might get wrong results.
I almost did, but the manual was clear about this step.
5. Scanning The Wall
Now for the fun part. I placed the Jaxwq flat against the wall, starting about 2 feet from the floor. I moved it slowly to the right. When it got close to a stud, the screen showed bars climbing higher.
A beep told me when I was right over the center.
I marked the spot with a pencil. Then, I moved up the wall about 10 inches and scanned again. I wanted to make sure the stud ran straight up and down. It did. I repeated this every few feet, just to be sure.
6. Marking Both Sides
I learned from a friend that some walls have double studs. So, after finding the center, I moved the Jaxwq left and right a few inches. When the beeping stopped, I marked the edges. This helped me know the width of the stud.
7. Double-checking For Wires
Before I drilled, I switched to “AC” mode. I scanned the same area again. If the Jaxwq beeped, I knew there might be a live wire. Luckily, my spot was clear. This step is important, especially in old buildings.
Features That Make Jaxwq Stand Out
After using a few other stud finders, I noticed some things about the Jaxwq that really helped me:
- LCD Display – The screen is bright. I could see it even in a dim hallway.
- Multiple Modes – Some cheap finders only work for wood. The Jaxwq finds metal and wires too.
- Auto Calibration – This saves time. I don’t have to guess if it’s working.
- Sound Alerts – The beeps are loud enough to hear, but not annoying.
- Slim Design – It fits in my toolbox and doesn’t take up much space.
Here’s a quick comparison with a basic model I used before:
| Feature | Jaxwq Stud Finder | Basic Stud Finder |
|---|---|---|
| Detects Wood Studs | Yes | Yes |
| Detects Metal Studs | Yes | No |
| Detects Live Wires | Yes | No |
| LCD Display | Yes | No |
| Auto Calibration | Yes | No |
| Sound Alerts | Yes | Some |
| Battery Type | 9V | AA |

Small Tips That Made A Big Difference
Some things I learned the hard way, and I want to share them to save you time.
- Move Slowly: If you go too fast, the sensor can’t keep up. I found that moving at about 1 inch per second gave the most accurate results.
- Scan Twice: After marking the first time, I always scan again in the other direction. Sometimes, I missed the edge by a small amount.
- Watch for Metal Studs: In my friend’s apartment, the walls had metal studs. The Jaxwq picked them up, but the sound was different from wood. It helps to check the manual if you’re unsure.
- Don’t Skip Calibration: It’s tempting to turn it on and start scanning, but calibration really matters. The one time I forgot, my shelf didn’t line up with the stud.
- Use a Pencil: Pens or markers can bleed into the wall. A pencil mark is easy to erase.
- Check for Obstacles: Sometimes, old wallpaper or thick paint made the finder beep randomly. I learned to try a different spot if the readings seemed odd.
Real-world Example: Hanging My Tv
Let me tell you how the Jaxwq helped me hang my TV. The TV was heavy, about 40 pounds. I knew I needed to hit two studs. I followed all the steps above. I marked both studs, double-checked for wires, and drilled my pilot holes.
When I finished, the mount felt solid. The TV has been up for months, and it hasn’t moved an inch. That’s when I knew the Jaxwq was worth it.
Common Mistakes I Made (and How To Avoid Them)
I made a few mistakes at first, and I want to help you skip them.
- Forgetting to Calibrate: This gave me wrong stud locations. Always calibrate on a blank section of wall.
- Not Checking for Wires: I once drilled near an outlet and almost hit a wire. Use the “AC” mode every time before you drill.
- Assuming All Studs Are 16 Inches Apart: In my old house, some were 24 inches apart. Check by measuring after you find the first one.
- Using a Dead Battery: The finder gave weak signals with a low battery. Always have a spare.
How The Jaxwq Compares To Other Stud Finders
I borrowed a couple of other brands from friends to see if the Jaxwq was really better. Here’s what I found:
| Model | Modes | Display | Accuracy | Price Range |
|---|---|---|---|---|
| Jaxwq | Wood, Metal, AC | LCD | Very High | Moderate |
| Zircon e50 | Wood, AC | LED | High | High |
| Black+Decker SF100 | Wood | None | Medium | Low |
The Jaxwq gave more reliable results, especially in multi-layer walls. The LCD made a big difference when I was working in low light. The price was fair for the features.
Non-obvious Insights Most Beginners Miss
- Studs Aren’t Always Perfectly Vertical: In some old buildings, I found studs that were slightly tilted. Scanning every foot or so helps catch this.
- Not All Beeps Mean a Stud: Sometimes, pipes or metal brackets can trigger the signal. That’s why using both the metal and wood modes can help you be sure.
- Drywall Thickness Matters: Extra-thick drywall can make the signal weaker. If you have this, move even slower and scan multiple times.
Is The Jaxwq Stud Finder Right For You?
If you need to hang shelves, TVs, or art, and you’re not sure where the studs are, I really recommend it. It’s easy for beginners but has enough features for more serious DIY jobs. I also like that it can help avoid electrical wires—a big safety plus.
If you want more technical info or tips on wall structures, check out the official Stud Finder Wikipedia page.

Frequently Asked Questions
How Deep Can The Jaxwq Stud Finder Detect Studs?
The Jaxwq can usually detect wood studs up to 1. 5 inches deep and metal up to 2. 36 inches. In my experience, this covers most drywall. But if your walls are extra thick, you might need to scan a few times to be sure.
Can The Jaxwq Stud Finder Detect Live Wires?
Yes, it has an AC scan mode. This mode helped me avoid wires behind the wall. Always use this before drilling, especially near outlets or switches.
Is The Jaxwq Easy For Beginners To Use?
Absolutely. I was nervous at first, but the LCD, auto calibration, and sound alerts made it simple. The instructions are clear, and the device is light and easy to hold.
What Kind Of Battery Does The Jaxwq Use?
It uses a standard 9V battery. One battery lasted me for several projects. But I always keep a spare, just in case.
How Do I Know If I Found A Wood Or A Metal Stud?
Switch between wood and metal modes. If both beep in the same spot, it’s likely a metal stud. If only the wood mode beeps, it’s a wood stud. In my apartment, I sometimes found both types, so this feature was handy.
I hope my experience helps you use the Jaxwq Stud Finder with confidence. With these tips, you’ll avoid mistakes and get your shelves or TV up the right way—no guesswork needed.
As an Amazon Associate, We earn from qualifying purchases