Using a drum floor sander for the first time can feel scary. I remember walking into the rental store, looking at the big, heavy machine, and wondering if I’d made a mistake. But by the end of my first sanding project, I felt proud of what I accomplished.
If you’re thinking about sanding your own hardwood floors, I want to share what I learned—mistakes, tips, and all—so you can get smooth, beautiful floors without stress.
What Is A Drum Floor Sander?
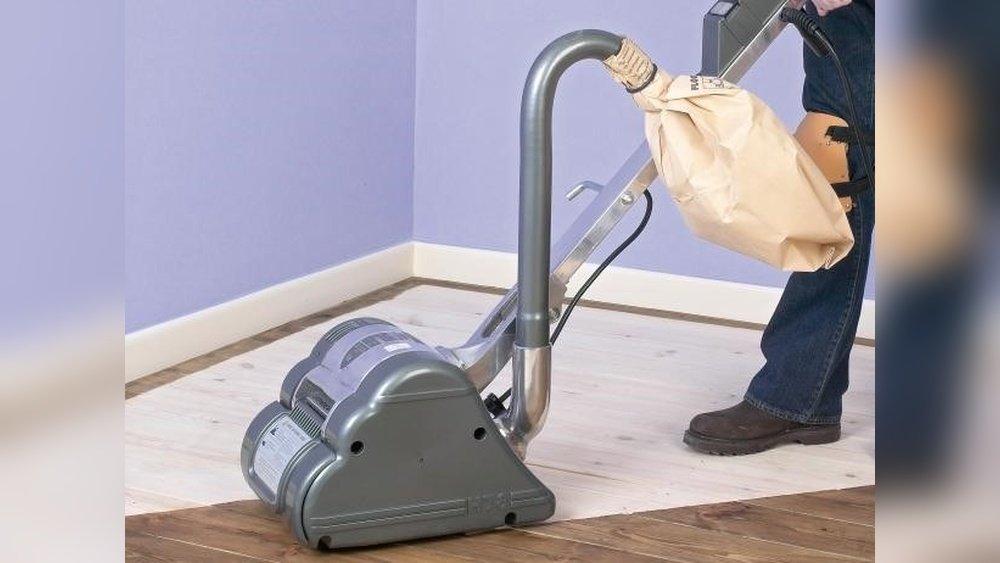
A drum floor sander is a large, heavy machine used to sand wooden floors. It has a rotating drum wrapped with sandpaper. As you push it across the floor, it removes the top layer of wood, including old finish and scratches. This is the tool professionals use to make old wood look new again.
When I first saw the drum sander, I was surprised by its size and weight. It’s not something you want to carry up and down stairs if you don’t have to. But it does a job that no hand sander or small tool can do.
Why Use A Drum Sander?
If your floors are dull, scratched, or have deep stains, sanding is the best way to restore them. I tried using a small sander at first, but it took forever and didn’t look even. The drum sander finished the job much faster and gave a smooth, level surface.
Here are some situations when a drum sander makes sense:
- Old hardwood floors with thick finish or paint
- Deep scratches or gouges
- Uneven boards that need leveling

Safety First: Prepare Before You Start
Before I even plugged in the sander, I learned the hard way that safety matters. These machines are powerful and can kick up a lot of dust.
Some tips I wish I’d known sooner:
- Wear a dust mask and hearing protection. The sander is loud and the dust can irritate your lungs.
- Clear the room. Move all furniture and rugs out. Remove curtains if you can.
- Seal doorways with plastic. Dust gets everywhere, even into other rooms.
- Check for nails. Hammer down any sticking up above the wood. Even a small nail can rip the sandpaper or damage the drum.
- Open windows if possible. This helps with ventilation.
Choosing The Right Sandpaper Grit
This step confused me at first. Sandpaper comes in different grits, which means how rough or smooth it is. Lower numbers are rougher; higher numbers are smoother.
Here’s what worked for me:
- 36 grit: For removing old finish, paint, or heavy scratches.
- 60 grit: To smooth out marks left by the rougher grit.
- 100 grit: For a final, smooth finish.
Switching grits at the right time made a big difference. If you rush to a finer grit too soon, you’ll leave deep scratches. If you skip grits, you’ll work harder for poor results.
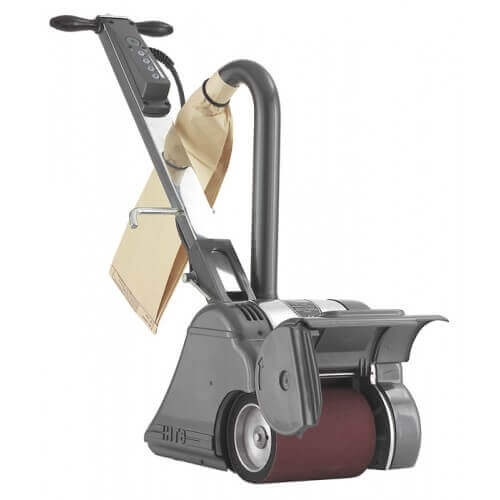
How To Load The Sandpaper
Loading sandpaper was awkward my first time. The drum sander has a slot where you slide in the sandpaper belt or sheet. You usually need to roll the drum forward by hand, tuck in the sandpaper, and lock it in place with a lever. Make sure the sandpaper is tight and straight. If it’s loose, it can fly off or tear.
One thing I learned: Unplug the sander before changing sandpaper. It’s easy to forget, but safety comes first.
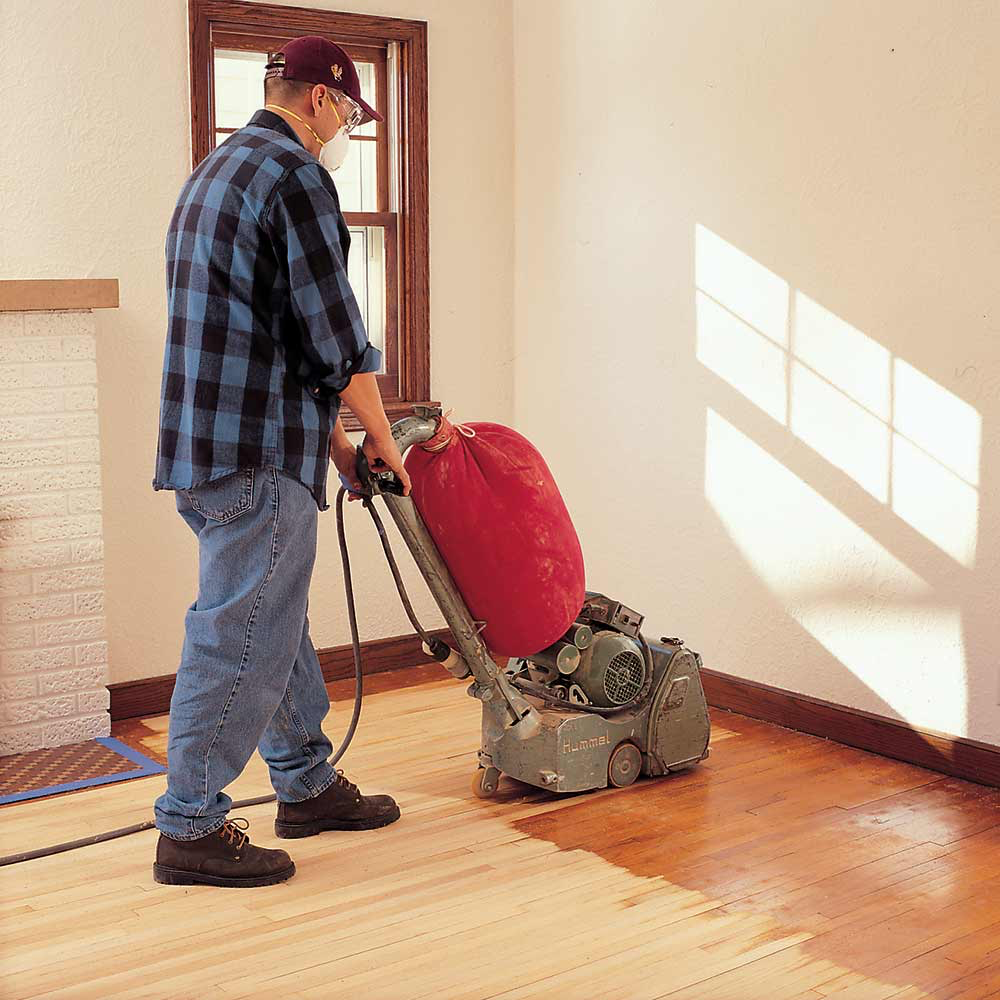
How To Use A Drum Floor Sander: Step By Step
The first time I turned on the sander, I was nervous. It’s heavy, noisy, and can move fast. But once I got the hang of it, I realized most mistakes happen when you rush or don’t pay attention.
1. Start The Sander While Moving
Never turn on the sander with the drum touching the floor. It will leave a deep mark. Instead, tip the sander back, start the motor, and gently lower the drum as you begin moving forward.
2. Sand With The Grain
Always sand in the same direction as the wood grain, not across it. This helps avoid scratches that are hard to remove later.
3. Keep The Sander Moving
Never stop with the drum down, or you’ll make a “drum mark”—a deep groove in the floor. I made this mistake once, and it took a lot of extra sanding to fix.
4. Overlap Each Pass
When you reach the end of a row, lift the drum before you stop. Move over about half the width of the sander and start again. This overlapping prevents uneven spots.
5. Vacuum And Change Grits
After finishing the whole room with one grit, vacuum up the dust. Then change to the next finer grit and repeat. Skipping this step can leave scratches behind.
6. Sand The Edges
The drum sander can’t reach all the way to the walls. For edges and corners, you’ll need an edge sander. It’s a smaller tool, but just as powerful. Use the same grits as you did for the main floor.
Comparing Drum Sanders With Other Floor Sanders
Before I rented a drum sander, I looked at other options. Here’s a simple comparison of the main choices:
| Type | Best For | Speed | Skill Needed |
|---|---|---|---|
| Drum Sander | Removing old finishes, leveling | Fast | High |
| Orbital Sander | Light sanding, finishing | Medium | Medium |
| Edge Sander | Edges and corners | Medium | Medium |
I found that the drum sander did the heavy work, but I still needed the other sanders for details and smooth finishes.
Common Mistakes (and How To Avoid Them)
I made some classic beginner mistakes. Here’s how you can avoid them:
- Not starting the sander in motion. Always move before lowering the drum.
- Stopping with the drum down. This makes big marks. Lift the drum before you stop.
- Skipping grits. Don’t go from rough to smooth too quickly. You’ll get uneven results.
- Ignoring dust. Dust can hide scratches. Always vacuum between grits.
- Not checking the cord. I almost sanded right over the power cord! Keep it behind you.
How Long Does It Take?
Sanding a normal-sized room (about 200 square feet) took me a full day. This included setup, sanding, changing grits, and cleaning up. If your floor is very rough, it might take longer. Bigger rooms or floors with a lot of angles will need more time.
How Much Does It Cost?
I paid about $50 a day to rent a drum sander. Edge sanders were extra. Sandpaper sheets cost around $5 each, and I used 2-3 per grit. Don’t forget to budget for ear plugs, dust masks, and maybe knee pads.
Here’s a quick cost breakdown for a small room:
| Item | Cost (Approx.) |
|---|---|
| Drum Sander Rental (1 day) | $50 |
| Edge Sander Rental (1 day) | $30 |
| Sandpaper (per sheet, 9 sheets) | $45 |
| Safety Gear | $15 |
| Total | $140 |
What I Wish I Knew Before I Started
Some things you only learn by doing:
- The machine is heavy. Bring a friend to help carry it.
- Corners are tough. Be patient with edge and corner sanding.
- Dust is everywhere. Even with a dust bag, you’ll need to clean after.
- Practice first. If possible, try the sander in a closet or small space before starting the main room.
- Finishing is its own process. After sanding, you’ll need to vacuum well and choose a finish (like polyurethane or oil).
Tips For Best Results
Here are some things I did that made a big difference:
- Go slow and steady. Rushing creates marks and uneven spots.
- Check your progress often. Stop and look at the floor in good light.
- Vacuum between every grit. This keeps scratches from hiding under dust.
- Keep your hands on the handles. The machine can “run away” if you let go.
- Get extra sandpaper. It’s better to have more than run out halfway through.
When To Call A Professional
After my first try, I understood why people hire pros. If you have a historic floor, lots of inlays, or expensive wood, a professional might be worth the extra money. They have better tools and can fix mistakes quickly.
But for a standard floor, with patience and care, you can do it yourself and get great results.
Final Steps: Clean Up And Finish
Once the sanding is done, you’ll have a lot of dust. I vacuumed three times—once after each grit, and then again at the end. Wipe the floor with a damp cloth to pick up any fine dust.
Now your floor is ready for stain or finish. Follow the instructions on your finish product. Don’t rush this step; letting the floor dry well will make it last longer.
Final Thoughts
Using a drum floor sander is hard work, but it’s also rewarding. I felt proud every time I walked into the room and saw the smooth, shiny wood. Yes, I made mistakes, but I learned from them. If you take your time, use the right grits, and don’t rush, you’ll get results you’ll love.
Sanding your own floors can save money and give you a sense of accomplishment. Just remember to respect the power of the machine, and don’t skip the details.
For more tips on tools and home improvement, I found the guide on Family Handyman very helpful.
Frequently Asked Questions
How Do I Know Which Grit To Start With?
Start with 36 grit if your floor has heavy finish or deep scratches. For lighter wear, you can try 60 grit first. Always test in a small area.
Can I Use A Drum Sander On Engineered Wood Floors?
No. Drum sanders remove a lot of material. Most engineered floors have a thin top layer and can be ruined. Use a buffer or orbital sander for these floors.
How Do I Remove Drum Marks If I Make A Mistake?
If you get a drum mark, sand over it with the same grit, moving slowly and evenly. Then repeat with finer grits. Don’t rush this, or you’ll make it worse.
Do I Need To Sand Between Coats Of Finish?
Yes, lightly sand between finish coats with 220 grit sandpaper. This helps the next layer stick and gives a smoother look.
What Should I Do With All The Dust?
Sweep and vacuum thoroughly. Wipe with a damp cloth. Don’t forget to clean vents and nearby rooms—dust travels! Dispose of dust bags safely; fine dust can be a fire risk.
If you’re thinking about sanding your own floors, I hope my experience helps. It’s hard work, but the results are worth it!
As an Amazon Associate, We earn from qualifying purchases