If you’ve ever tried to fix a leaky faucet or change an old tap under your sink, you might know the feeling: tight space, stubborn nuts, and tools that just can’t reach. I’ve been there more times than I can count. It was during one late-night kitchen faucet repair that I discovered the lifesaver tool called the basin wrench. If you don’t already have one, I believe every DIYer should. Let me walk you through how to use a basin wrench, sharing tips and stories from my own repairs, so you can skip some of the frustration I went through.
Prime Day Pick
Limited-time Prime Day price. Check current discount on Amazon.
What Is A Basin Wrench And Why Use It?
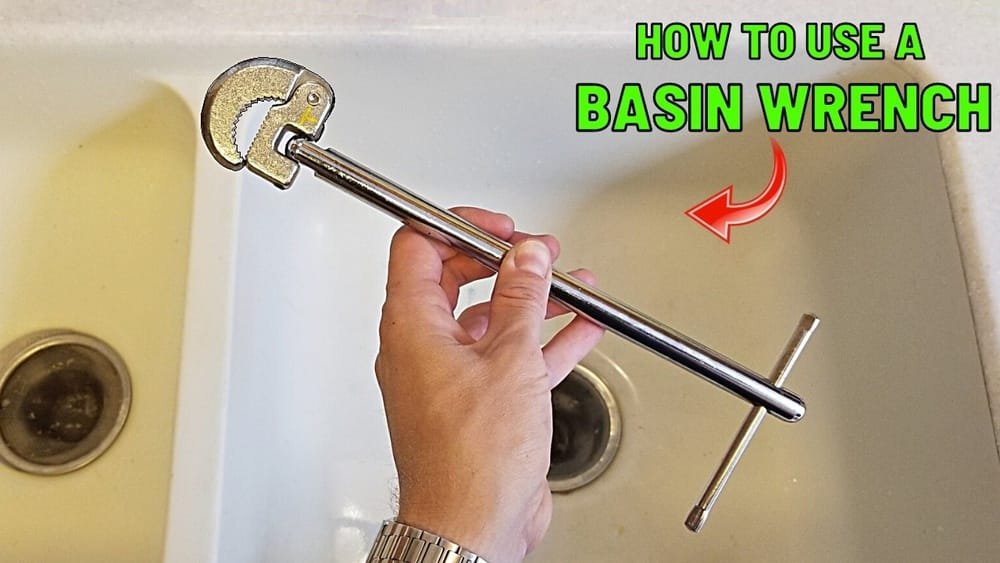
A basin wrench is a long tool designed to reach into tight spots under sinks. It has a spring-loaded jaw at one end, which grips and turns the nuts that hold faucets in place. The handle is long and thin, perfect for getting behind sinks where regular wrenches just won’t fit. I remember the first time I used one, I actually laughed at how easy it made the job compared to my old adjustable wrench.
Most plumbing nuts under sinks are tucked away in cramped corners. A basin wrench lets you reach up behind the sink bowl, grab those nuts, and turn them with little effort. If you’ve ever scraped your knuckles trying to use pliers or a regular wrench, you’ll appreciate this tool right away.
Prime Day Pick
Limited-time Prime Day price. Check current discount on Amazon.
When Should You Use A Basin Wrench?
From my experience, a basin wrench is best for:
Prime Day Pick
Limited-time Prime Day price. Check current discount on Amazon.
- Tightening or loosening faucet mounting nuts under sinks.
- Working in small spaces where other wrenches can’t reach.
- Removing old faucets or installing new ones.
If the nut is out in the open or not deep behind a sink, you might not need it. But for almost all kitchen and bathroom sinks, you’ll find it’s the best tool for the job. I once tried to change a kitchen faucet without one, and it took three times longer—and a lot more swearing!
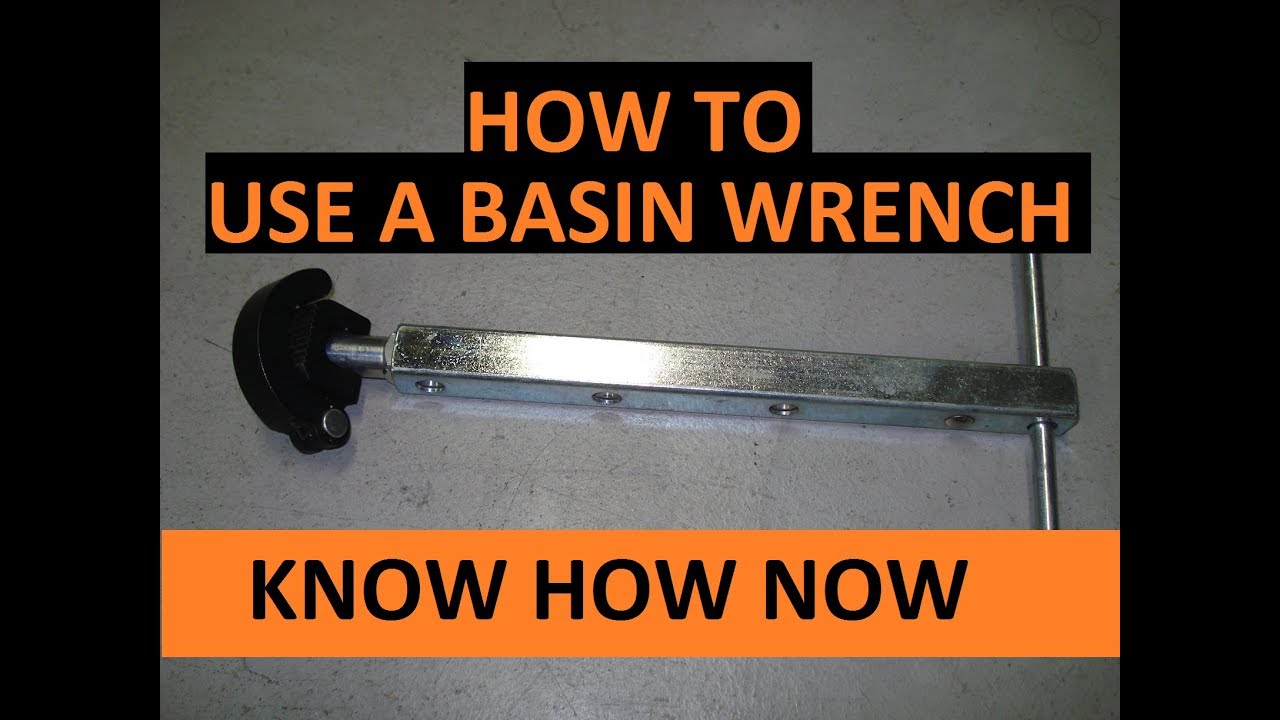
Parts Of A Basin Wrench
It helps to know the main parts before you get started:
- Jaw: This is the claw-like part at the end. It grabs the nut.
- Pivot Head: Lets the jaw turn for tightening or loosening.
- Long Shaft/Handle: The long bar helps you reach up behind the sink.
- T-Bar: This crossbar at the end helps you twist the wrench.
I found that understanding each part makes it much easier to use, especially when working by feel in the dark space under a sink.
How To Choose The Right Basin Wrench
Not all basin wrenches are the same. Here’s what I look for when picking one:
| Feature | Why It Matters | My Tip |
|---|---|---|
| Jaw Size | Fits different nut sizes | Look for jaws that open at least 1 inch |
| Handle Length | Reaches deep sinks | 18 inches works for most sinks |
| Pivot Head | Switches between tighten/loosen | Make sure it moves smoothly |
| Comfort Grip | Reduces hand pain | Rubber grips help a lot |
The first basin wrench I bought had a short handle, and it was almost useless under my deep kitchen sink. Lesson learned: always check the length!
:max_bytes(150000):strip_icc()/SPR-how-to-use-a-basin-wrench-2718720-step-03-d6851359278f44cdb435e22c5d4bdfe8.jpg)
Step-by-step: How To Use A Basin Wrench
Let’s get into the real details. Here’s how I use a basin wrench when working under a sink.
1. Turn Off The Water Supply
Before you start, always shut off the water valves under the sink. I once forgot this step, and ended up with a mini-flood on my kitchen floor! Better safe than sorry.
2. Clear Out The Area
Remove anything stored under the sink. Give yourself as much space as possible. Trust me, it’s easier to work when you’re not bumping into cleaning supplies.
3. Position The Basin Wrench
Reach up behind the sink and find the mounting nut. Hold the basin wrench by the handle and guide the jaw up to the nut. If you can’t see it, feel for it with your hand first.
The jaw should open and grip onto the nut. Make sure the jaw faces the direction you need to turn: most nuts loosen counter-clockwise.
4. Adjust The Pivot Head
This is key. The head of the wrench pivots, so set it to “loosen” or “tighten” as needed. I often have to flip the head back and forth, especially if space is tight.
5. Turn The Handle
Use both hands if you can. Hold the shaft steady and use the T-bar at the bottom to twist. You’ll feel the nut start to turn. If it’s stuck, apply steady pressure. Avoid jerking, or you might strip the nut.
6. Remove Or Tighten The Nut
Keep turning until the nut is loose enough to spin off by hand. When installing, do the reverse: hand-tighten the nut first, then use the basin wrench for the final snug turn.
7. Double-check Everything
After installing or removing, check that the faucet is stable and the nut is secure. Turn the water supply back on and look for leaks.
Tips For First-time Users
I’ve made a few mistakes over the years, and learned some tricks along the way:
- Practice on a spare nut before working under the sink, just to get the feel.
- Wear gloves to avoid scraped knuckles.
- Use a flashlight or headlamp so you can see what you’re doing.
- Go slow—rushing usually leads to mistakes.
- Keep a towel handy for drips and spills.
One thing that surprised me was how hard it is to see under some sinks. I started using my phone’s camera with the flashlight on, which helped a lot!
Common Mistakes And How To Avoid Them
Everyone makes mistakes at first, including me. Here are the most common ones I’ve seen:
- Trying to use pliers instead: They just don’t fit and can strip the nut.
- Forgetting to pivot the head: If the wrench slips, check if the head is set right.
- Not checking the nut direction: Some nuts have left-hand threads, though most are right-hand.
- Over-tightening: This can crack plastic nuts or faucets.
- Working with old, corroded nuts: Spray a little penetrating oil and wait ten minutes before trying.
On one job, I kept slipping off the nut until I realized I was turning the wrong way! Always double-check.
Real-life Example: My First Faucet Replacement
Let me share a quick story. The first time I tried to replace a bathroom faucet, I spent an hour lying on my back, cursing at a rusted nut. My adjustable wrench just slipped off. After a quick trip to the hardware store for a basin wrench, the job took only five minutes.
I learned that day why plumbers love this tool. Sometimes, the right tool really does make all the difference.
Comparing Basin Wrenches To Other Tools
You might wonder if you can get by with tools you already have. I’ve tried channel-lock pliers, regular wrenches, and even socket sets. Here’s how they compare:
| Tool | Best For | Limitations |
|---|---|---|
| Basin Wrench | Tight spots, faucet nuts | Not for open areas |
| Adjustable Wrench | Open spaces | Too bulky for under sinks |
| Channel-Lock Pliers | Large nuts, drains | Can’t reach up behind sinks |
In my experience, nothing beats a basin wrench for faucet jobs. It’s designed for exactly this kind of work.
Advanced Tips For Tricky Situations
Sometimes things don’t go smoothly. Here are a couple of less obvious tips I wish I’d known earlier:
- If the nut is badly corroded, tap the handle gently with a rubber mallet while applying turning pressure. This can help break the seal.
- For very deep sinks, extend the handle by slipping a pipe over the T-bar for extra leverage. Just be careful not to over-torque and break something.
- If the jaw keeps slipping, try wrapping a bit of sandpaper around the nut to improve grip. This trick saved me once when working on an old brass faucet.
Maintenance And Care For Your Basin Wrench
A basin wrench doesn’t need much care, but a little attention keeps it working smoothly:
- Wipe it down after use, especially if it gets wet.
- Oil the pivot head every few months so it doesn’t stick.
- Store in a dry place to prevent rust.
I keep mine on a hook in the garage, right next to my other plumbing tools. It’s always ready for the next surprise leak!
Where To Get More Help
If you’re new to plumbing, there are great resources online. I learned a lot from watching videos and reading guides. For more technical details, I sometimes check Wikipedia for tool specs and history.

Frequently Asked Questions
What Size Nuts Does A Basin Wrench Fit?
Most basin wrenches fit nuts from 3/8 inch up to 1 1/4 inch. Some have adjustable jaws for bigger sizes. Always check your faucet’s nut size before buying.
Can I Use A Basin Wrench For Anything Besides Faucets?
Mostly, they’re designed for faucet mounting nuts. I’ve tried using mine on other plumbing nuts, but it works best for hard-to-reach spots under sinks.
What If My Basin Wrench Keeps Slipping Off The Nut?
Check that the jaw is gripping the flat sides of the nut, not the corners. Make sure the pivot head is set in the right direction. If the nut is greasy or corroded, clean it or use a bit of sandpaper for grip.
Is It Possible To Over-tighten With A Basin Wrench?
Yes. I’ve cracked plastic nuts before by turning too hard. Once the nut feels snug, stop. Most faucet nuts don’t need to be super tight.
Do I Need Any Other Tools For Faucet Installation?
Yes, you’ll usually need pliers for the supply lines, a screwdriver for the faucet handle, and plumber’s putty for sealing. The basin wrench is just for the mounting nuts.
—
If you’ve struggled under a sink before, I hope my experience with basin wrenches helps make your next plumbing job easier. With a little practice and the right tool, you’ll be done in no time—no more scraped knuckles or lost afternoons.
Good luck, and happy fixing!
As an Amazon Associate, We earn from qualifying purchases