It was a cold morning in my garage. The door was half open to let in some light. My coffee was sitting there, going cold fast.
I tried to solder a wire, but the solder just beaded up. It refused to stick. I got mad. I blamed the solder. Then I blamed the iron.
But it wasn’t the tools. It was me. I hadn’t tinned the tip.

Tinning is fast. It protects the tip from rust. It fixes most soldering problems. Let me show you how to do it right.
Table of Contents
When You Should Tin a Soldering Iron Tip
Most people wait too long to do this. I used to be one of them. That mistake costs a lot of money in new tips.
Best times to tin
You need to do this often. I make it a habit.
- Before first use: Do this on a brand-new tip.
- Right after cleaning: As soon as you wipe it, tin it.
- Before turning it off: This is the most important time.
- When flow stops: If the solder won’t flow, stop and tin.
Warning signs your tip needs tinning
Your iron will tell you when it is unhappy. Look for these signs.
- Dull gray look: The tip looks chalky or dark.
- Solder rolls off: It acts like water on a waxed car.
- Flux burns fast: You smell a sharp, burning odor.
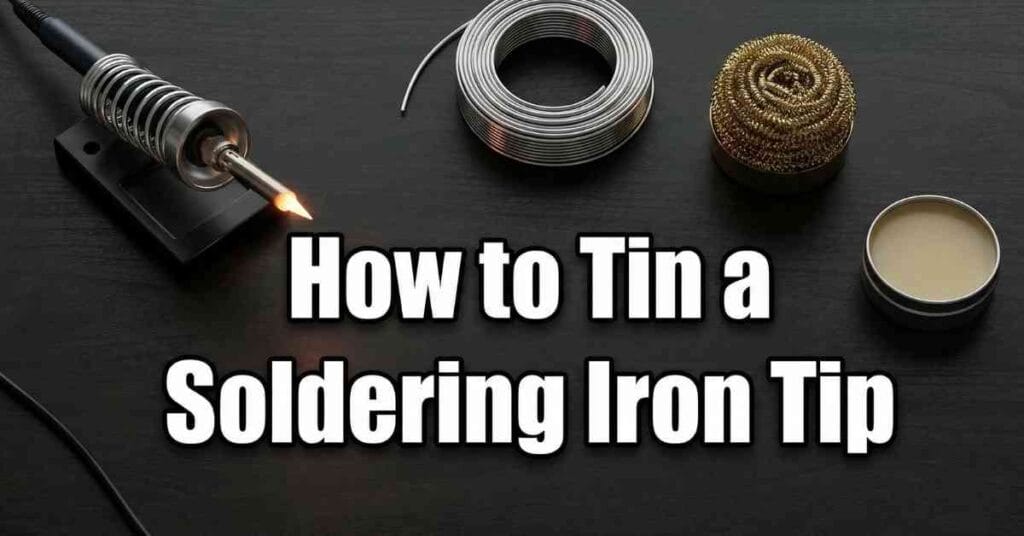
Tools and Materials You Actually Need
You do not need a fancy kit. This works in a garage, basement, or a jobsite trailer. I keep it simple.
Essentials
- Soldering iron: Brands like Milwaukee, Weller, DeWalt, or Craftsman work great.
- Rosin-core solder: This is the standard stuff.
- Damp sponge or brass wool: I prefer brass wool. It doesn’t cool the tip down.
- Stable iron stand: This is basic shop safety. Don’t burn your bench.
Optional but helpful
- Tip tinner compound: This comes in a small tin. It helps a lot.
- Temperature station: Good if you solder a lot.
- Small fume fan: Good for indoor work.
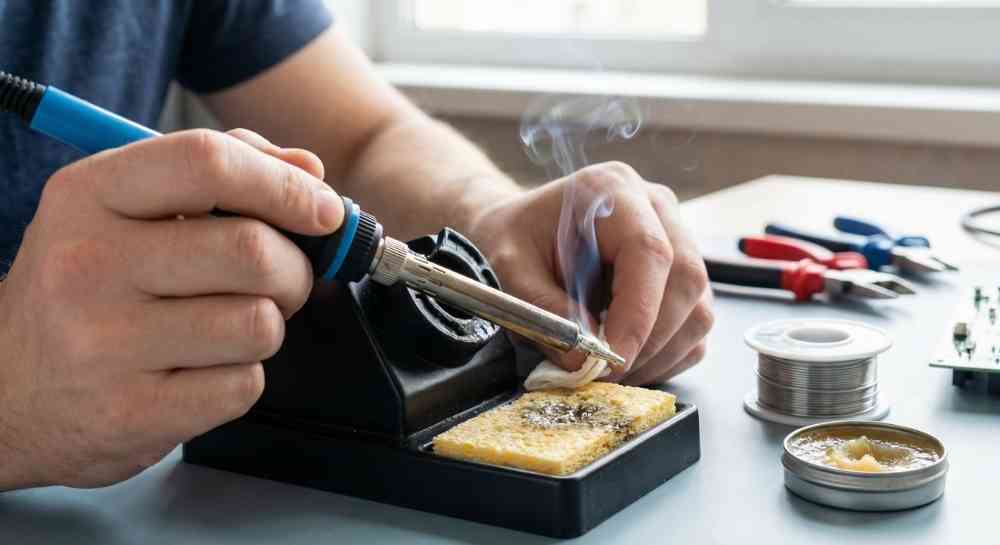
How to Tin a Soldering Iron Tip (Step by Step)
This takes less than a minute. Rushing it ruins tips. Take your time.
Step-by-step process
- Heat the iron: Get it to working temp (about 650–700°F).
- Light clean: Wipe the tip gently on the brass wool.
- Feed solder: Touch the solder wire to the hot tip.
- Rotate it: Turn the iron to coat all sides.
- Wipe once: Give it a gentle wipe.
- Final layer: Add a tiny bit more solder before you work.
What a properly tinned tip looks like
You will know when you get it right.
- Shiny silver: It looks like a mirror.
- Even coat: No lumps or bumps.
- No copper: You should not see the core metal.
Lead vs Lead-Free Solder
I switched solder types once without thinking. It killed my tip fast. You have to adjust.
Lead solder
- Lower heat: It melts easier.
- Easy to tin: It flows very well.
- Older work: You see this in old DIY repairs.
Lead-free solder
- More heat: It needs higher temps.
- Rusts fast: It oxidizes quicker than lead.
- Critical tinning: You must be strict with your tinning habits here.
Common Mistakes That Destroy Tips
I have done most of these. Once was enough for me. Learn from my bad luck.
What not to do
- Running it dry: Never leave a hot tip without solder on it.
- Scraping: Never use sandpaper or a file. It ruins the coating.
- Too hot: Don’t crank the heat to force the solder.
- Leaving it on: If you aren’t using it, turn it off.
Environment problems in U.S. workshops
- Humid summers: Humidity speeds up rust on the tip.
- Cold garages: We crank the heat too high in winter.
- Dust: Shops get dusty. Dust burns onto hot tips.
How to Keep a Tip Tinned Between Jobs
This habit alone can double your tip life. It saves me trips to the store.
Simple maintenance routine
- Tin before shutdown: Always leave a blob of solder on the tip when you turn it off.
- Lower temp: If you take a break, turn the heat down.
- Wipe and re-tin: Do this every few joints.
- Store it dry: Keep your iron in a dry place.
When replacement is the only fix
Sometimes, a tip is just gone.
- Deep pits: Holes in the tip mean it is done.
- Copper shows: If the silver coating is gone, toss it.
- Refusal to stick: If tinning does not work, buy a new one.
Safety Notes Most Guides Skip
These are quick reminders. They are boring but necessary. I learned the hard way.
Basic shop safety
- Hot tips burn: They burn skin instantly. Watch your hands.
- Fumes: Flux smoke is bad for you. Use a fan or open a window.
- Stand usage: Always use a stand. A rolling iron is a fire risk.
- Follow rules: Stick to basic OSHA and shop safety guidelines.
Why Tinning Fixes So Many Soldering Problems
People blame the iron. It is usually the tip. A clean tip transfers heat. A dirty one does not.
Problems tinning helps prevent
- Cold joints: Weak connections break easily.
- Sticking issues: Solder goes where you want it.
- Burnt smells: Clean tips don’t burn flux as much.
- Uneven heat: Your work gets hot faster and safer.
FAQs – How to Tin a Soldering Iron Tip
How often should you tin a soldering iron tip?
You should tin a soldering iron tip before first use, after cleaning, and before turning it off. This protects the tip and keeps solder flowing smoothly during work.
Why is solder not sticking to my soldering iron tip?
Solder will not stick if the tip is oxidized or dry. Tinning the soldering iron tip restores the coating and helps heat move from the tip to the joint.
Can you tin a soldering iron tip with lead-free solder?
Yes, you can tin a soldering iron tip with lead-free solder. It needs more heat and faster work, but proper tinning still prevents oxidation and damage.
What temperature is best to tin a soldering iron tip?
The best temperature to tin a soldering iron tip is about 650 to 700°F. This melts solder fast without burning flux or shortening tip life.
Is tip tinner better than regular solder for tinning?
Tip tinner works faster on dirty tips, but regular rosin-core solder works fine for daily care. Both help tin a soldering iron tip when used correctly.