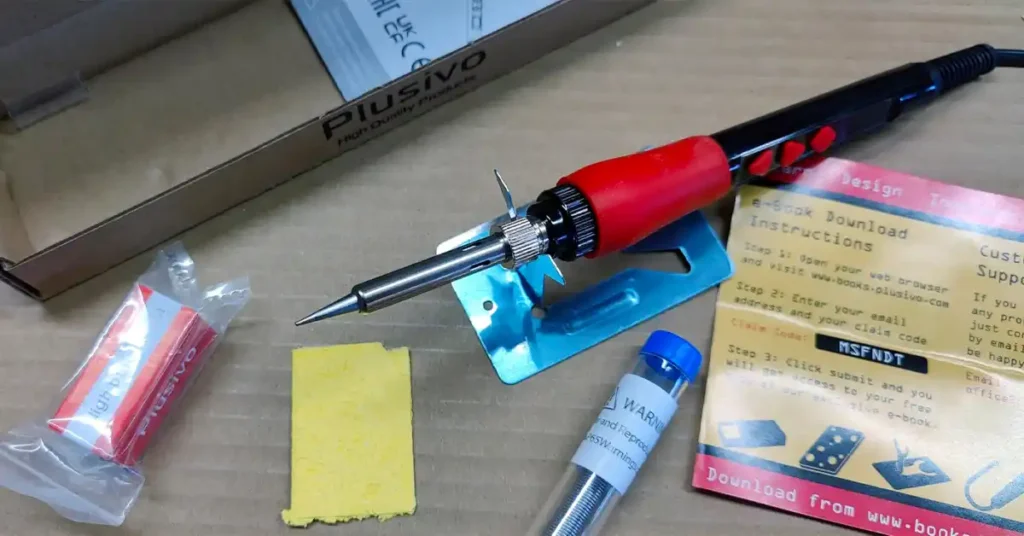
It was late on a Tuesday. I was in my garage, trying to fix a loose wire on an old radio. The iron was hot. I touched the solder to the tip, expecting that satisfying sizzle and flow.
Nothing happened. The solder just rolled off like water on a duck. It wasn’t my skill that was the problem. It was my gear. A dirty tip stops work dead in its tracks. Most soldering issues aren’t about steady hands; they are about dirty tools.

Table of Contents
What Happens When a Soldering Iron Tip Gets Dirty
A soldering tip can look fine and still be useless. Oxidation is sneaky. It builds up fast and blocks heat.
Oxidation, burnt flux, and carbon buildup
Rosin flux helps solder flow, but it burns. Over time, that burnt flux turns into hard, black gunk. It coats the metal.
Heat and air mix to create oxidation. It acts like an invisible wall. It stops the heat from moving from the iron to your wire. The solder beads up and falls off instead of wetting the joint.
Signs your tip needs cleaning
You will know it is time to clean when the solder won’t stick. It just balls up and rolls away.
The tip will look dull gray or black instead of shiny silver. If you smell burnt toast or heavy chemicals more than hot metal, you have residue burning on the tip.
When You Should Clean the Tip
Cleaning too late is almost as bad as never cleaning at all. I learned this the hard way after ruining a few tips.
Before starting a project
I always wipe the tip on the first heat-up of the day. Dust settles on it overnight.
This is huge if you store your tools in a humid place. In many parts of the USA, garage humidity causes rust fast. A quick wipe removes that initial layer of grime.
During long soldering sessions
I clean my tip every few joints. It seems like a lot, but it takes two seconds.
Old wires are the worst for this. They often have dirt or old insulation on them. That gunk transfers to your iron instantly. Wipe it off before it bakes on.
Before turning the iron off
This is the most important step. Never just unplug the iron.
Add a fresh blob of solder to the tip before you power down. This seals the iron from the air. It prevents oxidation while it cools down.
The Right Way to Clean a Soldering Iron Tip
This is the method most pros use. It is boring. It works. You don’t need fancy tools, just good habits.
Using a damp sponge
If you have a classic stand, use the sponge. Try to use distilled water if you can. Tap water has minerals that can corrode the tip over time.
The sponge should be damp, not soaking wet. If it drips, it is too wet. Squeeze it out.
When you wipe, do it quickly. Don’t scrub like you are mad at it. A gentle swipe removes the old solder and flux.
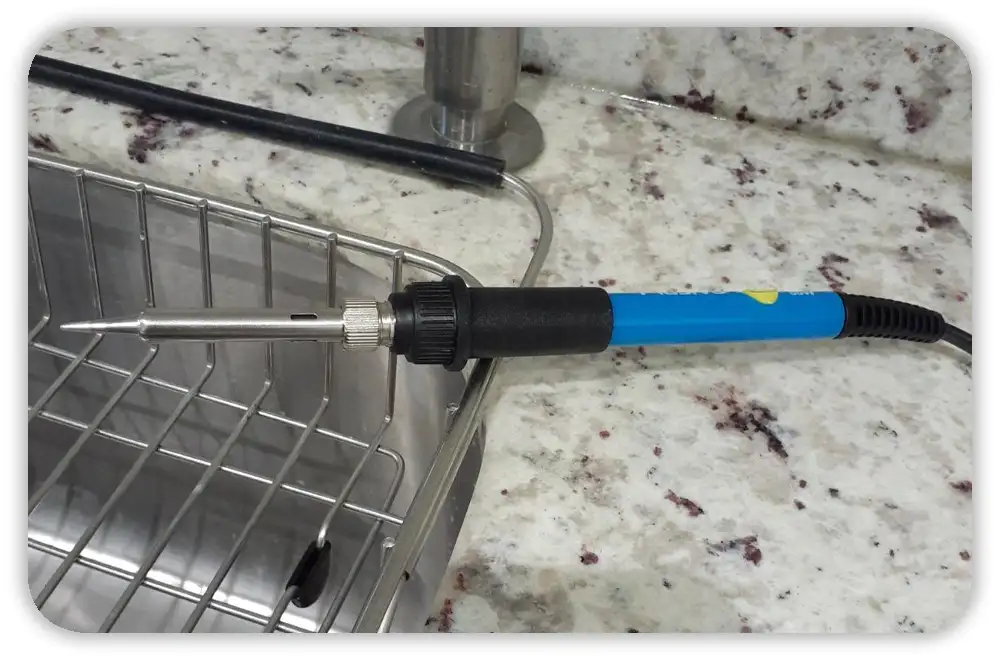
Using brass wool (tip cleaner)
I prefer brass wool over a sponge. It doesn’t cool the tip down as much as water does.
Brass is softer than the steel of the tip. It scrubs off the junk without scratching the plating.
You see this a lot with stations like Weller or Hakko. They come with a little brass nest. Just plunge the tip in and out a few times. It grabs the solder and leaves the tip clean.
How to Clean a Badly Oxidized Tip
If the tip is black and stubborn, normal cleaning won’t cut it. Don’t throw it away yet. You might be able to save it.
Tip tinner and cleaner compounds
Tip tinner is a lifesaver. It is a small tin of paste that contains mild acid and solder powder.
Dip the hot tip into the paste for a second. It will fizz and smoke. Wipe it off immediately. The acid eats the rust, and the solder re-coats the tip.
Don’t do this constantly. It is abrasive. Only use it when the tip is really bad.
Fresh solder as a cleaning tool
Sometimes, all you need is more solder. I flood the tip with a lot of fresh solder wire.
The flux in the new wire helps break up the oxidation. Let it sit for a moment, then wipe it off.
I have brought “dead” tips back to life just by flooding and wiping them three or four times in a row. It is messy, but it works.
What NOT to Use on a Soldering Iron Tip
These mistakes kill tips faster than cheap solder. I have seen people ruin good tools by trying to “sand” them clean.
Sandpaper and files
Never use sandpaper or a metal file. Soldering tips have a special plating on them.
Sandpaper removes that plating. Once the raw copper underneath is exposed, the tip is done. The copper will dissolve into the solder, and the tip will pit.
Steel wool or knives
Don’t scrape the tip with a knife. Don’t use standard steel wool from the kitchen.
Steel is too hard. It scratches the protective layer. Scratches hold onto dirt and oxidation. It makes the problem worse in the long run.
Household chemicals
Skip the vinegar or heavy acids. I have read myths about dipping hot tips in vinegar.
It smells terrible and can eat away the metal plating. The fumes are also bad for you. Stick to products made for soldering.
How to Keep Your Tip Clean Longer
Good habits matter more than fancy tools. If you treat the iron right, a single tip can last for years.
Proper tinning habits
Always coat the tip before you walk away. I say this again because it is vital.
That shiny layer of solder protects the iron from the air. If the air can’t touch the metal, it can’t rust. Use a standard 60/40 or lead-free alloy for this.
Temperature control
Running too hot burns flux instantly. If your station is set to max, you will have black gunk in seconds.
For most electronics, 650°F to 700°F is plenty. Only go hotter if you are soldering thick wires. Lower heat keeps the tip cleaner.
Storage and environment
Basements and garages in the US can get damp. Moisture is the enemy.
If you won’t use the iron for a while, cover the tip. Some irons come with a cap. If not, keeping it well-tinned is your best defense against the humid air.
Safety Notes for Cleaning Hot Tips
Hot metal doesn’t forgive mistakes. I have burned my fingers enough times to respect the heat.
Burn and fume awareness
Flux smoke isn’t great to breathe. It can irritate your lungs.
Turn on a fan or open a window. You don’t need a fancy lab setup. Just keep the air moving away from your face.
Shop safety references
It sounds like common sense, but wear eye protection. Solder can spit.
Hot flux can pop and fly into your eye. I keep a pair of ANSI-rated safety glasses on my bench. It is a small thing that saves you a trip to the ER.
When to Replace a Soldering Iron Tip
Sometimes the tip isn’t dirty. It’s done. No amount of cleaning will fix a hole in the metal.
Signs a tip is beyond saving
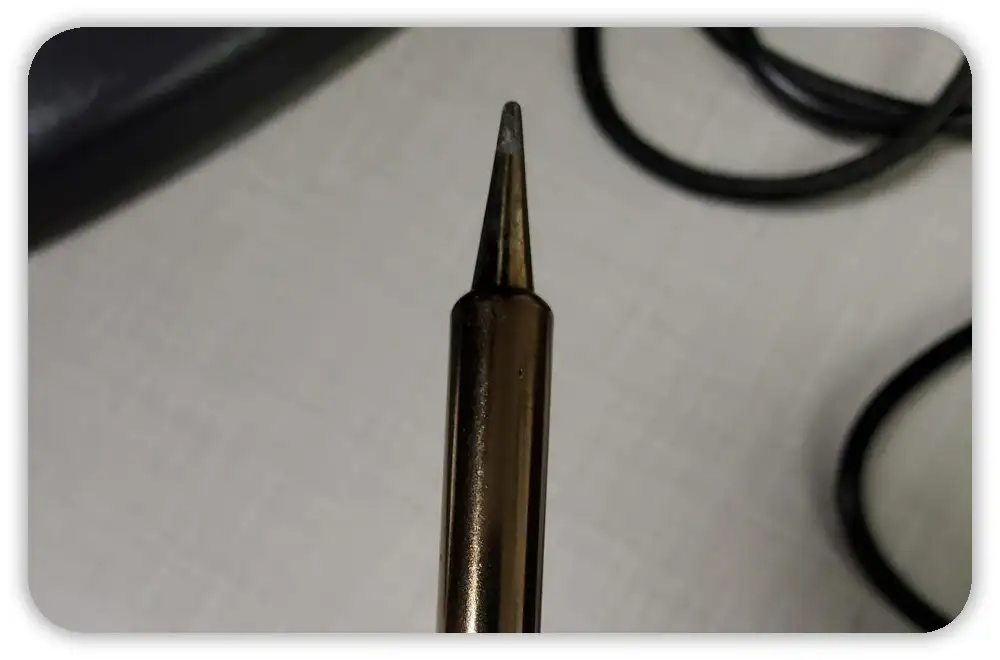
If the surface looks pitted, it is time to toss it. If you see copper color showing through the silver plating, it is trash.
At that point, solder will refuse to wet the tip no matter what you do. It will just stick to the copper spot and burn.
Choosing a replacement tip
Check your iron’s brand. A DeWalt tip won’t fit a Weller.
Match the model carefully. Also, pick the right shape. A chisel tip is great for wires, while a fine point is better for small circuit boards. Get the one that fits your work.
FAQs – How to Clean a Soldering Iron Tip
How to clean soldering iron tip safely?
To clean a soldering iron tip, heat it first. Wipe it on a damp sponge or brass wool. Add fresh solder after cleaning to protect the tip and keep it working well.
How often should I clean a soldering iron tip?
Clean the soldering iron tip before starting, during long jobs, and before turning it off. Regular cleaning prevents oxidation and helps solder flow smoothly every time.
Can I use a wet sponge to clean a soldering iron tip?
Yes, a damp sponge is a common way to clean a soldering iron tip. Wipe quickly, not hard. Too much water can cool the tip and slow your work.
Why does solder not stick after cleaning the tip?
If solder will not stick, the soldering iron tip may still be oxidized. Clean it again and tin it with fresh solder to restore a smooth, shiny surface.
What should I not use to clean a soldering iron tip?
Do not use sandpaper, files, or steel wool on a soldering iron tip. These remove the coating and cause faster damage, making the tip fail sooner.