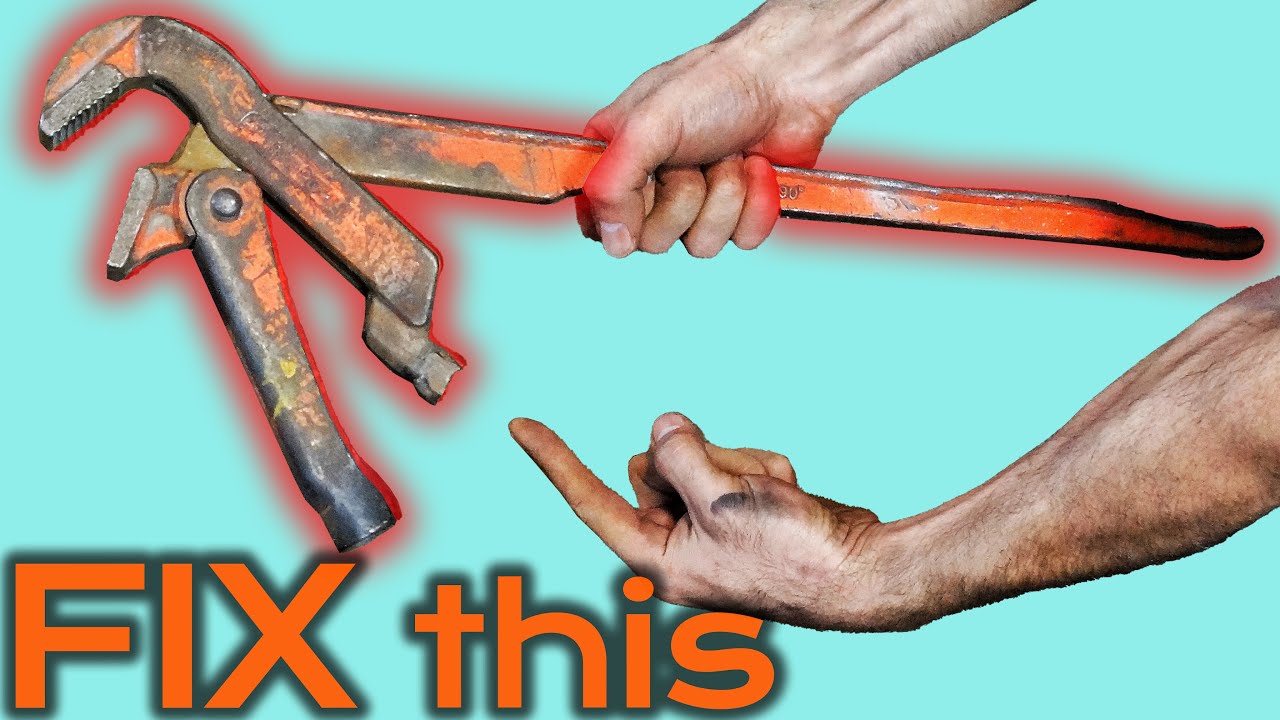
Fixing a pipe wrench might sound simple, but if you’ve ever grabbed one that just won’t grip, you know how annoying it can be. I’ve been there, standing in my garage, staring at an old, rusty pipe wrench that used to work like magic.
Over the years, I’ve learned a lot from trial and error. If you’re struggling with a stuck, slipping, or broken pipe wrench, let me walk you through what has worked for me. I’ll share my honest tips, the tools you need, and the little lessons that most people miss.
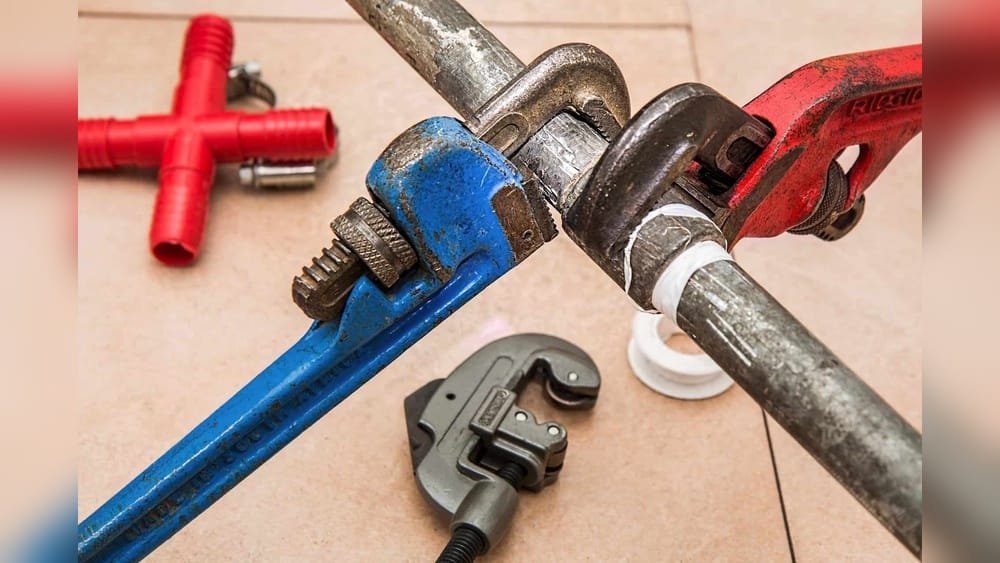
Understanding Your Pipe Wrench
Before you try to fix anything, it helps to know what you’re working with. A pipe wrench is a simple tool. It has a long handle, a fixed jaw, and a movable jaw with teeth. The jaw opens and closes when you turn the knurled nut (that’s the round adjustment part).
Over time, dirt, rust, and wear can cause problems.
I remember when I first started plumbing at home, I thought if my wrench didn’t work, I just needed a new one. But that’s not true. Most pipe wrench problems are easy to fix if you know what to look for.
Common Pipe Wrench Problems
I’ve seen three main problems with pipe wrenches:
- Jaw slips or won’t grip the pipe.
- Adjustment nut is stuck or too hard to turn.
- Jaws are misaligned or damaged.
Each of these problems has a different fix. Let’s go through them one by one.

Tools And Supplies You’ll Need
You don’t need a fancy workshop for pipe wrench repair. Here’s what I use:
- Small wire brush or old toothbrush
- WD-40 or similar penetrating oil
- Rag or paper towel
- Small flathead screwdriver
- Replacement jaw kit (if the teeth are worn down)
- Safety gloves
- Adjustable spanner or pliers
- Bucket for soaking
- Mild soap or degreaser
Sometimes I use a little white vinegar if there’s a lot of rust. All these things are cheap and easy to find.
Step-by-step: How To Fix A Pipe Wrench
1. Clean Off Dirt And Rust
The first thing I do is give the wrench a good clean. Even a little dirt can make the jaw slip. I take a wire brush or old toothbrush and scrub the teeth and the adjustment nut. If the wrench is really dirty, I soak it in a bucket with warm water and a bit of soap for 10–15 minutes.
After soaking, I scrub again, then dry it with a rag. You’d be surprised how often this alone fixes the problem!
2. Loosen A Stuck Adjustment Nut
If the adjustment nut is stuck, don’t force it. I made this mistake once and ended up bending the nut. Instead, I spray a little WD-40 on the threads and let it sit for 5–10 minutes. Then I gently turn it back and forth. Sometimes, you might need to use pliers, but always cover the nut with a rag so you don’t damage it.
If it still won’t move, I soak just the nut area in vinegar for 30 minutes to dissolve the rust. After that, it usually frees up.
3. Check And Fix The Jaws
The jaws are the most important part. If the teeth are worn or clogged with dirt, the wrench will slip. I use my wire brush to clean the teeth well.
If the teeth are rounded or missing, you need a replacement jaw kit. They are cheap and easy to find for most brands. I once tried to keep using a wrench with worn-out teeth, but it only made my jobs harder.
Replacing The Jaw
- Remove the old jaw using a flathead screwdriver or small wrench.
- Clean the area where the jaw sits.
- Fit the new jaw in, making sure it clicks or screws into place.
- Test it on a pipe to make sure it grips well.
Most replacement jaws come with simple instructions. The first time I replaced a jaw, it took me 15 minutes.
4. Fix Jaw Alignment
Sometimes, the jaws get misaligned. This can happen if you drop the wrench or use it on a pipe that’s too big. Here’s what I do:
- Hold the wrench so you can see both jaws.
- If the movable jaw is crooked, check if the pin or spring is out of place.
- Use pliers to gently press the jaw back into alignment.
- If the jaw wobbles, you may need to tighten or replace the pin.
I learned the hard way that a misaligned jaw will never grip right, no matter how tight you turn the nut.
5. Lubricate Moving Parts
After everything is clean and working, I always add a drop or two of oil to the adjustment nut and the jaw hinge. This keeps the wrench moving smoothly and prevents rust.
One tip: Don’t use too much oil, or it will attract dust. I wipe off any extra with a rag.
6. Test Your Pipe Wrench
Always test the wrench before you put it away. I grab an old pipe and try to open and close the jaws. If it grips and releases smoothly, I know it’s good to go.
If it still slips, I double-check the jaw teeth and the alignment. Sometimes, a small piece of dirt gets stuck and needs another clean.
Comparing Old Vs. New Pipe Wrenches
I often get asked if it’s better to fix an old wrench or just buy a new one. Here’s what I’ve learned from experience.
| Feature | Old (Repaired) Wrench | New Wrench |
|---|---|---|
| Cost | Low (just parts) | Medium to High |
| Grip Strength | Good, if teeth are new | Excellent |
| Reliability | Depends on repair | Very reliable |
| Sentimental Value | High (if it’s dad’s tool!) | None |
Personally, I like fixing old tools. They often last longer than new, cheap ones.
When To Replace Instead Of Repair
Not every pipe wrench can be saved. Here are the times I decide to buy a new one:
- The handle is cracked or bent.
- The adjustment nut threads are completely stripped.
- The jaws no longer fit, even with new parts.
- The wrench is so rusty it feels unsafe.
If you’re not sure, compare the cost of new parts to a whole new wrench. Sometimes, fixing is not worth the time.
Simple Maintenance Tips
To avoid more repairs, I follow these habits now:
- Always clean my wrench after use.
- Store it in a dry place.
- Oil the moving parts every few months.
- Check for loose jaws or nuts before using.
I ignored these tips when I started, and my tools suffered. Now, a little care saves me a lot of frustration.
Non-obvious Insights Most People Miss
- Small debris stuck in the teeth can cause slipping. Even if the teeth look sharp, a tiny bit of metal or pipe shavings can ruin the grip. I check with a toothpick if brushing doesn’t help.
- Jaw springs wear out. If your wrench jaw feels loose or wobbly, the internal spring may need replacing. Most people don’t realize you can buy just the spring for a few dollars.
These two points have saved me from throwing out good wrenches more than once.
Real-world Example: Fixing My Grandfather’s Pipe Wrench
A few years ago, I found my grandfather’s old pipe wrench in a box in the shed. It was rusty, the jaws were stuck, and it looked useless. But it meant a lot to me. I soaked it in vinegar overnight, scrubbed the rust off, and replaced the jaw.
The adjustment nut was frozen, so I used penetrating oil and gentle heat from a hair dryer.
When I was done, the wrench worked better than some new ones I’d bought. Now, every time I use it, I remember him. Sometimes, fixing a tool is about more than saving money.
How To Choose The Right Replacement Parts
Picking the right jaw or spring is important. I always check the brand and size of my wrench first. Some brands have unique parts. If you’re not sure, take the old part to the hardware store. The staff can usually help you find a match.
Here’s a quick comparison to help:
| Wrench Brand | Jaw Kit Availability | Price Range |
|---|---|---|
| RIDGID | High | $7 – $15 |
| Irwin | Medium | $8 – $16 |
| Generic/No Name | Low | $5 – $10 |
Don’t guess the size. Always measure, or you’ll end up with a part that doesn’t fit.
Safety Reminders
Fixing and using pipe wrenches seems safe, but accidents can happen. I always wear gloves when I clean or repair. Rusty metal can cut you. Also, never use a pipe wrench on nuts or bolts—it’s made for round pipes only.
Using it wrong can break the tool or hurt your hand.
Where To Learn More
If you’re curious about the history and science behind pipe wrenches, check out the Wikipedia page on pipe wrenches. It’s a good read and has more technical details.
Frequently Asked Questions
How Do I Know If My Pipe Wrench Is Too Worn Out To Repair?
If the handle is bent, the threads are stripped, or the jaws won’t stay tight even after replacing parts, it’s time for a new wrench. Sometimes, tools just reach the end of their life.
Why Does My Pipe Wrench Keep Slipping?
Usually, dirty or worn jaw teeth are the reason. Clean the teeth well, check for debris, and replace the jaws if they’re rounded. Also, make sure you’re using the right size wrench for the pipe.
Can I Use A Regular Wrench Instead Of A Pipe Wrench?
No, regular wrenches are made for flat surfaces, like nuts or bolts. Pipe wrenches have special jaws for gripping round pipes. Using the wrong tool can damage both the pipe and the wrench.
How Do I Keep My Pipe Wrench From Rusting?
After cleaning, always dry your wrench fully. Store it somewhere dry, not outside or in a damp basement. A light coat of oil on the moving parts also helps prevent rust.
Is It Worth Fixing An Old Pipe Wrench?
In my experience, yes—if the repairs are simple and the tool has sentimental value. Fixing old tools can save money and give you a better-quality wrench than many cheap new ones.
Fixing a pipe wrench is more about patience than skill. With a little care, you can keep your tools working for years. I hope my experience helps you save time, money, and maybe even a little family history.
As an Amazon Associate, We earn from qualifying purchases