Finding studs in plaster walls can feel tricky, especially if you’ve only worked with drywall before. I remember the first time I tried to hang a heavy shelf in my old house. I assumed my trusty stud finder would do the job.
Instead, I ended up with a bunch of holes in the wall and a lot of frustration. If you’re facing the same challenge, you’re not alone. Over the years, I’ve learned many ways to find studs in plaster walls—some from mistakes, others from patient practice.
I want to share everything I’ve learned so you can avoid the headaches I went through.
Why Finding Studs In Plaster Walls Is Different
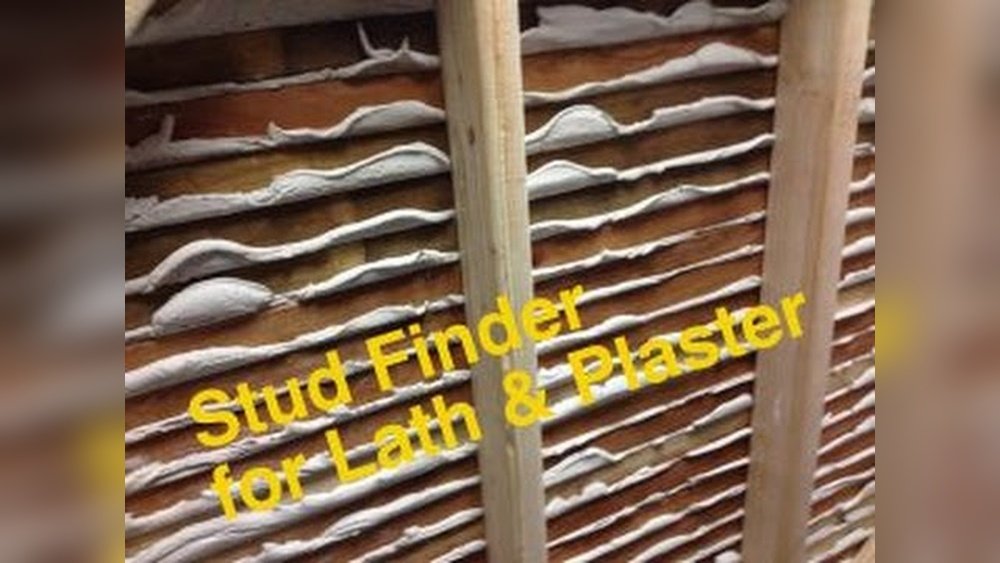
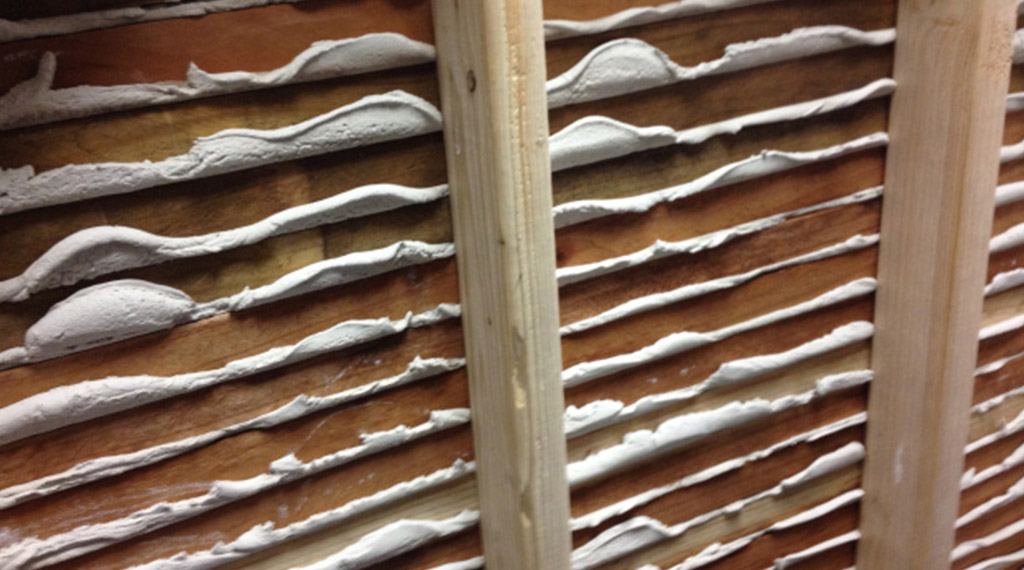
If you’ve used a stud finder on drywall, you might expect the same results with plaster. But plaster walls are built differently. The plaster is thick and sits on top of wooden strips called lath. These lath strips confuse electronic stud finders, making it hard to get a good reading. Plus, plaster cracks easily, so you want to avoid drilling random holes.
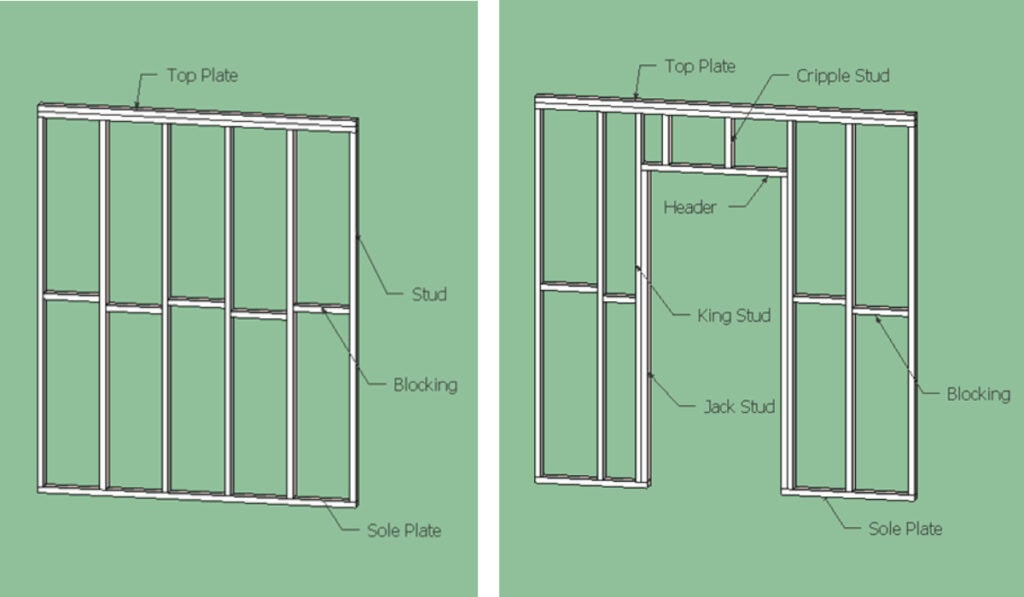
In old homes, studs aren’t always spaced the same way. Sometimes, I’ve found them 12 inches apart, sometimes 16 or even 24. That’s why you need a few tricks up your sleeve.
Tools And Items That Help
Through trial and error, I found that a mix of tools and old-fashioned methods works best. Here’s what I use:
- Magnet (a strong fridge magnet or a neodymium magnet)
- Tape measure
- Flashlight
- Small finishing nail and hammer
- Electronic stud finder (works sometimes)
- Painter’s tape or masking tape
- Utility knife
- Pencil
Don’t worry—you don’t need every tool. I’ll explain when and why each one helps.
Visual Clues: My First Clue Is Always The Outlets
One trick I learned early on is to look at electrical outlets and switches. Builders usually attach them to studs. I remember unscrewing a light switch cover once and finding the edge of a wooden stud right there. You can do this too:
- Remove the cover plate of a switch or outlet.
- Shine a flashlight in the hole.
- Tap gently with a pencil or screwdriver. The hollow side sounds different than the solid stud side.
Then, I use a tape measure to check 16-inch increments from the edge of the stud. Sometimes the next stud is closer or farther, but this gives you a starting point.
The Magnet Trick: My Favorite Method
When electronic stud finders failed me, I tried a magnet. This changed everything. Plaster walls often have old nails or screws holding the lath to the studs. These metal fasteners are almost always in a straight line up and down the stud.
Here’s what I do:
- Wrap a strong magnet in painter’s tape. This prevents wall scratches.
- Slowly move the magnet across the wall. Go up and down in a vertical motion.
- When you feel the magnet “stick” lightly, you’ve found a nail or screw under the plaster.
I mark these spots with a pencil. If I find a vertical line, that’s my stud! This method takes patience but is gentle on your walls.
Knocking And Listening: Old-school But Useful
This method feels almost like magic when it works. I gently knock on the wall with my knuckles. The sound changes from hollow (no stud) to solid (stud behind). At first, I made mistakes because the sound is subtle, especially with thick plaster.
But after a few tries, you get the hang of it.
What helps is to combine this with the magnet trick. Find a couple of spots with the magnet, then knock around those areas. You’ll hear the difference.
Using A Small Nail: When You Need To Be Sure
Sometimes, I need to be extra sure, especially if I’m hanging something heavy. I use a thin finishing nail (like a 1-inch or 1. 5-inch nail). I gently tap it into the wall where I think the stud is.
If I hit wood, I know I’m on target. If I go through and it feels empty, I patch the tiny hole with a bit of spackle. The key is to keep the holes small. One time, I made the mistake of using a big nail, and it cracked the plaster.
I learned that patience and a light touch matter.
Electronic Stud Finders: Sometimes Helpful, Sometimes Not
I have a love-hate relationship with electronic stud finders on plaster. Sometimes they work, sometimes they don’t. The lath behind the plaster confuses the sensors. But if you already have one, it’s worth a try. Here’s what I do:
- Calibrate the device on a spot you know is empty.
- Move it slowly across the wall.
- Mark any “stud” readings, but always double-check with the magnet or nail.
I use electronic finders more as a backup, not my main tool.
Measuring From Corners And Outlets
Builders usually start studs at the corners of a room. I measure 16 or 24 inches from the corner, and sometimes I get lucky. Outlets and light switches are also key markers. Most of the time, at least one side of the outlet box is attached to a stud.
I measure from that edge and keep track of distances. It’s not perfect, but it helps me narrow down my search.
Plaster Vs. Drywall: Key Differences
You might wonder why plaster walls are so much harder than drywall. Here’s what I’ve noticed:
| Feature | Plaster Walls | Drywall |
|---|---|---|
| Wall Thickness | Thicker (often 7/8 inch or more) | Thinner (1/2 or 5/8 inch) |
| Stud Finder Accuracy | Poor | High |
| Repair Ease | Harder (can crack) | Easier |
| Sound When Tapped | Duller, less obvious | Hollow/solid easy to hear |
These differences explain why you need more than one method for finding studs in plaster.
My Step-by-step Process For Finding Studs
Let me walk you through how I actually find studs in my plaster walls. I combine all the tricks above. Here’s the process I follow:
- Look at outlets and switches. I remove the cover and see which side has a stud.
- Measure from the outlet edge (usually 16 or 24 inches) to estimate the next stud.
- Use a magnet to find nails or screws in a vertical line.
- Knock and listen for the solid sound.
- Test with a small nail if I’m still not sure.
- Double-check with a stud finder if I have one, but I don’t trust it alone.
This process has saved me a lot of frustration. It’s not fast, but it keeps my walls tidy.
Mistakes I Made And What I Learned
I’ve made plenty of mistakes. The biggest one was trusting the stud finder alone. I ended up drilling three holes in the wrong spot. Another time, I used a big nail and cracked the plaster. I’ve learned to:
- Always use a magnet first.
- Keep test holes as small as possible.
- Use painter’s tape to mark lines (it doesn’t damage the wall).
- Go slow—rushing leads to more damage.
If you mess up, don’t worry. A little spackle and paint fix most mistakes.
What If You Can’t Find A Stud?
Sometimes, even after all this, I can’t find a stud where I need one. This happens, especially in old homes with odd framing. In those cases, I use special plaster anchors or toggle bolts. These spread the load and keep things secure.
But for very heavy objects—like a big TV—I always find a stud. No shortcut is worth risking a broken wall.
Data: Stud Spacing And Fastener Types
Knowing typical stud spacing helps a lot. Here’s what I’ve seen in my own homes and from talking to contractors:
| Year Built | Common Stud Spacing (inches) | Typical Fastener |
|---|---|---|
| Before 1940 | 12-24 | Nails (square, cut) |
| 1940-1970 | 16-24 | Nails (round) |
| After 1970 | 16 | Screws or nails |
If Your House Is Very Old, Expect Some Surprises!
Real-world Examples: What I Hung On My Walls
Let me share two cases from my own experience:
1. Hanging a Heavy Mirror:
I needed to hang a 40-pound mirror in my dining room. The stud finder didn’t work, so I used a magnet and found a vertical line of nails. I tapped in a thin nail to confirm and hit solid wood.
I used two screws, hit both studs, and the mirror’s been secure for three years.
2. Installing Floating Shelves:
In my office, I wanted floating shelves. I found one stud easily, but the next didn’t line up with standard spacing. I measured from the corner and used a magnet to double-check. One shelf needed a toggle bolt because there was no stud where I wanted it.
It’s held up fine for books and plants.
Two Non-obvious Insights
After years of working with plaster, here are two things beginners often miss:
- Magnet strength matters. Weak fridge magnets don’t work well. I use a neodymium magnet. It finds nails even under thick plaster.
- Fasteners can fool you. Sometimes, you’ll find an old nail that isn’t on a stud. Old houses have random patches. That’s why I always look for a vertical line of nails, not just one.
These tips save time and headaches.
Safety And Care Tips
Plaster can be brittle. Here’s what I always remember:
- Don’t use too much force with a hammer or drill.
- Wear eye protection—bits of plaster can flake off.
- Keep a vacuum handy; plaster dust gets everywhere.
- Patch any test holes as soon as you finish.
A little care goes a long way.

When To Call A Pro
If you need to hang something very heavy—like a big TV—don’t be afraid to call a contractor. I’ve done this twice, and it was worth the money for peace of mind. They have special tools and can even check behind the wall if needed.
For more technical details on wall construction, the Wikipedia article on wall studs is a good resource.
Frequently Asked Questions
How Can I Tell If My Wall Is Plaster Or Drywall?
Plaster walls feel harder and colder to the touch. When you tap, plaster sounds duller, while drywall sounds more hollow. Plaster is often thicker and may show hairline cracks.
Can I Use A Regular Stud Finder On Plaster Walls?
You can try, but electronic stud finders often get confused by the wooden lath behind plaster. Always double-check with a magnet or small nail.
What If I Can’t Find A Stud Where I Want To Hang Something?
Use plaster anchors or toggle bolts for lighter items. For heavy items, try to adjust the placement so you can attach to a stud. Safety first.
Will Drilling Into A Stud Damage My Wall?
If you use the right bit and go slowly, drilling into a stud is safe. Keep holes small and patch any mistakes right away.
What Is The Safest Way To Patch Small Test Holes In Plaster?
Use a bit of spackle or joint compound. Let it dry, sand it smooth, and touch up with paint. Small holes are easy to fix if you don’t rush.
Finding studs in plaster walls can be a challenge, but with the right tools and a patient approach, you’ll get the job done. I hope my experiences help you avoid the mistakes I made and give you the confidence to hang whatever you need—safely and securely.
As an Amazon Associate, We earn from qualifying purchases