Finding a stud behind tile can be a real headache. I learned this the hard way when I wanted to hang a heavy shelf in my bathroom. The shelf looked simple, but I soon realized that drilling blindly could crack tiles or miss the stud completely.
After some trial and error, and more than a little frustration, I figured out a few tricks that actually work. I hope sharing my experience will save you time, worry, and maybe even a tile or two.
Why You Need To Find A Stud Behind Tile
Most tiles are brittle and thin. If you try to hang something heavy just on the tile, it will probably break or come loose. That’s why you need to anchor your screws or bolts into a stud — the solid wood behind the wall that holds everything together.
I learned that missing the stud means the anchor can pull out, ruining both the wall and whatever you hang. For towel bars, mirrors, or shelves, hitting the stud is the only way to go. It’s about safety and peace of mind.
Challenges Of Finding Studs Behind Tile
I found out quickly that finding studs behind tile is much harder than on drywall. Here’s why:
- Tiles hide the wall, so you can’t see seams or nail heads.
- Standard stud finders often don’t work well through thick tile.
- Drilling a test hole can ruin the finish if you miss.
I once tried using my regular stud finder. The readings were all over the place, and I almost drilled in the wrong spot. That’s when I started looking for better methods.
Tools And Materials That Help
Before you start, it’s good to know what tools actually help. Here’s what I used and what I recommend:
| Tool | Purpose | My Experience |
|---|---|---|
| Electronic stud finder (deep scan) | Detects studs behind tile | Works on some tiles, not all; needs patience |
| Magnet | Finds screws or nails in stud | Simple and cheap, but slow |
| Measuring tape | Measures stud spacing | Very useful for confirming positions |
| Painter’s tape | Marks test spots | Saves tiles from scratches |
| Hammer and finishing nail | Makes small test holes | Use only if you’re sure |
I found I didn’t need all the fancy tools. Sometimes, the simplest ones work best.
Step-by-step Guide: How I Find Studs Behind Tile
Let me walk you through what actually worked for me. I’ve tried many methods, but these steps helped me get it right.
1. Look For Clues In The Room
The first thing I do is scan the room for hints. Are there outlets or switches on the tiled wall? Most are attached to a stud. I check both sides of the wall if I can. Sometimes, you can see the same wall in a closet or hallway where there’s no tile.
I once found a stud just by measuring from a nearby electrical outlet. That saved me a lot of guesswork.
2. Use A Magnet
This is my favorite trick. I slide a strong neodymium magnet slowly across the tile wall. If it sticks, I’ve found a screw or nail in the stud behind the tile. It takes time, but it’s safe and doesn’t damage anything.
I tape the magnet to a string so I can drag it smoothly. Sometimes, I find a few false positives (maybe a metal pipe), but most of the time, it works. The only downside is if the builder used glue instead of screws — then this method won’t help.
3. Measure From A Corner Or Door Frame
Studs are almost always placed 16 or 24 inches apart on center. I start at a corner or door trim, measure out 16 inches, and mark it with painter’s tape. Sometimes, I find a stud at 16 inches, sometimes at 24. If the wall feels solid when I knock or tap, that’s a good sign.
I once assumed the spacing was 16 inches, but it turned out to be 24. Double-checking with measurements on both sides of the wall helped me avoid a big mistake.
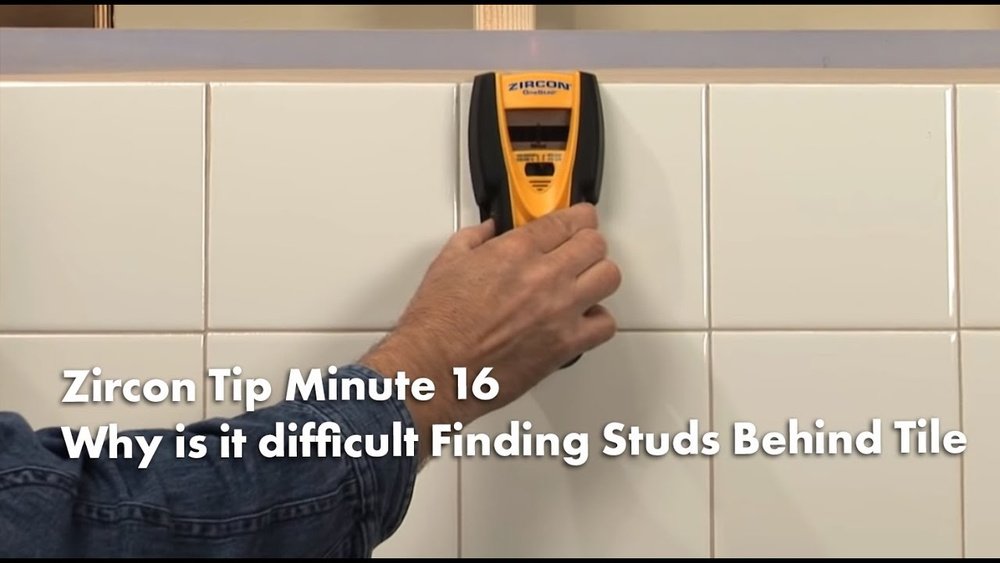
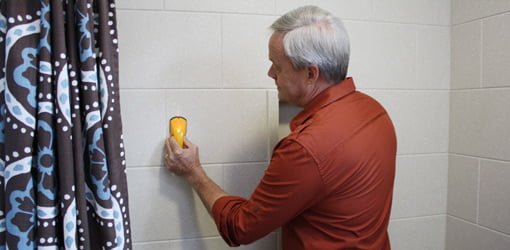
4. Use A Deep Scan Stud Finder
Most regular stud finders aren’t made for tile. I bought one with a deep scan mode. It worked better, but sometimes gave confusing signals because of the tile’s thickness or metal mesh behind the wall.
If you use one, move it slowly and repeat each scan. I draw lines on the painter’s tape for every beep, then look for the spot where they overlap. That’s usually the stud.
5. Tap And Listen
This method is old-school, but still useful. I gently tap the tiles with my knuckle or a wooden dowel. Over the stud, the sound is dull and solid; between studs, it’s hollow.
I don’t trust this method alone, but it helps confirm what I find with the magnet or stud finder.
6. Drill A Test Hole
If I’m really sure about a spot, I drill a tiny pilot hole with a small tile bit. I always use painter’s tape to keep the bit from slipping. Go slow and steady.
If I hit wood, I’m in the stud. If not, I fill the hole with matching grout. The hole is so small, you can barely see it.
7. Combine Methods For Best Results
No single method is perfect. I always use at least two before I drill. For example, I find a spot with the magnet, then check with the stud finder and my measurements.
This double-checking has saved me from many mistakes. I once almost drilled above a pipe, but the deep scan warned me in time.
Comparing Methods For Finding Studs Behind Tile
Here’s how the different methods stack up for me:
| Method | Accuracy | Safety | Speed |
|---|---|---|---|
| Magnet | High (if screws used) | Very safe | Slow |
| Deep scan stud finder | Medium | Safe | Medium |
| Measuring tape | Medium | Very safe | Fast |
| Tapping and listening | Low | Very safe | Fast |
| Drilling test hole | High | Risky for tile | Slow |
I rely most on the magnet and measuring tape, but it’s good to have a backup method.
Common Mistakes To Avoid
I’ve made some mistakes, and I see others making them too. Here’s what you should watch out for:
- Trusting just one method. Always confirm with a second technique.
- Drilling too fast. Rushing cracks tiles.
- Forgetting about pipes and wires. Use a deep scan to check for hazards.
- Assuming all walls are standard. Some older homes have odd stud patterns.
- Not marking your spots. I always use painter’s tape to keep track.

Non-obvious Tips That Saved Me
Here are a few things I learned the hard way:
- Check above and below tiles. Sometimes, you can see drywall or baseboard above or below the tile. Use a stud finder there, then measure down or up.
- Use a flashlight at an angle. Sometimes, you can spot slight dips in the grout where screws are.
- Ask the builder or look for blueprints. I once found a stud layout in my home’s old paperwork. It’s rare, but worth checking.
These small tricks can make a big difference, especially in a tricky bathroom or kitchen.
Dealing With Special Cases
Some walls are just tougher. Here’s what I do when things get weird:
Old Homes
Studs might not be straight or evenly spaced. I go slow and check both sides of the wall. Sometimes, studs are doubled up near doors or windows.
Concrete Backer Board
Some tile is mounted over cement board. This can throw off magnetic and electronic finders. I rely more on measuring and tapping, but I’m extra careful when drilling.
Metal Studs
If you have metal studs (common in apartments), a magnet will stick everywhere. I use a stud finder and gentle tapping to confirm. Anchoring heavy things on metal studs needs special anchors.
Safety And Care For Your Tiles
I love my tiles, and I don’t want to ruin them. Here are my personal rules:
- Always start small. I use the smallest drill bit first.
- Keep bits cool. Drilling slowly keeps heat down and prevents cracks.
- Clean dust as you go. Tile dust can stain grout if left too long.
- Seal any unused holes. I use matching grout or caulk.
It’s worth taking your time. One small chip can ruin the whole look.
Why Getting It Right Matters
Finding a stud behind tile might seem like a small thing, but it matters a lot. I once hung a towel bar in drywall, missed the stud, and it fell off in a week. Fixing broken tile is messy and expensive.
When you hit the stud, everything feels solid. I have shelves that have held up for years, and I never worry about them coming loose.
When To Call A Pro
Sometimes, things just get too tough. If you’re not sure, or if you hit something strange (like resistance or a hollow spot), it’s okay to call a handyman. I did once, and it saved me a lot of stress.
Professional help is also a good idea if your tiles are expensive or rare. Fixing a mistake can cost much more than getting expert help in the first place.
For more info about wall studs and building codes, you can check out this Wikipedia page on wall studs.
Frequently Asked Questions
How Can I Tell If My Stud Finder Will Work Through Tile?
Most regular stud finders can’t see through thick tile. Look for one with a deep scan mode. Even then, results can be mixed. Combine it with other methods for best results.
What If My Magnet Doesn’t Stick Anywhere On The Tile?
Some walls use glue, not screws, to hold up the tile board. In that case, try measuring from corners or using a deep scan stud finder. You may have to drill a small test hole to be sure.
Can I Use Wall Anchors Instead Of Finding A Stud?
For light items, strong tile anchors can work. But for anything heavy (like a shelf or grab bar), always anchor into a stud. Anchors in tile alone are risky.
What’s The Safest Way To Drill Through Tile?
Use a carbide-tipped tile bit, go slow, and keep the drill straight. Always use painter’s tape to mark the spot and prevent slipping. Don’t push too hard.
Why Are My Studs Not 16 Inches Apart?
Older homes or special walls sometimes use 24-inch spacing, or even something random. Always measure and check both sides of the wall. Never assume the spacing without checking.
—
Finding a stud behind tile takes patience, a little creativity, and a gentle touch. My experiences taught me to double-check, go slow, and never trust just one method. If you follow these tips, you’ll save your tiles and feel proud every time you hang something heavy — and it stays put.

As an Amazon Associate, We earn from qualifying purchases