If you’ve ever tried to cut a perfect circle in drywall, you know it’s not as easy as it sounds. I’ve been through the struggle with utility knives, jab saws, and messy templates that never quite work. That changed for me when I picked up my first drywall circle cutter. If you’re new to this tool, or just want to improve your technique, I’m going to walk you through how I use a drywall circle cutter—from the first measurement to the final clean cut. I’ll share the lessons I learned, the mistakes I made, and the tricks that actually work.
What Is A Drywall Circle Cutter?
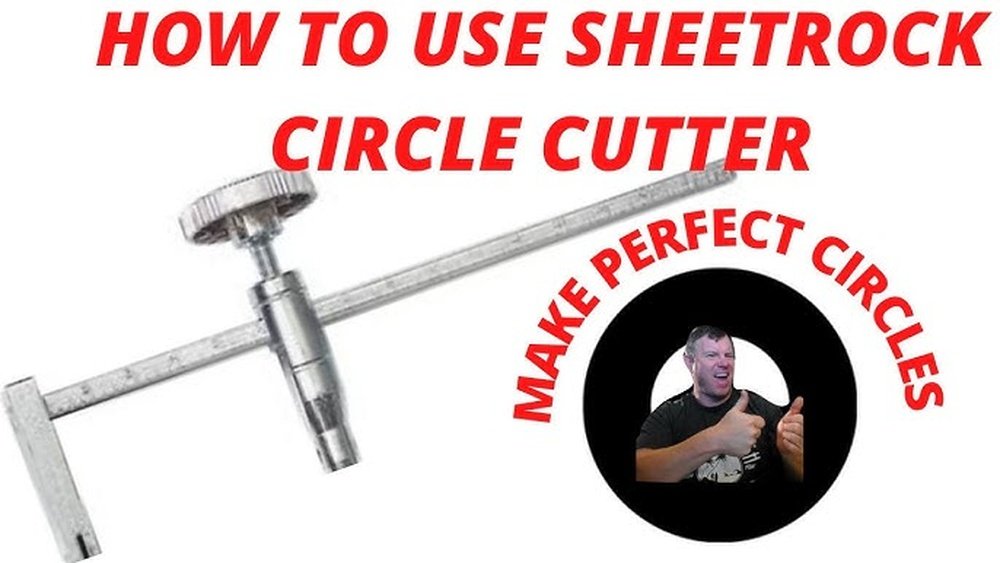
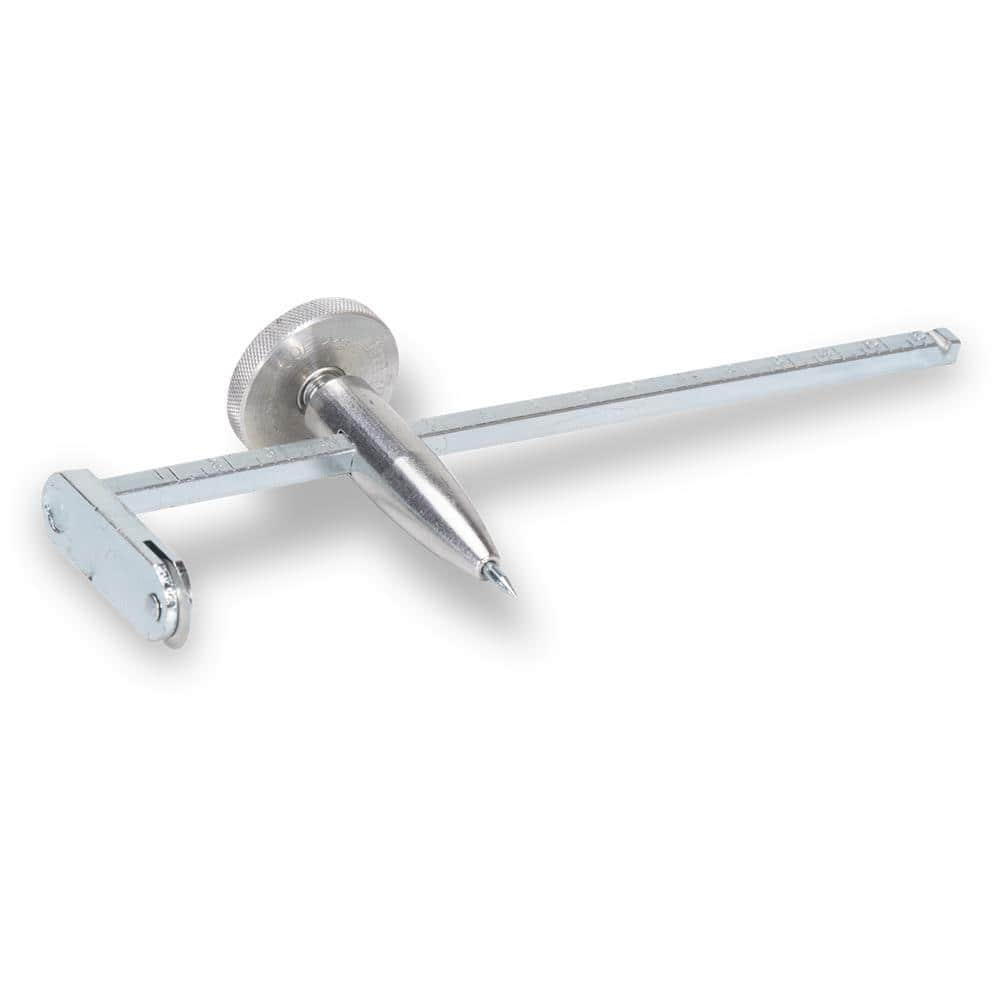
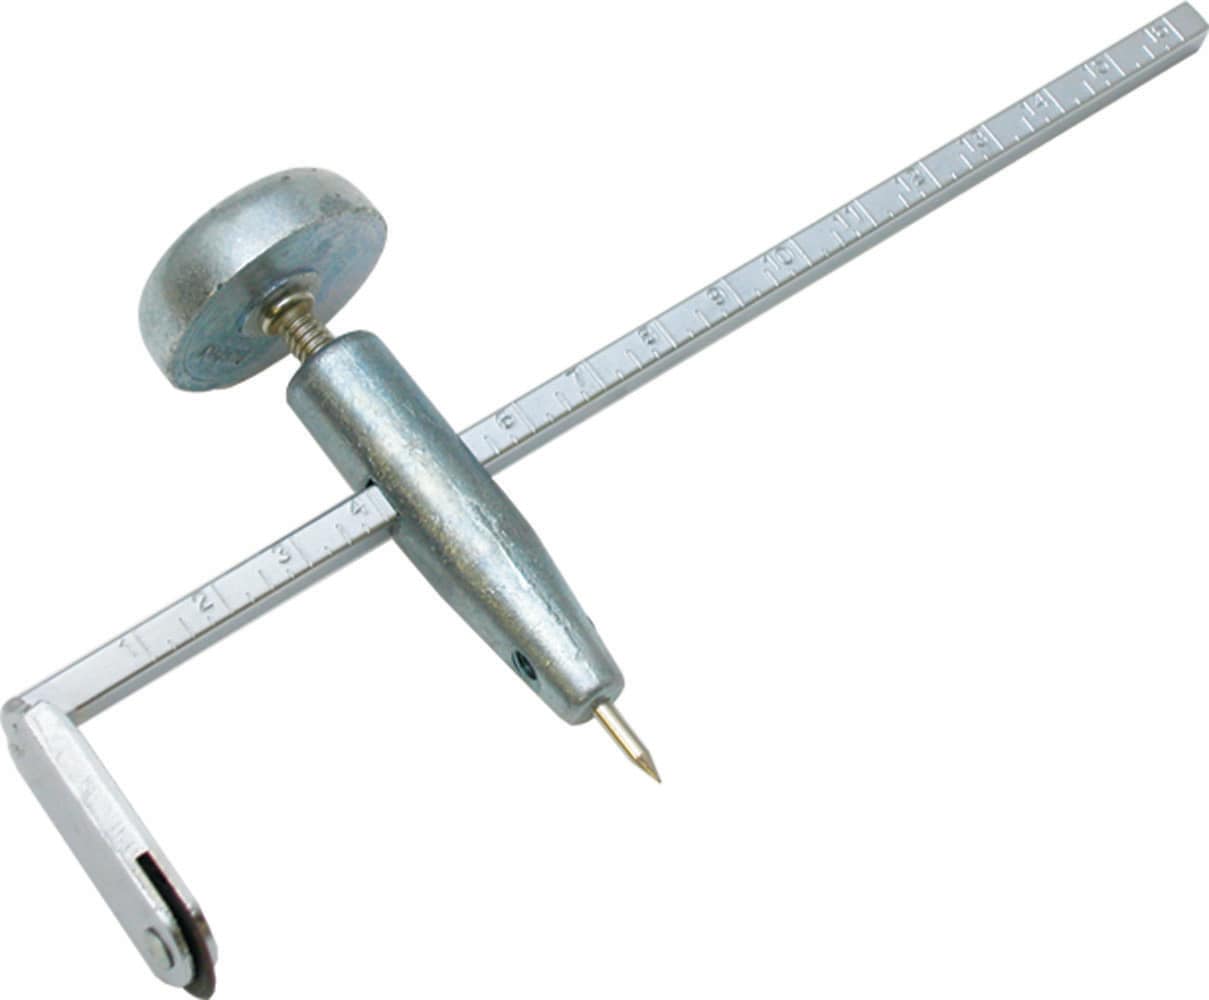
A drywall circle cutter is a simple tool that helps you cut perfect circles in drywall sheets. It looks a bit like a compass from math class, but with a sharp blade instead of a pencil. Most models have a center pin and an adjustable arm so you can set the circle’s size. Some have a scoring wheel, while others use a razor blade.
When I first saw one, I didn’t think it could make much difference. But the first time I used it, my holes for ceiling lights looked professional—not jagged and rough. This tool saves me lots of time, especially on jobs where I need several round holes for pipes or recessed lights.
Why Use A Drywall Circle Cutter?
Before I started using this tool, I used a jab saw to cut circles. The cuts were rough, the edges chipped, and sometimes I cracked the drywall. If you want a neat finish, especially if you’re installing fixtures, a drywall circle cutter is the best way. Here’s why:
- Precision: The circles are always the right size.
- Clean edges: Less sanding and patching later.
- Less dust: It scores the paper cleanly, so there’s less mess.
- Faster work: Once you get the hang of it, you can cut circles in seconds.
Types Of Drywall Circle Cutters
I’ve tried several kinds of circle cutters. Here’s how they compare:
| Type | Main Feature | Best For |
|---|---|---|
| Manual Compass Style | Blade or scoring wheel on adjustable arm | Most DIY projects |
| Rotary Tool Attachments | Attaches to a rotary tool, cuts with spinning blade | Many holes, thicker drywall |
| Hole Saw Attachments | Fits a drill, cuts circle with serrated edge | Standard light or pipe openings |
I use the manual compass style for most of my jobs. It’s cheap, easy to carry, and works on all drywall thicknesses.
Essential Tools And Materials
When I use my drywall circle cutter, I make sure I have these items ready:
- Drywall circle cutter (compass style or attachment)
- Measuring tape
- Pencil
- Utility knife (for deeper cuts if needed)
- Safety glasses (I’ve had dust fly into my eyes before—never again!)
- Dust mask (especially for overhead cuts)
- Straight edge (if I need to check alignment)
Having everything on hand means I don’t have to stop mid-project.

Step-by-step Guide: How I Use A Drywall Circle Cutter
Let me walk you through the steps I follow, with tips based on what I learned from mistakes.
1. Mark The Center Point
I always start by measuring and marking the center of the circle. If I’m installing a ceiling light, I measure from the wall to the spot where the fixture will go. I double-check this measurement because once the hole is cut, it’s hard to hide mistakes. A missed center by just half an inch can cause problems later with fit.
2. Set The Circle Cutter
Next, I adjust the arm on the circle cutter to the radius I need. Most light boxes are 4 inches across, so I set the arm for a 2-inch radius. I lock it down tight. If the arm slips, your circle will be the wrong size. I learned this the hard way—my first few cuts were ovals, not circles, because I didn’t check the lock.
3. Position The Cutter
I press the center pin into the mark I made. For ceiling cuts, I put a small piece of tape on the drywall to stop the pin from slipping. This trick has saved me a lot of frustration.
4. Score The Drywall
With the arm set and the pin in place, I rotate the cutter around the center. I use steady, even pressure. Don’t press too hard. The first pass should just score the paper. If you try to cut too deep at once, you’ll tear the drywall’s face.
I make 2–3 gentle passes until I see a clear groove all the way around. If you’re using a scoring wheel, it’s even easier—just keep the pressure even.
5. Cut Through The Drywall
After scoring, I use a utility knife to cut through the drywall core. I follow the groove made by the circle cutter. For thinner drywall (like 1/2 inch), I can sometimes just push the circle out with gentle pressure. For thicker sheets, a few more passes with the knife do the trick.
A common beginner mistake is to force the piece out before it’s fully cut. This cracks the sheet and ruins the clean edge.
6. Remove The Circle
Once the cut is deep enough, I gently press from behind to pop the circle out. Sometimes it needs a little twist. If it sticks, I run the knife around the edge again. Never force it—taking your time here means less patching later.
7. Clean Up The Edges
Even with a sharp cutter, I sometimes get tiny rough spots. I use sandpaper or a drywall rasp to smooth the edge. This step is quick, but it makes the final fit much tighter, especially if you’re installing a fixture.
Tips For Better Results
Over time, I’ve picked up a few tricks that make a big difference:
- Use a sharp blade: A dull blade tears the drywall paper. Replace the blade often.
- Mark both sides: If you need a super clean cut, mark and score both sides of the drywall.
- Cut before installation: It’s much easier to cut circles before the drywall is on the wall or ceiling.
- Support the sheet: Lay drywall flat on sawhorses. This stops flexing and cracking.
- Check for wires and pipes: Before cutting, make sure there’s nothing behind the drywall that you’ll hit.
One non-obvious insight: humidity matters. In damp conditions, drywall gets soft and tears more easily. I once tried cutting circles in a basement on a rainy day—my cuts were a mess. If you can, store drywall in a dry place before cutting.
Another tip: If you’re using a rotary tool, clamp the drywall down. The vibration can move the sheet, making your circle uneven.
Common Mistakes And How To Avoid Them
When I started, I made some classic mistakes. Here’s what to watch out for:
- Forcing the blade: Pressing too hard makes ragged edges.
- Wrong measurements: Even a small mistake on the radius shows up in the finished job.
- Skipping safety gear: Drywall dust can cause eye and lung problems. I always wear glasses and a mask.
- Not checking the back: Sometimes, pipes or wires are just behind the drywall. I’ve hit a wire before—never again.
If you avoid these, your cuts will look much more professional.
When To Use Other Tools Instead
A drywall circle cutter is great for most jobs, but sometimes I use other tools. Here’s how I decide:
| Situation | Best Tool | Why |
|---|---|---|
| Large circles (8″+) | Jigsaw or rotary tool | Circle cutter arms are too short |
| Small pilot holes | Drill bit | Easier and faster |
| Multiple same-size holes | Hole saw attachment | Consistent size, quick cutting |
For most light fixtures and pipe holes, though, my circle cutter is my go-to tool.
Comparing Drywall Circle Cutters
I’ve tried a few brands and styles. Here’s how they compare:
| Brand/Type | Adjustable Range | Blade Quality | Ease of Use |
|---|---|---|---|
| Johnson Compass Cutter | 2″–16″ | Very sharp | Easy |
| DEWALT Rotary Attachment | 1″–10″ | Excellent | Moderate (needs rotary tool) |
| Cheap Imports | 2″–12″ | OK, dulls quickly | Fiddly |
If you plan to cut a lot of circles, invest in a good brand. Cheap tools work for one or two holes, but they wear out fast.
Cleaning Up After Cutting
Cutting drywall always leaves a mess. I keep a small vacuum nearby to clean up dust. For ceiling cuts, I learned to put a drop cloth on the floor. Drywall dust can be very fine—it gets everywhere. If you want to avoid cleaning for hours, cover anything you don’t want dusty.
How To Store And Maintain Your Circle Cutter
I wipe the blade after every use to stop rust. I keep the cutter in a toolbox with a blade cover. If your model uses replaceable blades, keep extras on hand. A dull blade ruins the cut and can slip, which is dangerous.
Once a month, I check the screws and moving parts. A little oil keeps everything smooth.
Real-world Example: Installing A Recessed Light
Let me share a quick story. Last year, I installed six recessed lights in my living room. I used my drywall circle cutter for every hole. I measured carefully, set the cutter to the right size, and scored each circle.
The cuts were so clean, the light fixtures snapped in with no gaps. My friend, who had tried to do the same with a jab saw, couldn’t believe the difference.
If you want to see how a drywall circle cutter works in action, you can check out Wikipedia’s page on drywall for more background.
Frequently Asked Questions
How Do I Know What Size To Set On My Drywall Circle Cutter?
Measure the diameter of what you need to fit—like a light box or pipe. Divide by two to get the radius. Set the cutter’s arm to this number. Double-check before cutting.
Can I Use A Drywall Circle Cutter On Installed Drywall?
Yes, but it’s harder. It’s easier to cut before the drywall is on the wall or ceiling. If you must cut in place, be careful not to damage wiring or pipes behind the sheet.
What If My Drywall Circle Cutter Blade Gets Dull?
Replace it. Most models use standard utility blades. A sharp blade makes a cleaner cut and is safer. If you’re in the middle of a job, keep spares handy.
Is It Possible To Cut A Circle Bigger Than The Cutter’s Arm?
Not with just the cutter. For large circles, mark the outline with the cutter, then use a jigsaw or rotary tool to finish the cut. The circle cutter helps you get a perfect outline.
Why Does My Circle Break The Drywall Paper Or Crack?
This usually happens if you press too hard or use a dull blade. Always score gently at first and make several passes. Also, dry drywall is less likely to tear than damp sheets.
Using a drywall circle cutter has made my projects much easier and more professional-looking. With a little practice, you’ll get clean circles every time, and you’ll save yourself hours of frustration. If you’re doing any drywall work that needs round holes, this tool is a game changer.
Give it a try—you’ll be glad you did.
As an Amazon Associate, We earn from qualifying purchases