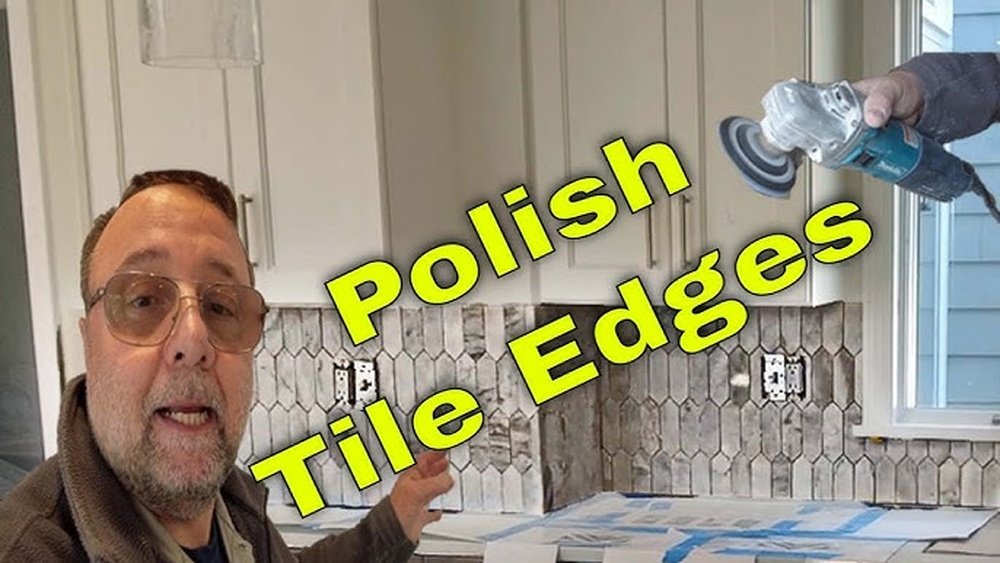
Sanding marble edges is something I never thought I’d do myself. But one day, I noticed the edges of my bathroom counter looked chipped and rough. I wondered, “Can you sand marble edges at home, and will it look good?
” After a lot of research and a bit of trial and error, I decided to give it a try. Here’s everything I learned, step by step, so you don’t have to guess or worry about damaging your marble.
Is It Possible To Sand Marble Edges?
Let me start by saying, yes—you can sand marble edges. Marble is a natural stone, but it’s softer than granite. This means you can work with it using the right tools. Still, it’s a delicate material. Sanding marble takes patience, a gentle touch, and the right technique.
I made a few mistakes at the start (I’ll share those, too), but I got good results in the end.
Marble edges can get chipped, dull, or uneven over time. Sanding brings back that smooth, shiny look. You can even shape the edge a bit if you want a rounded or beveled style. But don’t expect to change the whole profile—just small adjustments are possible at home.
When Should You Sand Marble Edges?
You shouldn’t sand marble edges for every small scratch or mark. Here’s when it’s a good idea:
- Chipped or rough edges – Small chips or rough spots can be smoothed out.
- Dull, worn edges – Over time, the shiny finish fades. Sanding restores the luster.
- Minor unevenness – If one spot is a bit higher than the rest, gentle sanding can even it out.
If you have deep cracks, large chips, or structural damage, sanding won’t fix those. You’ll need a pro for big repairs.
What Tools Do You Need?
When I started, I thought regular sandpaper would work. I quickly learned marble needs special diamond sanding pads. These pads are made for stone and come in different grits. Here’s what I used:
- Diamond hand polishing pads (from 50 to 3000 grit)
- Water spray bottle
- Painter’s tape (to protect nearby surfaces)
- Clean rags
- Safety gear: Mask, goggles, gloves
You can use a variable speed polisher, but I did everything by hand. It’s safer and gives you more control, especially if you’re new to this.
Here’s a quick look at the grits I used and what each did:
| Grit Number | Use |
|---|---|
| 50-100 | Heavy smoothing, removing chips |
| 200-400 | General shaping, smoothing rough areas |
| 800-1500 | Polishing, bringing out shine |
| 3000 | Mirror finish, final step |
Step-by-step: How I Sanded Marble Edges
I was nervous before starting, but the process was easier than I thought. Here’s exactly how I did it.
1. Prepare The Area
First, I cleared the counter and wiped down the marble. I used painter’s tape to cover the sink and the flat counter surface. This kept dust and grit away from places I didn’t want scratched.
2. Start With Coarse Grit
I picked up a 100-grit diamond pad and dipped it in water. Wet sanding is important—it keeps the marble cool and reduces dust.
I moved the pad in small circles along the edge, never staying in one spot too long. I checked my work every few minutes. After about ten minutes, the chips and rough spots were gone. Don’t press hard; let the pad do the work.
3. Move To Finer Grits
Next, I used a 200-grit pad, then 400, and so on. Each step made the edge smoother and less cloudy. By the time I got to 800, I could see the shine returning. The 1500 and 3000 grits brought a mirror-like finish.
I wiped the edge clean between each grit to check my progress.
4. Rinse And Polish
When I finished sanding, I rinsed the area with clean water. I used a soft cloth to buff the edge. Some people use a special marble polish, but I found water and elbow grease worked fine for a home project.
5. Clean Up
I removed the tape, wiped down everything, and admired the smooth edge. It looked almost new!

Common Mistakes And How To Avoid Them
I made a few rookie mistakes. I hope you can avoid them:
- Using dry sandpaper – Marble dust is harmful to breathe. Always sand wet.
- Pressing too hard – This can cause gouges or uneven spots.
- Skipping grits – Don’t jump from 100 to 1500. Each step matters for a smooth finish.
- Not protecting other surfaces – Painter’s tape is your friend.
- Not wearing safety gear – Dust can irritate your eyes and lungs. Wear goggles and a mask.
What Finish Can You Expect?
At home, you can get a very good finish, but not the factory-perfect gloss. That’s because factories use big machines and special chemicals. Still, most people won’t notice the difference.
Here’s how my edges looked after sanding, compared to the original:
| Before Sanding | After Sanding |
|---|---|
| Chipped, rough | Smooth, glossy |
| Dull, uneven shine | Bright, even finish |
| Visible scratches | Almost invisible scratches |
How Does Sanding Marble Edges Compare To Polishing?
Sanding and polishing are related, but not the same. Sanding removes material, smooths chips, and evens out the edge. Polishing, on the other hand, brings out the high gloss.
I found that you need to sand first before you polish. If you try to polish a rough edge, it won’t look good. Here’s a simple comparison:
| Action | Main Purpose | Result |
|---|---|---|
| Sanding | Smooth and shape | No chips, even edge |
| Polishing | Add shine | Glossy, reflective surface |
Safety Tips I Learned The Hard Way
Sanding marble edges may seem simple, but safety is important. Here are my top tips:
- Always wear goggles and a mask. Even wet sanding creates fine particles.
- Use gloves. Marble can scratch your skin.
- Work in a well-ventilated area.
- Keep pets and kids away. The grit and water can make floors slippery.
- Don’t rush. Take your time, especially on corners.
If you feel unsure, practice on a scrap piece of marble first. I did, and it was worth the extra effort.

When Should You Call A Professional?
Some jobs are too big or risky for DIY. Here’s when I’d call a pro:
- Large cracks or deep chips
- Expensive or rare marble
- Big areas (like a whole countertop edge)
- If you want a perfect, factory finish
Hiring a professional costs more, but you avoid the risk of ruining your marble. For small edges, though, DIY sanding works well if you’re careful.
Extra Insights You Might Not Think About
Here are two things I didn’t realize until I did the job myself:
- Marble color matters. Light-colored marble hides small scratches better. Dark marble shows every mark, so you need to be extra gentle and thorough.
- Edge shape affects sanding. Straight edges are much easier to sand evenly than rounded or fancy edges. Curves need smaller pads and a lighter touch.
Also, after sanding, I found that marble is more porous and can stain if not sealed. So, after sanding, consider applying a marble sealer to protect your work.
How To Keep Your Marble Edges Looking Good
After all the work, I wanted the edges to stay nice. Here’s what worked for me:
- Wipe up spills right away, especially acidic stuff like lemon juice or vinegar.
- Clean with pH-neutral stone cleaner, not regular household sprays.
- Use coasters and cutting boards to protect the edges from chips.
- Reseal marble every 6-12 months, especially after sanding.
A bit of care goes a long way with marble.
Frequently Asked Questions
Can I Use Regular Sandpaper On Marble Edges?
No, regular sandpaper wears out fast and doesn’t work well on marble. I tried it and ended up wasting time. Diamond sanding pads are made for stone and give the best results.
How Long Does It Take To Sand Marble Edges?
For a bathroom vanity, it took me about one hour from start to finish. Bigger projects will take longer. Most of the time is spent going through the different grits.
Will Sanding Marble Edges Remove Stains?
Sanding might remove surface stains, but deep stains won’t come out. After sanding, the edge looked cleaner, but some old stains remained. For deep stains, try a marble poultice or call a pro.
Do I Need To Seal The Marble After Sanding?
Yes, sanding opens up the marble’s pores. I recommend sealing the edges after sanding to prevent water and stain damage. Use a stone sealer made for marble.
Is Sanding Marble Edges Safe For Beginners?
Yes, if you take your time and follow the steps. I had no experience before I started, but I got a good result. The key is to be gentle, use the right tools, and always work wet.
If you want more technical info or examples, you can check resources like Wikipedia’s marble page.
Sanding marble edges at home is not as scary as it sounds. With the right tools, a gentle hand, and a bit of patience, you can make your marble look beautiful again—just like I did.
As an Amazon Associate, We earn from qualifying purchases