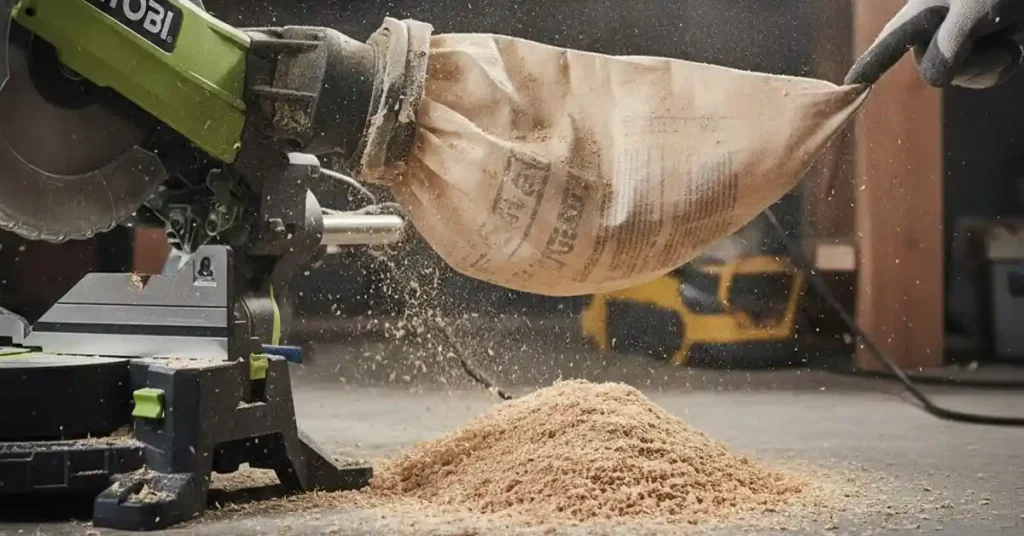
When my Ryobi miter saw dust bag was not working, dust went everywhere. It covered the floor, my shoes, and even my phone that was sitting on the bench.
Here’s what finally fixed it for me:
- Pushed the dust bag fully onto the dust port so it sealed tight
- Cleared a big dust clog in the chute behind the blade
- Cleaned out the dust bag so air could flow again
- Checked for rips and a loose collar
- Hooked up a small shop vac for better Ryobi miter saw dust collection
If your setup looks like a mini dust storm after each cut, my experience will probably feel familiar.

My Ryobi Miter Saw Dust Bag Problem
This is how I first noticed my Ryobi dust bag was not doing its job. It started as “just another project day” and turned into “why is there dust in my eyebrows?”
It was a Saturday afternoon in my garage. I had the Ryobi miter saw near the open door, cutting baseboards for a room update. The weather was nice, and I felt like a proper DIY person for once.
After ten minutes of cutting, I looked down and saw a thick ring of dust around my sneakers. I squeezed the Ryobi miter saw dust bag, and it was almost empty, which made zero sense.
The air felt dry and gritty, like I was breathing fine sand. That’s when I stopped, unplugged the saw, and said out loud, “Okay, what is wrong with this dust bag?”
What I noticed right away:
- Lots of dust on the floor and bench
- Barely any dust inside the bag
- Dust blowing back toward me when I finished cuts
Quick Fixes That Helped Right Away
These are the first things I tried when my Ryobi miter saw dust bag was not working. They were simple, but they made a real difference fast.

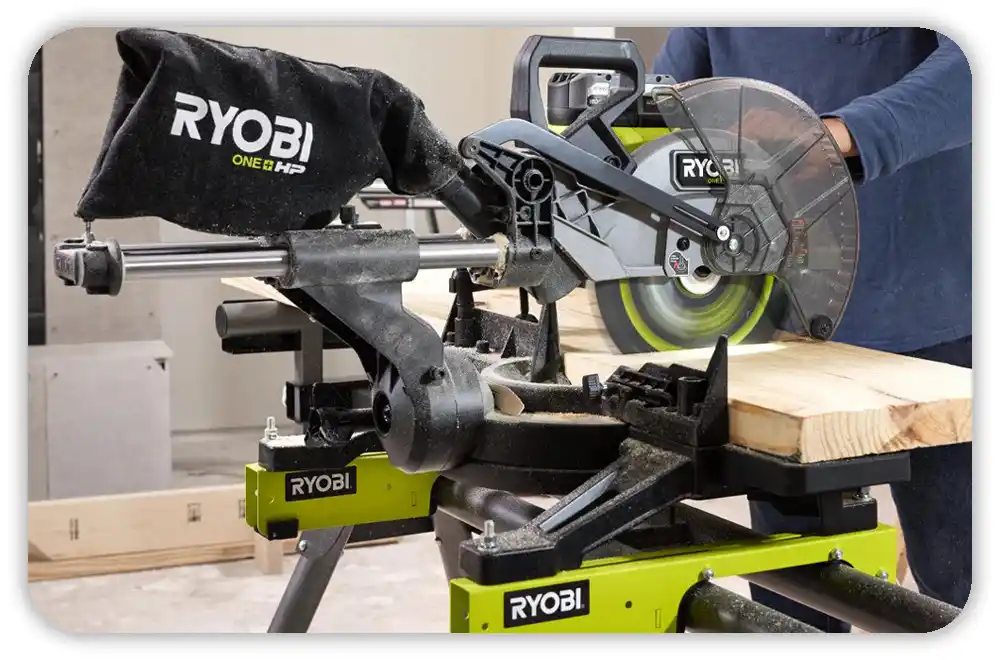
I Checked How the Dust Bag Was Attached
I started with the easy thing, because I’ve made dumb mistakes before. I looked at how the dust bag sat on the dust port at the back of the saw.
It was on the dust port, but it wasn’t tight. It sort of drooped, like it was just hanging there instead of sealed.
I pulled the bag off and wiped dust off the plastic dust port with my hand. Then I pushed the bag back on hard and twisted it a bit until it felt snug.
After that, I did a few test cuts on scrap wood. A little more sawdust went into the bag, but it still wasn’t catching as much as I expected.
I Found a Dust Clog in the Dust Port and Chute
The big “aha” moment was when I looked inside the dust port. I had the saw unplugged and the bag removed, and I shined my phone flashlight into the chute.
I saw a solid plug of packed dust and chips sitting in the chute. It looked like someone stuffed a cork made of sawdust in there.
I grabbed a small paint brush and a wooden stick from my bench. I poked at the clog with the stick until the dust plug broke apart and fell loose.
Then I brushed the walls of the chute to loosen the fine dust. I held our small shop vac hose at the dust port and sucked everything out. I could hear the pieces rattling up the hose.
When I checked again with the flashlight, the path was clear. After that, more dust finally started to reach the bag instead of blowing back into the air.
Cleaning the Ryobi Dust Bag Properly
Once the chute was open, I realized the dust bag itself was part of the problem. It looked “not full,” but the fabric felt stiff and heavy.
I took the Ryobi miter saw dust bag outside into the yard. I live in a typical U.S. neighborhood, so I walked a few steps away from the driveway so the dust wouldn’t land on our car.
I turned the bag inside out and gave it a strong shake. A big cloud of fine brown dust came out, like a smoke puff from a tiny volcano.
Then I slapped the sides of the bag several times with my hand. More dust kept falling out onto the grass, and the bag slowly started to feel lighter.
I rubbed the fabric gently between my fingers to break loose dust stuck in the weave. It felt less like a brick and more like cloth again.
After I reattached the bag and made more test cuts, dust collection improved a lot. The bag was finally doing its part instead of acting like a clogged filter.
Checking for Damage: Holes, Seams, and the Collar
With the dust bag clean, I wanted to know if it was still in good shape. A ripped bag would undo all the other work.
I held the bag up toward a bright light in the garage. I slowly turned it and checked each panel of fabric for any big rips or thin spots.
I saw tiny pinholes in the material, but that’s normal. What I was hunting for were long tears or stretched seams where dust could blow right out.
I ran my fingers along the seams to feel for gaps. Then I checked the plastic collar that slides onto the dust port to see if it was cracked or warped.
In my case, the seams were fine, and the collar was solid. So the dust bag itself was still usable. If it hadn’t been, I would have grabbed a replacement bag from a local home center or online, which is pretty easy in the USA.
When I Added a Shop Vac to My Ryobi Miter Saw
The biggest upgrade happened when I stopped relying on the dust bag alone. I connected a small shop vac to the dust port and treated it like a real dust collection system.
We already had a small wet/dry vac in the garage. We use it for car floors, spills, and random messes, which I think is pretty common in many U.S. households.
I took the bag off the dust port and tested which adapter fit best with the vac hose. One was close, so I wrapped a bit of tape around it until it fit snug and didn’t wobble.
Now, when I cut with my Ryobi miter saw, I turn on the vac first, then the saw. The sound is louder, but the dust drops fast. Most of the sawdust goes straight into the vacuum tank.
I still keep the dust bag for quick, tiny jobs when I don’t feel like dragging out the vac. But for real projects, using a shop vac with the miter saw is a huge win for dust control in a small U.S. garage.
Small Habits That Helped My Ryobi Miter Saw Dust Collection
After fixing the main problems, I noticed my own habits also affected how well the Ryobi miter saw dust bag and vac worked. These little changes helped more than I expected.
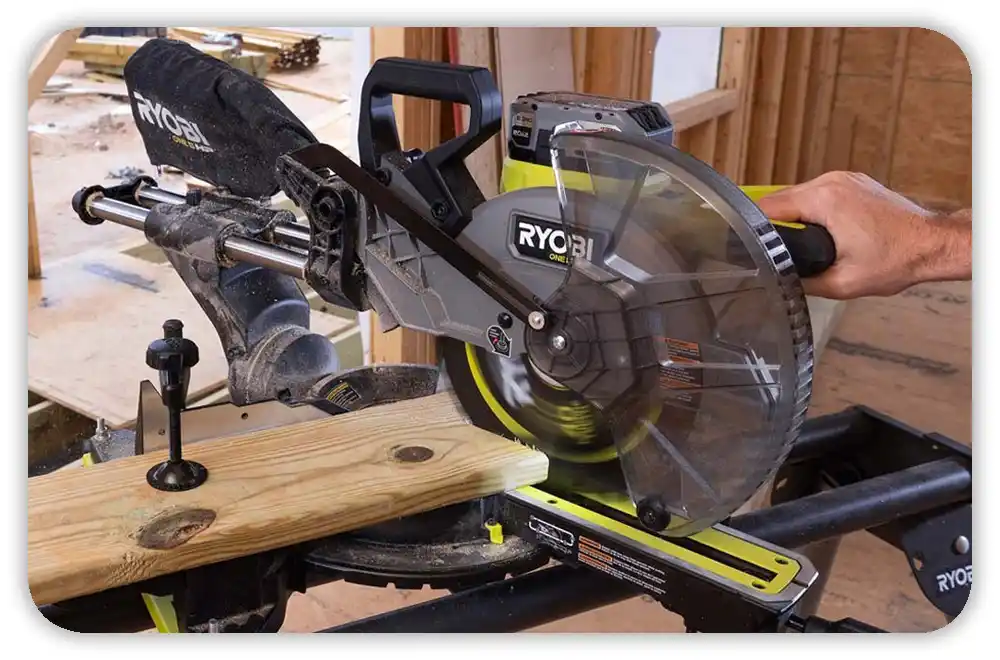
Slower, Smoother Cuts
When I slammed the blade down fast, I could see dust spray out in a wide cloud. It felt quick, but it made a mess.
Now I lower the blade in a smooth, steady motion. I let the blade cut at its own pace instead of forcing it through the wood.
I also wait for the blade to stop spinning before lifting it back up. That keeps it from throwing dust out on the way back up through the cut.
Holding the Board Firm Against the Fence
When the board was a little loose, dust shot out behind it. I would see thin jets of dust coming out the gap between the wood and the fence.
Now I press the wood firmly against the fence and the base. I keep my hands clear of the blade path, but I make sure the workpiece doesn’t move.
With less space behind the board, more dust gets pulled toward the chute and dust port. It also gives me cleaner, straighter cuts.
Cleaning Up More Often
I used to wait until the end of the day to sweep the floor. By then, the whole area around my Ryobi miter saw looked like a tan snowstorm.
Now I stop every so often and do a quick clean. I sweep or vacuum under the saw, behind it, and around the stand.
In a packed U.S. garage, this keeps dust off stored boxes, bikes, and the car. It also makes the next project feel less overwhelming.
What Worked for My Ryobi Miter Saw Dust Bag Not Working
In the end, my Ryobi miter saw dust bag not working was not one single issue. It was a mix of a loose connection, a clogged chute, a dirty bag, and my own cutting habits.
Fixing the way the dust bag attached helped a bit. Cleaning the dust port and chute helped a lot. Deep cleaning the dust bag and checking for damage made it useful again.
But the biggest improvement came when I added a shop vac to the Ryobi miter saw dust port. That turned my dusty garage into a much cleaner workspace.
Now most of the sawdust ends up in the dust bag or in the vac tank instead of on my shoes. And I’m not standing in a cloud of dust wondering why the bag is still empty.
FAQs – Ryobi Miter Saw Dust Bag Not Working
Why is my Ryobi miter saw dust bag not working well?
Your Ryobi miter saw dust bag may be loose, clogged, or full of fine dust. Check the port, clean the chute, and empty the bag to see a quick improvement.
How do I improve Ryobi miter saw dust collection in my garage?
Attach a shop vac to the dust port and seal it well. This usually collects far more dust than the stock miter saw dust bag and keeps a small U.S. garage cleaner.
How often should I empty my Ryobi miter saw dust bag?
Empty the dust bag whenever it feels half full or stiff. A lighter, softer Ryobi dust bag lets air move better and helps catch more dust while you cut.
Can I replace the Ryobi miter saw dust bag with another brand?
Yes, you can use a compatible miter saw dust bag if the collar size matches the Ryobi dust port. Check the port size and pick a bag made for that diameter.
Is it normal for some dust to escape even with the Ryobi dust bag?
Yes, some dust will always escape, even with a good Ryobi miter saw dust bag or vac. These systems reduce dust a lot, but they do not make cuts completely dust-free.