When I first started working with metal pipes, I felt a bit overwhelmed. The idea of cutting through strong metal seemed tough, almost like a job only for experts. But after a few tries (and a couple of mistakes), I realized a metal pipe cutter is much simpler to use than I thought. If you want a smooth, clean cut, using the right tool makes all the difference. In this article, I’ll walk you through everything I’ve learned about how to use a metal pipe cutter—step by step, with tips I wish someone had told me earlier.
Prime Day Pick
Limited-time Prime Day price. Check current discount on Amazon.
Why Choose A Metal Pipe Cutter?
Let me start with a quick story. The first time I tried cutting a pipe, I used a hacksaw. It took forever, and my cut was crooked. I ended up wasting a whole piece of pipe! That’s when I discovered the metal pipe cutter. This tool changed everything for me. It’s designed to cut pipes cleanly and quickly, leaving a smooth edge that’s easy to work with.
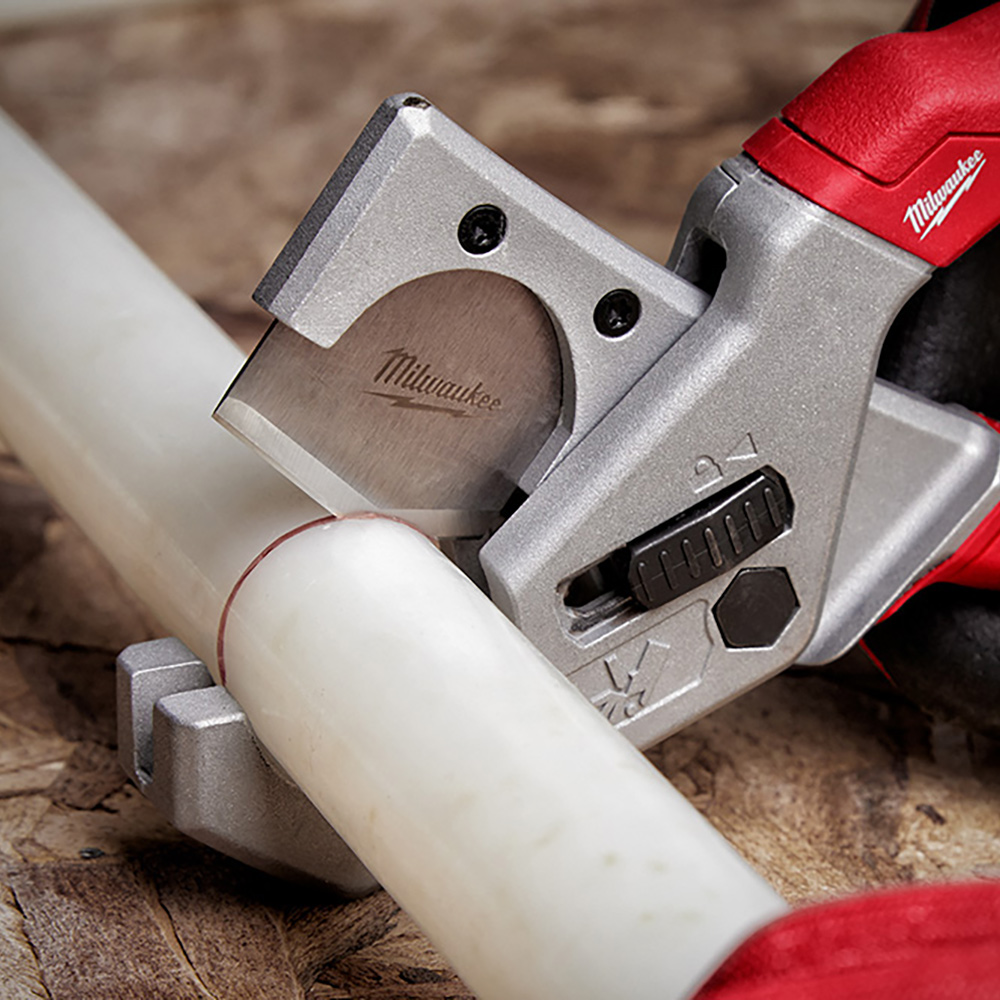
A metal pipe cutter is perfect for copper, steel, and even some plastic pipes. It’s easy to handle, doesn’t make a mess, and is much safer than swinging a saw around. If you want a professional finish, this is the tool to use.
Prime Day Pick
Limited-time Prime Day price. Check current discount on Amazon.
Types Of Metal Pipe Cutters
Over the years, I’ve tried a few different types. Here’s what I learned about the most common ones:
Prime Day Pick
Limited-time Prime Day price. Check current discount on Amazon.
| Type | Best For | Pros | Cons |
|---|---|---|---|
| Rotary Pipe Cutter | Copper, thin steel | Clean cut, easy to use | Not for thick pipes |
| Hinged Pipe Cutter | Large diameter pipes | Strong grip, fast cut | Heavier, needs space |
| Wheel-Type Cutter | Small to medium pipes | Precise, compact | Not for very hard pipes |
| Power Pipe Cutter | Industrial jobs | Quick, for big projects | Expensive, bulky |
I mostly use a rotary pipe cutter for home projects. It’s small, easy to control, and gives a perfect cut almost every time. If you’re just starting out, I recommend this type.
Tools And Supplies You’ll Need
Before you begin, gather these items. Having everything ready saves time and reduces mistakes:
- Metal pipe cutter (choose the right size for your pipe)
- Measuring tape or ruler
- Marker or pencil
- Safety goggles
- Work gloves
- Pipe reamer or file (for smoothing edges)
- Clean cloth
Sometimes, I add a small brush to clean the pipe before cutting. It helps the cutter grip better.
Safety First: Protect Yourself
Cutting metal pipes isn’t dangerous if you’re careful. But I learned the hard way—tiny metal shavings can get in your eyes, and sharp edges can cut your skin. Here’s what I do every time:
- Wear safety goggles to keep your eyes safe.
- Put on gloves so your hands don’t get cut.
- Work in a well-lit space so you can see clearly.
- Keep your workspace clean to avoid slips or mistakes.
Never rush. Even if you’re in a hurry, take a moment to check everything before you start.

Step-by-step Guide: Using A Metal Pipe Cutter
Here comes the heart of the process. I’ll break it down into simple steps, just like I do when teaching friends or family.
1. Measure And Mark The Pipe
First, decide where you want to cut. Use your tape measure to get the right length, then mark the spot with a marker. I always double-check my measurement. It’s easy to make a mistake, and once you cut, you can’t go back.
2. Secure The Pipe
A stable pipe is easier and safer to cut. If you have a vice, use it to hold the pipe steady. If not, just hold it firmly on a flat surface. Make sure the marked spot is easy to see.
3. Place The Cutter On The Mark
Open your metal pipe cutter and position its cutting wheel right over your mark. Tighten the cutter so it grips the pipe, but don’t overdo it—too tight and you might squash the pipe.
4. Rotate The Cutter
Now, turn the cutter around the pipe. With each full turn, tighten the knob a little more. The wheel should bite into the metal, but not jam. I usually do this slowly and listen for a light “scratching” sound. That tells me the cutter is working.
5. Complete The Cut
After several turns (sometimes 10 or more), the pipe will break cleanly. Remove the cutter, and you’ll see a neat, even edge. If you rush or tighten too much, the cut might be rough. Take your time.
6. Deburr The Edge
This is a step many people skip, but it’s important. The inside of the pipe will have a sharp edge, called a “burr.” Use a pipe reamer or a file to smooth it out. This prevents leaks and makes fitting pipes together much easier.
7. Clean The Pipe
Wipe off any metal shavings with a clean cloth. A clean pipe is safer to handle and easier to connect.
Common Mistakes And How To Avoid Them
When I first learned, I made almost every mistake possible. Here are the big ones, and how to prevent them:
- Cutting too fast: Going slow gives you a cleaner cut.
- Not tightening the cutter enough: If the wheel slips, your cut won’t be straight.
- Forgetting to deburr: Skipping this step can cause leaks in plumbing.
- Using the wrong cutter: Make sure your cutter matches the pipe’s size and material.
One thing I learned the hard way: always double-check your measurements. Cutting a pipe too short means you might have to start all over.
How Pipe Cutters Compare To Other Tools
I used to think all cutting tools were the same. But after using hacksaws, power tools, and pipe cutters, I noticed big differences.
Here’s a simple comparison:
| Tool | Cut Quality | Speed | Safety | Noise |
|---|---|---|---|---|
| Pipe Cutter | Very clean | Fast | High | Low |
| Hacksaw | Rough | Slow | Medium | High |
| Angle Grinder | Clean but hot | Very fast | Low | High |
| Reciprocating Saw | Rough | Fast | Medium | Medium |
Pipe cutters are my favorite for indoor work. They don’t make sparks, and you don’t need ear protection. Plus, the edges are much cleaner.
Choosing The Right Metal Pipe Cutter
There are many options, and I’ve tried a few. Here’s how I pick the best one for the job:
- Pipe size: Use a small cutter for narrow pipes (like copper water lines). For large pipes, pick a hinged or power cutter.
- Material: Soft metals like copper and aluminum cut easily. For steel, make sure your cutter is rated for it.
- Cutting location: In tight spots, a compact cutter works best.
- Frequency of use: If you cut pipes often, invest in a durable model.
Don’t be afraid to ask for advice at your local hardware store. That’s how I found my favorite brand.
Maintenance And Storage Tips
A good pipe cutter can last many years if you take care of it. Here’s what I do after every project:
- Wipe the tool clean to remove metal dust.
- Check the cutting wheel for dullness or chips.
- Apply a drop of oil to the moving parts.
- Store it in a dry place to avoid rust.
Every few months, I check all screws and moving parts. A well-maintained cutter always gives a better result.
My Top Tips For Beginners
Looking back, I wish someone had given me these tips before I started:
- Practice on scrap pipe before your real project.
- Never force the cutter; let the tool do the work.
- Always deburr after cutting, even if the edge looks smooth.
- Keep extra cutting wheels on hand—they do wear out.
- Clean up your work area after finishing.
And here’s a non-obvious tip: if your pipe is painted or dirty, clean it first. Dirt or paint can jam the cutter and ruin your cut.
Extra Insights Most People Miss
After many projects, I noticed a few things beginners often overlook:
- Pipe composition matters: Some pipes have a thin plastic lining. Always check, because a cutter designed for metal might damage the lining.
- Temperature can affect cutting: Cold metal is harder and can crack if you force the cutter. If you’re working in a cold place, let the pipe warm up a bit first.
These small details can save you a lot of trouble.
When Not To Use A Pipe Cutter
While I love my pipe cutter, it’s not always the best tool. For example, if the pipe is very thick or made of extra-hard steel, a saw or grinder might be better. Also, if the pipe is in a tight space where you can’t rotate the cutter, you’ll need a different approach.
Where To Learn More
If you’re curious about the science behind these tools, or want to see more types, check out this Wikipedia page on pipe cutters. It’s a good read if you like details.
Frequently Asked Questions
How Do I Know Which Pipe Cutter To Use?
I look at the pipe’s size and material. Small copper pipes need a compact rotary cutter. For bigger or tougher pipes, I use a hinged or power cutter. Always check the tool’s label for what it can handle.
Can I Use A Pipe Cutter On Plastic Pipes?
Yes, but only if the cutter is designed for plastic. Metal pipe cutters can crack or crush thin plastic pipes. I keep a separate cutter just for plastic jobs.
Why Is My Cutter Not Making A Clean Cut?
This usually means the cutting wheel is dull or you’re not tightening the tool enough as you turn. Change the wheel or tighten a bit more after each turn, but don’t force it.
Is Deburring Really Necessary?
Yes! Even if the edge looks smooth, there are often tiny burrs inside. These can block water flow or damage fittings. I always use a reamer or file after every cut.
What If I Don’t Have A Pipe Cutter?
You can use a hacksaw, but the cut will be rougher and take longer. If you do, use sandpaper or a file to smooth the edge. But honestly, a good pipe cutter is worth every penny.
Cutting metal pipes can seem tricky at first, but with the right tool and these tips, you’ll get great results. Start slow, practice, and soon you’ll be making pro-level cuts every time.

As an Amazon Associate, We earn from qualifying purchases