Spooling a string trimmer used to confuse me. The first time I tried, I ended up with a big mess—knots everywhere and a line that kept breaking. Over time, though, I figured out a system that works every time. If you’ve ever struggled with tangled lines or a trimmer that just won’t feed, I know how frustrating it feels.
In this article, I’ll walk you through exactly how I do it now, step by step. I’ll share the mistakes I made, the things I wish I knew earlier, and tips you won’t find in most guides. Let’s make spooling your string trimmer easy—even if you’re new to this.
Why Proper Spooling Matters
Before I learned the right way, I’d reload the line in a hurry. The trimmer would work for a few minutes, then the line would jam or snap. I’d spend more time fixing it than trimming the grass. I realized that proper spooling means:
- The trimmer line feeds smoothly
- The line lasts longer (saving money)
- The motor doesn’t overheat from jams
- You get a clean, even cut
When you get it right, you’ll notice the difference. I now finish my yard much faster, and my hands don’t hurt from fighting the tool.
Know Your String Trimmer
Not all string trimmers are the same. The first step is understanding what kind you have. When I bought my first trimmer, I didn’t realize there were differences. I once grabbed the wrong line type, and it wouldn’t fit at all.
Main Types
- Single-line trimmer: One line comes out of the head. Simpler to spool.
- Dual-line trimmer: Two lines feed out, either from the same hole or separate holes.
- Bump feed: You tap the head on the ground to release more line.
- Automatic feed: The machine feeds the line for you—less common but easy to use.
Tip: Check your user manual. It tells you the exact line size and type. Using the wrong one can break the trimmer.
What You’ll Need
I like to gather everything before I start. That way, I’m not running back and forth. Here’s my simple list:
- Replacement trimmer line (the right size and shape)
- Scissors or a sharp knife
- Work gloves (to protect your hands)
- Clean rag (to wipe off dirt)
- User manual (if you have it)
I also keep a small brush handy to clean out any old grass or debris.
Removing The Spool
Getting the spool out can be tricky the first time. I remember being afraid I’d break something. Most trimmers have a cap you press and twist. Some need you to squeeze tabs. Here’s what works for me:
- Unplug the trimmer or remove the battery. Safety first.
- Flip the trimmer over so you can see the head.
- Press the tabs or twist the cap (usually counterclockwise).
- Lift off the cap and gently pull out the spool.
If it’s stuck, don’t force it. I once cracked a cap by pushing too hard. Instead, wipe away dirt and try again gently.

Choosing The Right Trimmer Line
Not all lines are the same. I learned this the hard way. One summer, I bought a cheap line, and it kept breaking on thick weeds. Here’s what matters:
Shape
- Round line: Good for grass. Lasts longer.
- Twisted line: Cuts weeds better. Less noise.
- Square or star-shaped: Best for tough, woody weeds.
Size
Most home trimmers use .065 inch or .080 inch line. Heavy-duty trimmers use .095 inch or more. Your manual will list the size.
Material
Nylon is standard. Reinforced or commercial-grade lines last longer but cost more.
Non-obvious insight: Using thicker line than recommended can burn out your trimmer motor. I made this mistake once, and the tool got very hot.
How Much Line To Use
I used to just guess how much line to cut. Sometimes I’d run out halfway through. Now I measure. Most spools hold 10 to 20 feet of line. Check your manual, but if you’re not sure, start with 15 feet for a single-line and 10 feet each for a dual-line.
Tip: If you use too much, the line can jam. Too little, and you’ll have to stop to reload.
Winding The Line: My Step-by-step Guide
After many tries, I found this method works best for both single and dual-line trimmers. Let’s break it down.
1. Clean The Spool
Use your rag or brush to clean any old debris. Dirt can cause jams. I once skipped this and had to start over because the line wouldn’t feed.
2. Find The Starter Hole
Look for a small hole or slot in the spool. This is where you’ll anchor the line. Push about 1/4 inch of line into this hole.
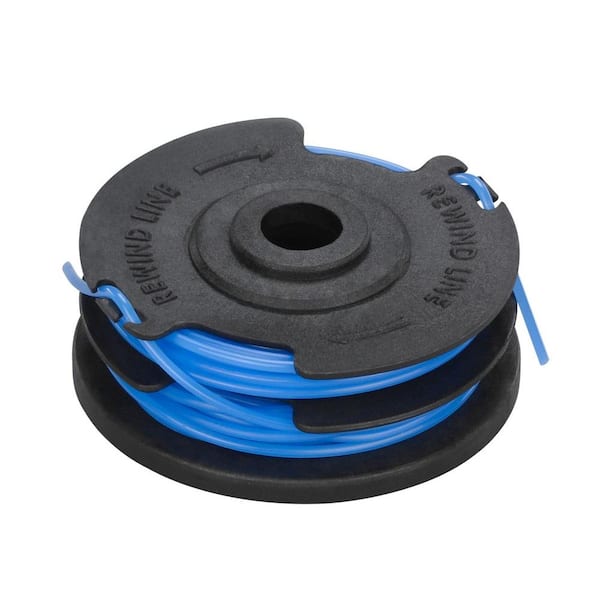
3. Wind The Line Tightly
This part is key. Wind in the direction of the arrow on the spool. If there’s no arrow, check your manual. If you wind backward, the line will fly out.
- Keep the line tight and even.
- Don’t cross over layers.
- Leave 5-6 inches unspooled at the end.
I pinch the line between my thumb and finger to keep it taut.
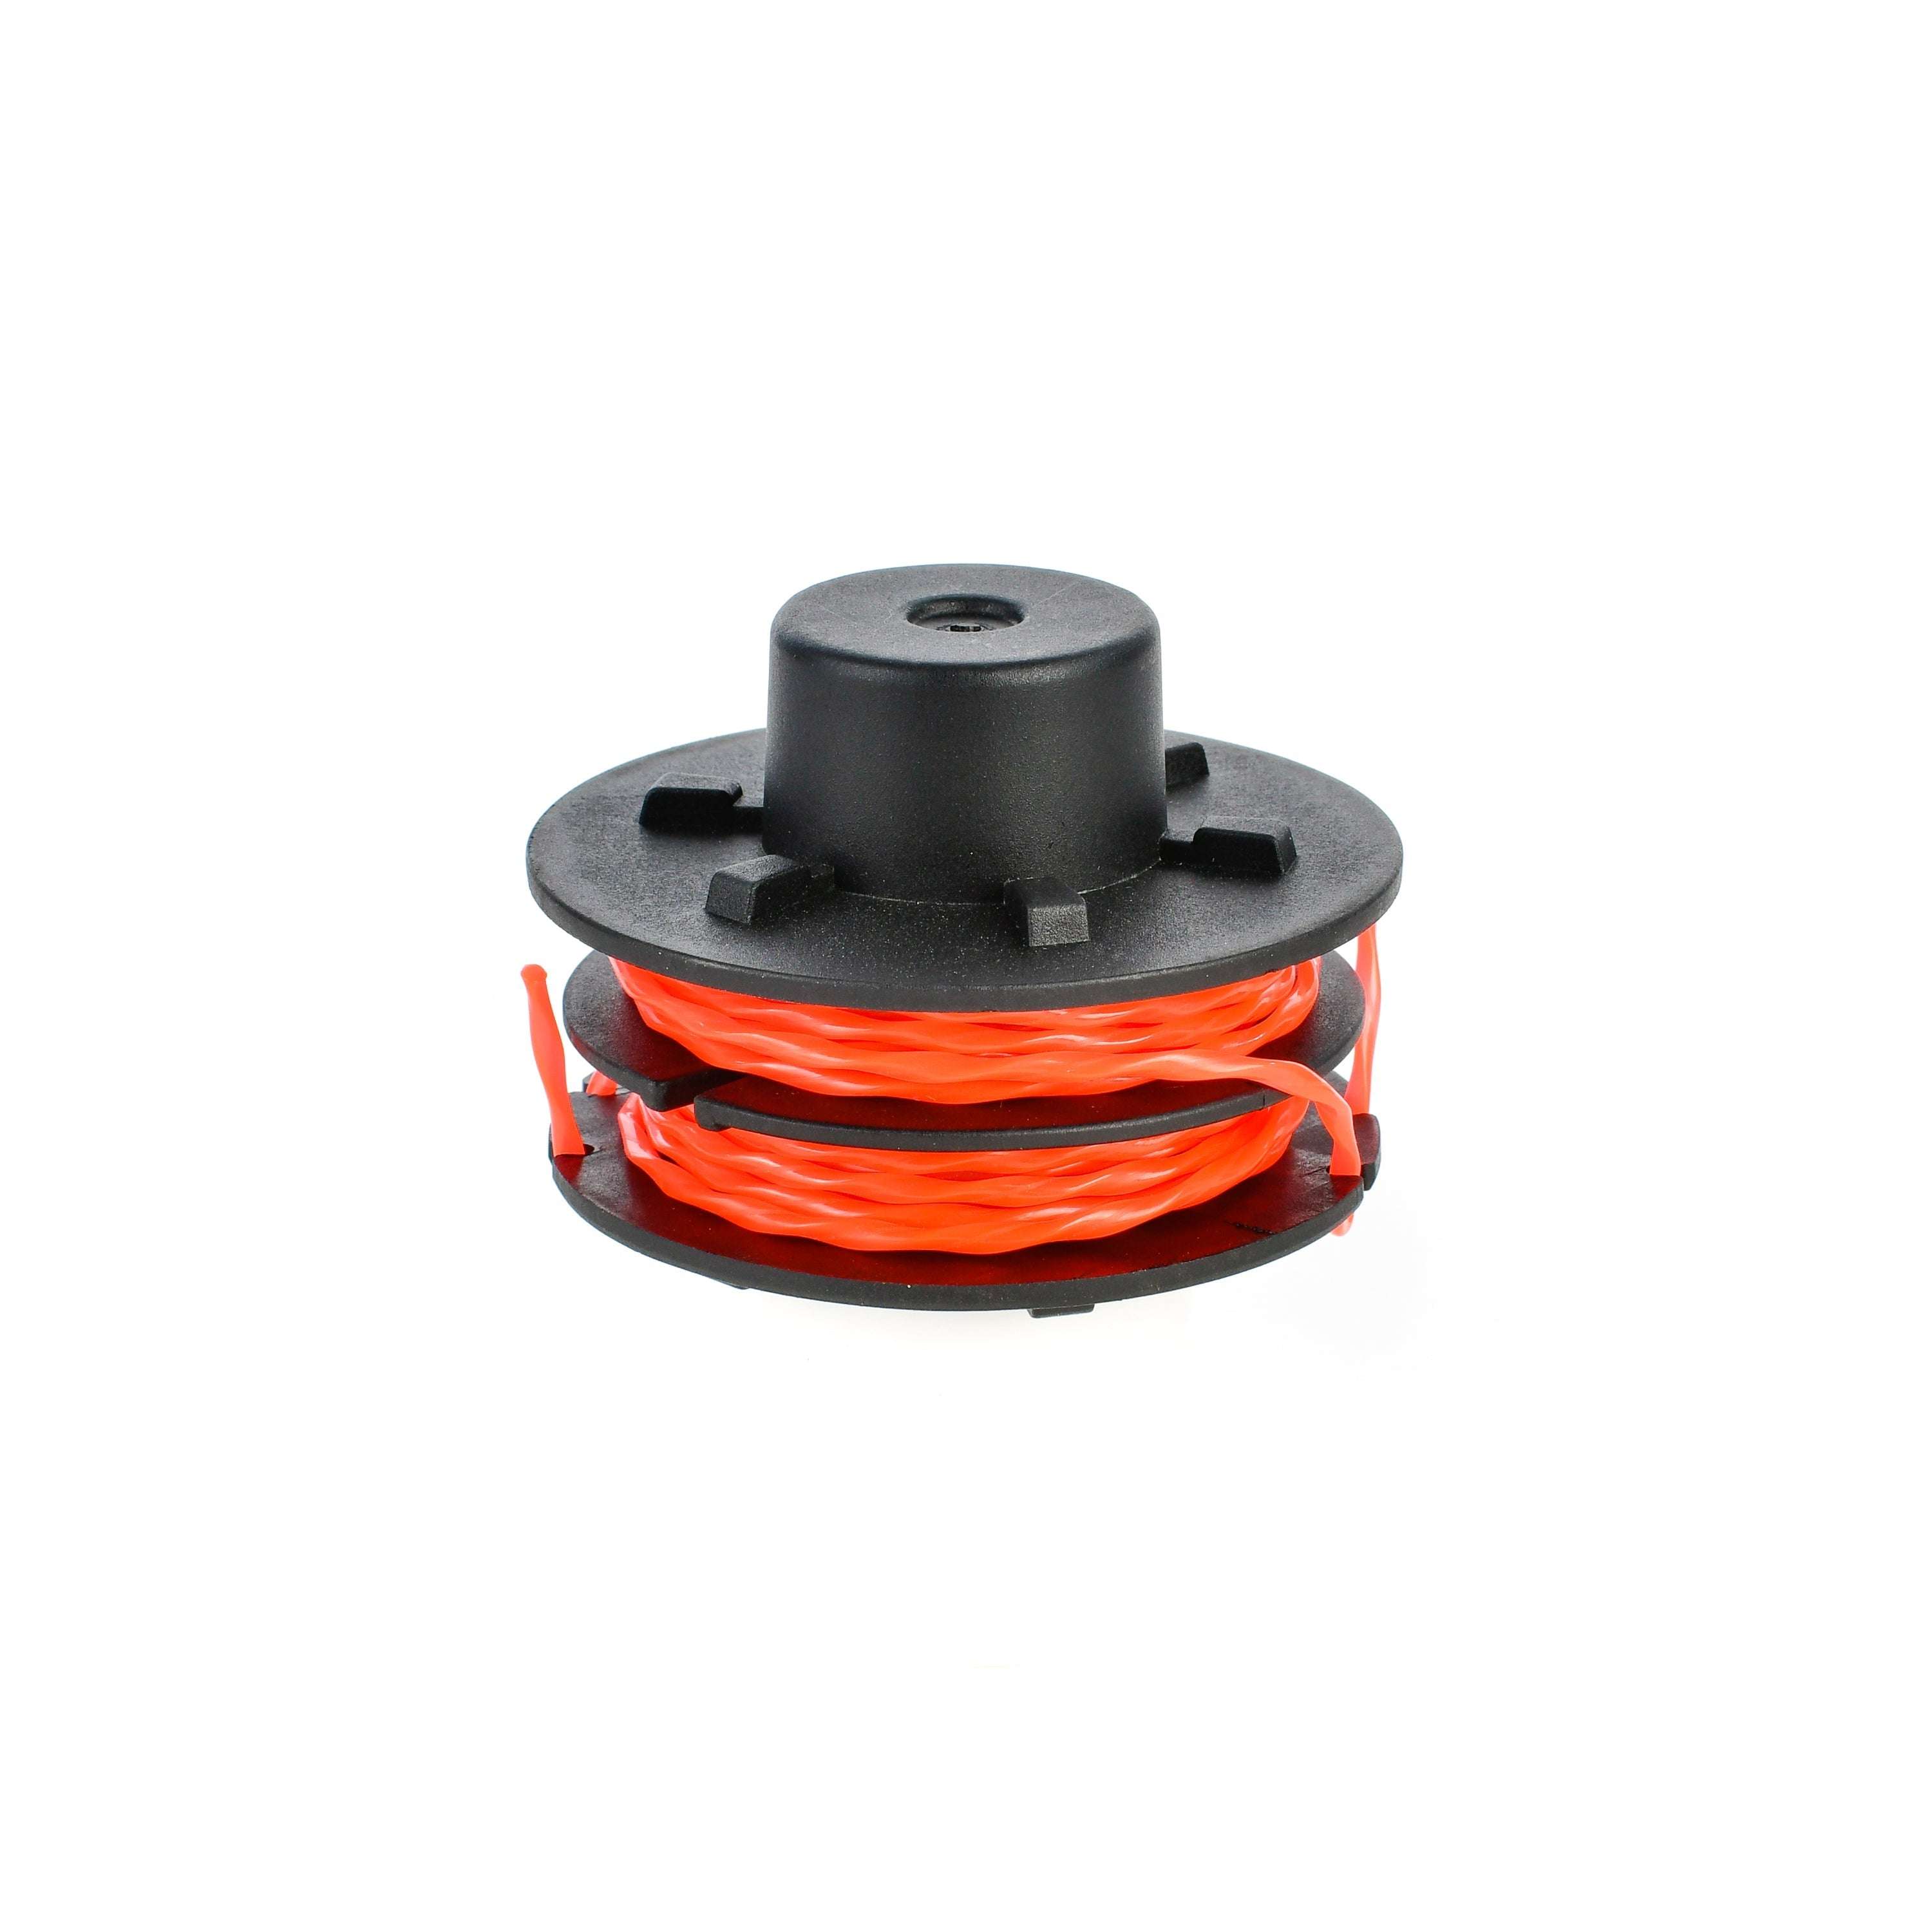
4. For Dual-line Spools
You’ll need to cut two equal lengths. Start each in its own slot, and wind in opposite directions if the spool is split. Follow the arrows. This took me a few tries to get right.
5. Secure The Ends
Most spools have small notches to hold the line ends. Slip each end into a notch to keep things in place.
6. Replace The Spool
Feed the loose ends through the eyelets or holes in the trimmer head. Then gently set the spool back in. Make sure the lines don’t pop out.
7. Close The Cap
Twist or snap the cap back on. Tug each line gently to make sure it feeds smoothly.
Non-obvious insight: If the line is wound too loosely, it can slip under itself and jam. If it’s too tight, it can stretch and break. Aim for snug, even tension.
Common Mistakes To Avoid
I made almost all of these at some point. Knowing them will save you time and trouble.
- Winding the wrong way: Always follow the arrow.
- Crossing lines: This causes jams and poor feeding.
- Overfilling the spool: Leads to tangles or stuck caps.
- Using old, brittle line: If your line is over a year old, it may snap easily. I store mine in a sealed bag.
- Forcing the cap back on: If it won’t go, double-check that the line isn’t blocking it.
Tips For A Smooth Trimming Experience
Over the years, I picked up a few tricks that make a big difference.
- Soak old line in water for 24 hours before use. This keeps it flexible and less likely to snap.
- Wear gloves if you have sensitive skin. Trimmer line can be rough.
- Keep extra pre-cut lines in your pocket if your yard is big.
- Check the head for cracks before reassembling. Damage can cause dangerous breakage.
- Lubricate the moving parts with a little spray if they feel stiff.
When To Replace The Trimmer Head
If you notice the head won’t hold the line, or it’s cracked, it might be time for a new one. I replaced mine after five years. It made feeding much easier. Some heads are universal, but always check if it fits your model.
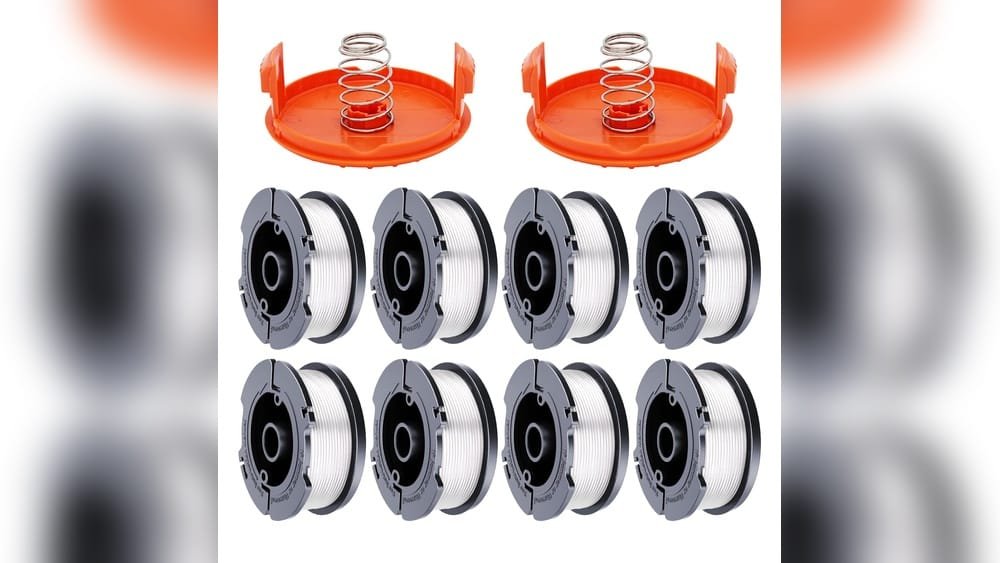
Manual Vs. Pre-wound Spools
I used pre-wound spools for a while. They’re fast but cost more. Winding by hand takes a few minutes but saves money. If you have shaky hands, pre-wound might be worth it.
Here’s a quick look at both options:
| Type | Pros | Cons |
|---|---|---|
| Manual winding | Cheaper, easy to customize, always available | Takes time, can tangle if not careful |
| Pre-wound spools | Fast, mess-free, convenient | More expensive, less flexible, not always in stock |
I now keep both on hand, just in case.
How Long Does A Spool Last?
In my yard (about 1/4 acre), a fresh spool lasts about 2-3 trimming sessions if I avoid thick weeds. Heavy use or hitting rocks shortens the life.
| Yard Size | Average Spool Life | Notes |
|---|---|---|
| Small (<1/8 acre) | 3-4 uses | Mostly grass, few obstacles |
| Medium (1/4 acre) | 2-3 uses | Some weeds, edges, light rocks |
| Large (1/2 acre+) | 1-2 uses | Many weeds, fences, heavy use |
If you notice the line getting shorter fast, check for rough surfaces or metal that may be wearing it down.
Safe Disposal Of Old Line And Spools
Don’t just toss used line in the trash. I cut mine into short pieces before throwing it away. This keeps wildlife safe. Check if your local area recycles nylon—some do.
Troubleshooting: What If The Line Won’t Feed?
Sometimes, even when you do everything right, the line won’t feed. Here’s how I fix it:
- Check for tangles under the cap.
- Make sure the line isn’t too thick for your trimmer.
- Look for dirt or grass stuck in the eyelets.
- Try bumping the head (if it’s a bump feed) on flat ground.
If none of these work, I open the head and rewind the line from scratch.
Quick Reference: Spooling Steps
I keep these steps on a card in my tool shed for easy reminders:
- Unplug trimmer/remove battery
- Remove cap and spool
- Cut correct length of line
- Insert line into starter hole
- Wind tightly, following arrow
- Secure ends in notches
- Feed ends through eyelets
- Replace spool and cap
- Test line feed
Where To Learn More
If you want more details, check your trimmer’s manual or look at resources like the Wikipedia page on string trimmers. They cover advanced topics, like specialty lines and repairs.
Frequently Asked Questions
How Often Should I Replace The Trimmer Line?
It depends on your yard and how much you use it. For me, in a medium-sized yard, I replace the line every 2-3 sessions. If you hit lots of rocks or trim thick weeds, you’ll need to replace it more often.
Why Does My Line Keep Breaking?
This usually means the line is too old, too thin, or you’re hitting hard surfaces. Make sure you use the right size for your trimmer, and avoid hitting fences or rocks.
Can I Use Any Brand Of Trimmer Line?
Most brands work, but always match the size and shape to your trimmer’s needs. Some high-end trimmers need special lines. Check your manual to be sure.
Is It Safe To Wind The Line Tighter For More Line On The Spool?
No, winding too tight can stretch and weaken the line. It’s better to wind snugly but not so tight that it digs into itself.
What Should I Do If The Line Gets Stuck Inside The Head?
Take the head apart and check for tangles. Remove all line and rewind it carefully. If it keeps happening, check for cracks or rough spots in the spool.
Spooling a string trimmer can feel tricky at first, but with practice, it becomes second nature. I used to dread this chore, but now it’s just another quick part of keeping my yard looking sharp. With the steps and tips above, you’ll be back to trimming in no time—no more tangles, jams, or wasted afternoons.
As an Amazon Associate, We earn from qualifying purchases