When I first picked up a Dremel tool to sharpen my kitchen knives, I felt both excited and a little nervous. I’ve always loved cooking, but my knives were getting dull and I didn’t want to ruin them. I knew some people sharpen knives with stones or pull-through sharpeners, but I was curious about using my Dremel. If you’re like me, you might wonder: Is it safe? Is it hard? Will it actually make your knife sharp? After many tries (and a few mistakes), I’ve learned a lot. I want to share everything I know so you can sharpen your knife with a Dremel safely, easily, and confidently.
Why Use A Dremel To Sharpen Knives?
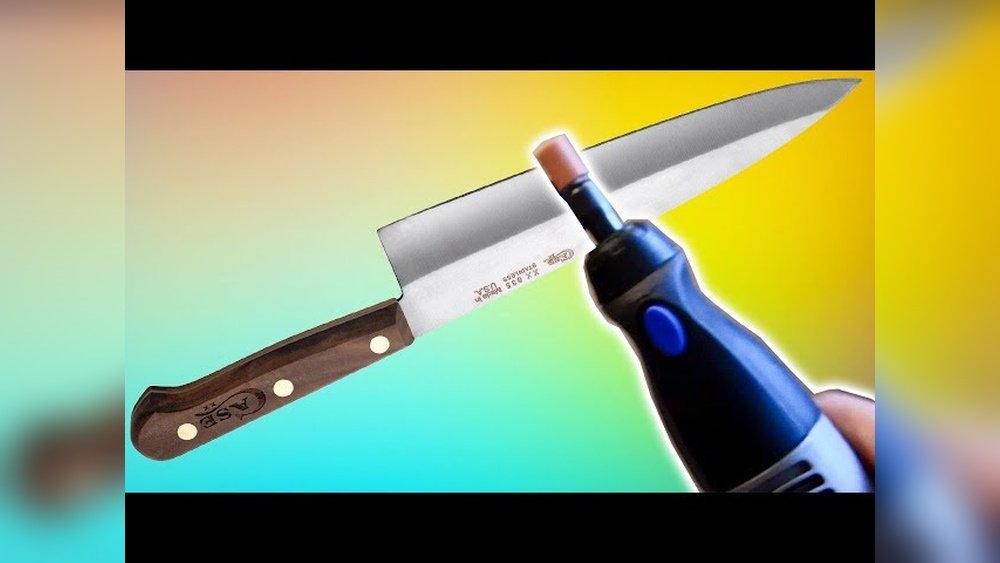
I started with a Dremel because I already had one at home. These rotary tools are small but powerful. With the right attachment, you can do many things—cutting, grinding, polishing, and yes, sharpening. For me, the big reasons were:
- Speed: You can sharpen a knife in just a few minutes.
- Precision: The small grinding stone lets you focus on just the edge.
- Convenience: No need to buy extra sharpening stones or tools.
But I also learned you need to be careful. The Dremel works fast, which means you can make mistakes fast too. It’s not as forgiving as a slow sharpening stone. That’s why it’s important to learn the right steps.
What You Need To Sharpen A Knife With A Dremel
Before I started, I made sure I had everything ready. Here’s what I use each time:
- Dremel rotary tool (any basic model works)
- Grinding stone attachment (aluminum oxide works best for steel knives)
- Safety glasses (bits of metal can fly off)
- Work gloves (optional, but helps your grip)
- Clamp or vice (to hold the knife steady)
- Damp cloth or sponge (to cool the blade)
- Permanent marker (to mark the edge if you want)
- Clean towel (for wiping when done)
Some people skip the marker, but I’ll explain why I use it. It helps track your sharpening angle and see where the Dremel is removing metal.

Getting To Know Your Dremel And Attachments
The first time I used my Dremel, I was a bit overwhelmed by all the attachments. For knife sharpening, you only need a few:
| Attachment | Purpose | Notes |
|---|---|---|
| Aluminum Oxide Grinding Stone | Sharpening steel knives | Most common, comes in various sizes |
| Silicon Carbide Stone | Sharpening softer metals or ceramic | Not for most kitchen knives |
| Polishing Wheel | Finishing and smoothing edge | Optional, for extra shine |
I always use the aluminum oxide stone for my kitchen knives. It lasts a long time and removes metal evenly.
Step-by-step: How I Sharpen A Knife With My Dremel
I want to walk you through exactly what I do, step by step. It’s not hard if you go slow and pay attention.
1. Clean And Inspect The Knife
First, I wash the knife with soap and water. I dry it well. I check for chips or dents in the blade. If there are big chips, I may need to use a coarser stone first. But for normal dullness, the regular grinding stone is enough.
2. Mark The Edge With A Marker (optional)
I use a black permanent marker to color the knife’s edge. Why? When I run the Dremel over the edge, I can see if I’m grinding at the right angle. The color disappears where the stone touches metal. If the color stays, I need to adjust my angle. It’s a simple trick, but it helps a lot—especially for beginners.
3. Secure The Knife
This is so important. I always put my knife in a clamp or vice. I want both hands free—one for the Dremel, one to steady myself. If the knife moves, you could slip and hurt yourself or damage the blade.
4. Attach The Right Grinding Stone
I put the aluminum oxide stone on my Dremel and make sure it’s tight. I start with a medium grit (like the orange or brown stones) for dull knives. For touch-ups, a finer grit works. I avoid the very coarse stones unless the blade is badly damaged.
5. Set The Dremel Speed
I learned the hard way—don’t use the highest speed. I usually set my Dremel to 5,000-8,000 RPM. High speed can overheat the blade and ruin its temper. If the knife gets too hot, it gets soft and loses its edge fast.
6. Find The Right Sharpening Angle
Most kitchen knives have a 15-20 degree angle on each side. I try to match the existing angle. To check, I hold the Dremel so the stone sits flat against the edge. You don’t need to measure exactly, but try to stay consistent as you move along the blade.
Here’s a quick comparison of common sharpening angles:
| Knife Type | Typical Angle | Edge Sharpness |
|---|---|---|
| Kitchen/Chef’s Knife | 15-20° | Very sharp, good for slicing |
| Pocket Knife | 20-25° | Strong, holds edge longer |
| Cleaver/Heavy Duty | 25-30° | Tough, less sharp |
7. Start Sharpening
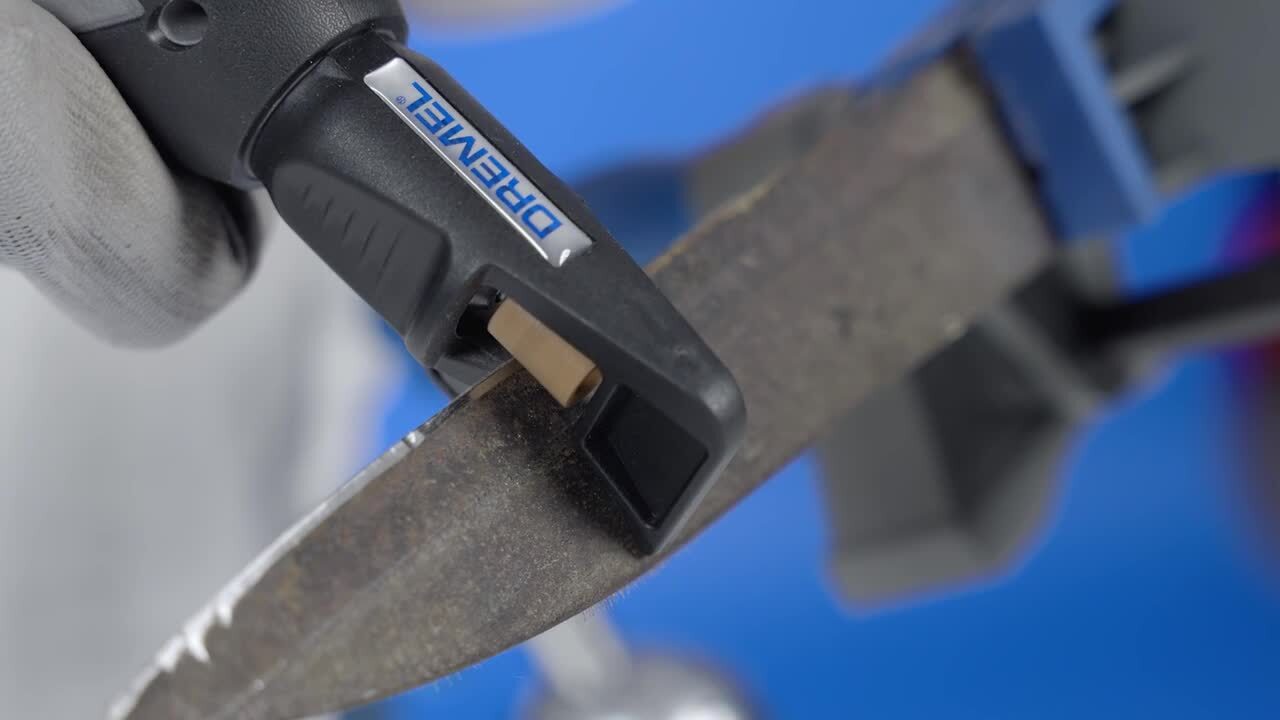
Now for the fun part. I turn on the Dremel and gently touch the grinding stone to the edge. I move the stone along the edge, from heel to tip, in one smooth motion. I use very light pressure—let the tool do the work.
If you push hard, you’ll remove too much metal or create uneven spots.
I do one or two passes on one side, then flip the knife over and repeat on the other side. I check the edge often. If the metal looks shiny and the marker is gone, I know I’m hitting the right angle.
8. Keep The Blade Cool
This is a step many people skip. The Dremel makes heat fast. If the blade gets too hot, it can turn blue—that means the metal is softening. I keep a damp cloth nearby and touch the blade to it after every few passes. Sometimes I even dip the knife in water for a second. This keeps the temper strong and the edge sharp.
9. Test The Edge
After a few passes, I wipe the blade with a towel and check sharpness. I use the classic paper test—hold a sheet of paper and slice. If the knife cuts clean, you’re done. If it tears or drags, do another pass or two. It’s easy to overdo it, so I check often.
10. Polish (optional)
If you want a mirror finish, switch to a polishing wheel with a little polishing compound. I run the Dremel along the edge gently—this removes burrs and makes the edge shine. I don’t always do this, but it does make the knife look professional.
Common Mistakes I Made (and How To Avoid Them)
When I started, I made a few rookie mistakes. Here’s what I wish I knew from the start:
- Using Too Much Pressure: The Dremel is fast. Pushing hard will grind away too much metal and ruin the shape of your knife. Use a light touch.
- Sharpening at the Wrong Angle: If you change the angle too much, you make a new bevel that’s hard to keep sharp. Try to match the original angle.
- Letting the Blade Overheat: If the blade turns blue, you’ve damaged the steel. Always cool it with a damp cloth.
- Not Clamping the Knife: Working with your hand alone is risky and uneven. Always use a clamp or vice for safety and consistency.
- Skipping the Marker Trick: Without marking the edge, it’s hard to see if you’re grinding where you want. The marker makes it easy to stay on track.
When Not To Use A Dremel
I’ve learned that a Dremel is not right for every knife. For very expensive or Japanese knives, I prefer a whetstone or send them to a pro. The Dremel removes metal fast, and it’s easy to take off too much. For old, rusty, or damaged knives, the Dremel is great. For delicate or high-end blades, go slow or use a gentler method.
Safety Tips I Always Follow
Working with power tools means taking safety seriously. Here’s what I always do:
- Wear safety glasses. Tiny bits of metal can fly up.
- Work in a well-lit, clean area.
- Never rush. Go slow and steady.
- Keep kids and pets away from your workspace.
- Always unplug your Dremel when changing attachments.
These steps sound simple, but they make a big difference.
How Dremel Sharpening Compares To Other Methods
I’ve used stones, pull-through sharpeners, and even sent knives to professionals. Here’s how a Dremel compares, based on my experience:
| Method | Speed | Skill Needed | Best For |
|---|---|---|---|
| Dremel Tool | Very Fast | Medium | Quick sharpening, damaged knives |
| Sharpening Stone | Slow | High | High-end knives, fine edges |
| Pull-Through Sharpener | Very Fast | Low | Quick touch-ups, not for repairs |
| Professional Service | Slow (days) | None | Expensive knives, precision |
For me, the Dremel is my go-to for quick fixes or old knives I don’t mind experimenting with. For my favorite chef’s knife, I still use a stone when I want a perfect edge.

Two Insights Beginners Usually Miss
Based on my experience, here are two things I wish someone had told me early on:
- You can remove too much metal quickly: The Dremel is powerful. If you’re not careful, you’ll shorten the life of your knife. Always check the edge after each pass and stop once it’s sharp. More grinding doesn’t always mean a better edge.
- Burrs are easy to miss: After sharpening one side, a tiny metal burr often forms on the other side. If you don’t remove it, the knife will feel sharp but won’t stay sharp. After each side, I run the Dremel lightly on the other side or use a honing rod to knock off burrs.
Final Thoughts
Using a Dremel to sharpen a knife changed the way I care for my kitchen tools. It’s fast, fun, and pretty easy once you get the hang of it. But it’s not a tool to rush with—always go slow, use light pressure, and keep safety in mind.
I’ve brought old, rusty knives back to life with my Dremel, and I feel much more confident in the kitchen now.
If you want to see more about Dremel tools and sharpening, check out Dremel’s Wikipedia page. It’s packed with info.
Remember, practice makes perfect. The more you sharpen, the better you’ll get at holding the right angle and knowing when to stop. Don’t be afraid to start with an old knife. Once you see how sharp you can get it, you’ll never go back to dull blades again.
Frequently Asked Questions
How Often Should I Sharpen My Knife With A Dremel?
I usually sharpen my everyday kitchen knife every 2-3 months. If you cook a lot or use your knife on hard surfaces, you may need to sharpen more often. Always check the edge before sharpening—sometimes just a quick hone is enough.
Can I Ruin My Knife With A Dremel?
Yes, if you use too much pressure, sharpen at the wrong angle, or let the blade overheat, you can damage your knife. That’s why I always go slow, check my progress often, and keep the blade cool with a damp cloth.
What Type Of Dremel Attachment Should I Use For Knife Sharpening?
I use an aluminum oxide grinding stone for most steel knives. For softer metals, a silicon carbide stone works. Always pick the right grit—medium for dull blades, fine for touch-ups.
Is A Dremel Better Than A Sharpening Stone?
It depends on your knife and skill level. The Dremel is much faster and great for repairs or quick sharpening. A sharpening stone gives a finer edge and is safer for expensive knives. I use both, depending on the knife.
Can I Use A Dremel To Sharpen Serrated Knives?
I don’t recommend it for most serrated knives. The Dremel can ruin the teeth. Serrated knives need a special rod or a professional sharpener. If you must, use a small, pointed grinding stone and work slowly on each groove.
If you have any more questions about sharpening knives with a Dremel, feel free to ask! I’m always happy to share what I’ve learned from my own kitchen adventures.
As an Amazon Associate, We earn from qualifying purchases