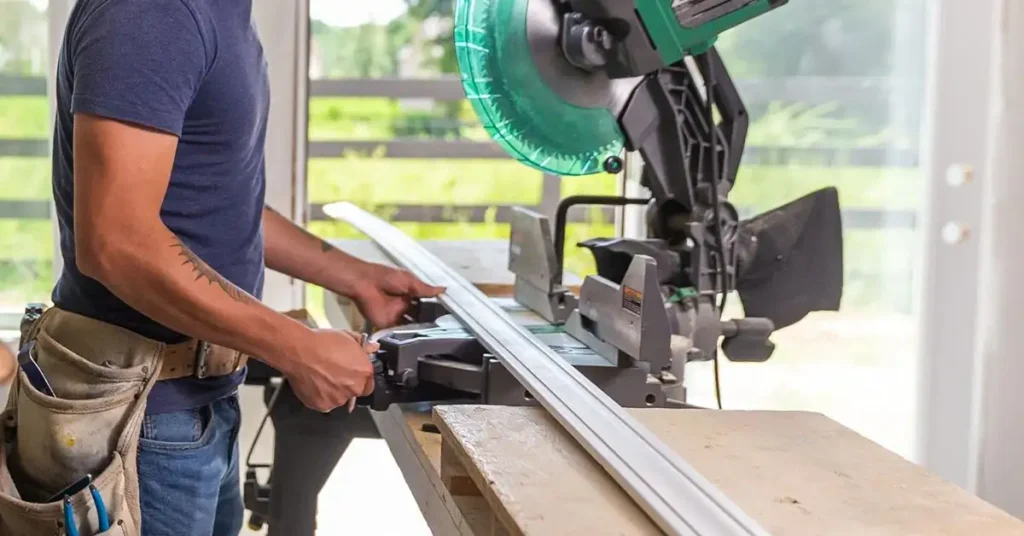
I still remember the first cold Saturday I dragged my new Metabo miter saw into the garage. Coffee on the bench. Cardboard on the floor. I only wanted clean cuts for some beat-up baseboard, but the saw looked like a small robot.
If you’re trying to figure out how to set up and use a Metabo miter saw, here’s the short version of what I do now as an adult user:
- I set it on a solid stand and plug it into a safe outlet.
- I check my safety gear and the guards.
- I unlock the head, set my angles, and test on scrap wood first.

Everything after that is just slowing down and respecting the tool. If you’re young or brand new, please have an experienced adult run the saw and walk you through the manual. A miter saw is powerful, not a toy.
I work in the States, so my Metabo has seen humid Florida garages, dry Colorado style air, and one icy Midwest winter where the metal felt like it bit my fingers. It has ridden next to DeWalt, Milwaukee, and Craftsman tools in the back of my truck. That mix of real job sites and messy home projects is where these notes come from.
Table of Contents
Safety First – Before You Even Plug in the Metabo
Before the motor ever hums, I like one quiet minute. No dust, no noise, just a quick check that my body and the saw are both ready.
Basic PPE and OSHA/ANSI-Friendly Habits
Here’s what I put on every time:
- Safety glasses with side coverage
- Hearing protection, even for “just one cut”
- Dust mask or simple respirator
- Tight sleeves, tied-back hair, no loose jewelry
I follow the spirit of OSHA and ANSI rules, even in my little garage. That means guards stay on, the switch works right, and I stand balanced with both feet planted. If anything feels off, I do not start the saw. I grab the manual instead.
Choosing a Safe Spot in a Home or Garage Workshop
Then I pick the spot. In my one-car garage, I roll the car out and park the saw in the center. I look for:
- A flat, sturdy bench or miter saw stand
- Space on both sides for long boards
- A grounded outlet close by, so no cord trip hazard
- Light that lets me see the pencil line on the wood
Climate changes the small habits. In a humid Gulf Coast shop I wipe metal parts with a light oil cloth to fight rust. In a dry high-altitude shed I pay more attention to fine dust and use the shop vac more.
Metabo vs. Milwaukee, DeWalt, and Craftsman
If you’ve used other big brands, the Metabo will feel familiar. The motor spins a carbide blade. The table turns for miter cuts. The head tilts for bevels.
What feels different to me is the handle shape and the smooth ramp-up torque. My Metabo starts softer than one of my older DeWalt saws, which I like for precise trim. But every brand puts locks and scales in slightly different spots. So even if I think I “know” the tool, I still follow the Metabo manual instead of guessing.
How to Put Together a Metabo Miter Saw
The first time I opened the box, Styrofoam squeaked, parts rolled, and I was sure one bolt was “extra.” It wasn’t. Taking my time saved me.
How I Put the Metabo Together
Here’s the basic flow I use, without full step-by-step detail:
- Lay all the parts out where I can see them
- Match each piece to the diagram in the manual
- Attach handles, rails, and extensions in the order shown
- Bolt the saw to a stand or heavy bench so it cannot slide
A rolling stand is nice when I want to cut trim outside on a clear spring day, but a solid, fixed bench works fine too.
Attaching the Fence, Clamp, and Dust Port
I slide the fence into place and make sure it sits straight with the table. A square fence means square cuts, so I do not rush this part. The work clamp goes on next so I can pin boards in place instead of wrestling them by hand.
For dust, I start with the bag that came with the saw. In a small basement shop I hook up a shop vac hose to pull more dust away from my face and lungs. It feels better at the end of the day when the air is clear.
Quick Safety Checks After Assembly
Before any power:
- The blade guard moves freely and snaps back on its own
- The head raises and lowers without grinding sounds
- All bolts and knobs feel snug, not loose or over-tight
- The power cord has no cuts or crushed spots
If something looks wrong, I stop there and call a service center or check with a more experienced carpenter.
How to Open and Unlock a Metabo Miter Saw the First Time
Once the saw is together, it still rides in “shipping mode.” It looks stuck, but that is on purpose.

Unlocking Transport and Head Locks
Most Metabo miter saws have a pin or small lever that holds the head down. I press the head gently with one hand and ease that pin out with the other, just like the manual shows. I never force it. If the lock will not move, I am probably touching the wrong part.
Opening the Saw for the First Cut
When the lock is free, the head should rise on its spring. I lift it up and down a few times with the saw still unplugged. I watch the guard move and listen for weird clicks. That dry run tells me how the tool feels before the noise begins.
Common “Why Won’t This Move?” Moments
I’ve made all the rookie mistakes:
- Pulling on the handle while a side lock is still tight
- Forgetting the table lock when I try to swing the saw
- Worrying I’ll break it, when it just needs a firmer, but still controlled, push
Reading the labels on each lever once saves a lot of muttering later.
How to Set Up a Metabo Miter Saw for Real-World Projects
Now we move from “new tool smell” to real boards. On one hot June afternoon I cut trim for a small bedroom, with kids’ toys stacked in the hall and paint cans everywhere.
Stable Stand or Workbench
For real work, I want the saw locked down. I level the stand, step back, and gently rock it with my foot. If it wobbles, I shim the legs or shift to a better spot. Then I add side support with sawhorses or roller stands so long boards do not tip.
Dialing In for Common DIY Jobs
Most of my projects are simple:
- Crosscut 2×4 studs for small walls
- Trim vinyl or PVC for outdoor use
- Cut picture frame stock on a quiet Sunday night
For each job I mark the board with a sharp pencil, line the mark with the blade at rest, and make a test cut in scrap first. That one habit has saved a lot of good lumber.
Straight Crosscuts and Calm Control
When the saw is running, I let the blade reach full speed before easing it into the wood. I keep both hands clear of the marked danger zones on the table. I also wait for the blade to stop spinning before I raise the head. It takes a few extra seconds. It keeps my fingers happy.
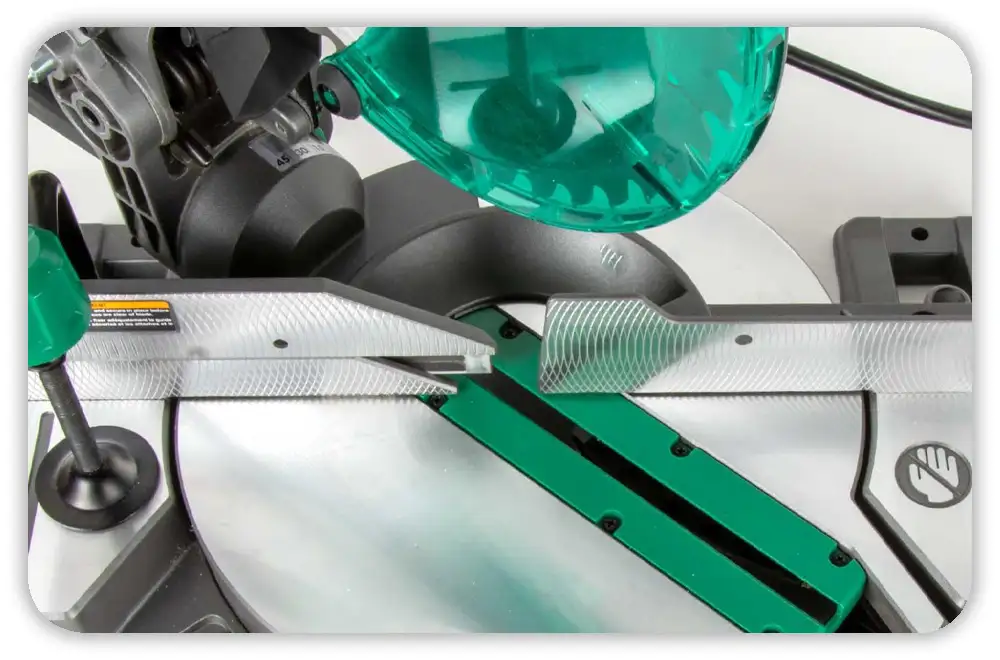
Adjusting Angles: Rotate, Tilt, and Bevel Like a Weekend Carpenter
This is where the Metabo starts to feel “fun.” One rainy Saturday I spent an hour just dialing in angles on scrap, like a kid with a new game.
Rotating for Miter Cuts
To swing the table, I loosen the miter lock, move the table to the angle I need, and let it drop into the detent. Then I lock it again. For picture frame corners I sneak up on the angle with tiny changes and more scrap. Wood is cheaper than rage.
Adjusting Angle for Clean Corners
Sometimes real walls are not perfect 90-degree corners, especially in older U.S. homes. I take a quick angle read with a simple plastic gauge, split that number, and adjust the miter scale a hair at a time until two scrap pieces meet with no gap.
Tilting for Compound Cuts and Bevels
For crown molding or fancy trim, I unlock the bevel and tilt the head. I follow the chart in the manual for common angles instead of trusting my memory. Compound cuts are where my brain melts if I try to “wing it.”
Simple Accuracy Checks
Every so often I:
- Cut two short pieces at 90° and check with a speed square
- Cut two 45° pieces and push them together like a frame
- Adjust the fence or scale if I see light through a gap
These quick checks keep the saw honest after bumps, moves, or a long ride in the truck.
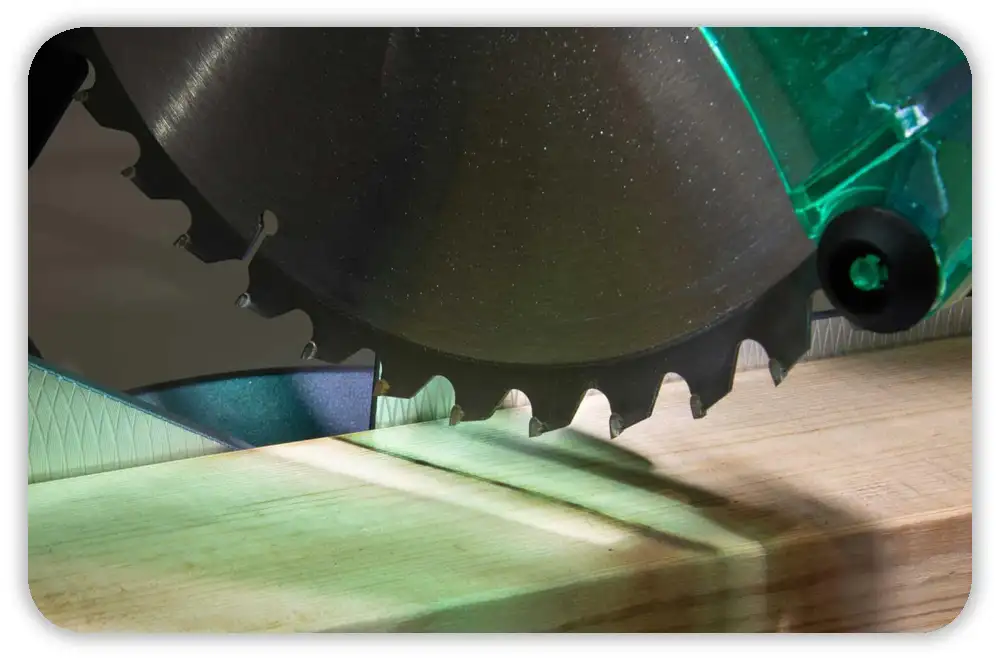
How to Change the Blade on a Metabo Miter Saw Safely
One winter morning my cuts started to burn and smoke. The garage smelled like campfire, and I knew the blade was done.
Signs It’s Time for a New Blade
I look for:
- Burn marks on the wood
- The motor working harder than normal
- Extra noise or rough feel as the blade enters the cut
Swapping the Blade
When I change a blade, the saw is unplugged and the manual is open. I lock the spindle, loosen the arbor bolt in the direction the manual shows, and lift the old blade off. Then I place the new carbide blade on, align it, and reinstall the bolt. Slow, steady, no rush.
Picking a Good Replacement
For most trim I like a fine-tooth 10-inch crosscut blade. For rough framing I may swap to fewer teeth and a tougher grind. Brands change, but I stick with blades made for miter saws, not table saws, and I check that the speed rating matches the saw.
Quick Check After Any Blade Change
Before I cut real wood again, I spin the saw up with no load and stand slightly to the side. I listen for wobble or strange vibration. If it sounds smooth, I move back into normal stance and go back to work.
Everyday Habits, Maintenance, and Storage
Once the Metabo became part of my weekly routine, little habits made a big difference.
Using the Saw Without Letting Bad Habits Creep In
I clamp more than I used to. I keep hands out of the red zones. I never cross my arms in front of the blade. And when I feel tired or rushed, I stop. Bad cuts and bad choices both show up when I try to “just finish this one.”
Simple Maintenance in a Garage or Shed
After a long day, I:
- Blow or vacuum dust off the motor vents and table
- Wipe metal rails with a light oil rag
- Check that the cord, switch, and brake still feel right
It takes five minutes and keeps the saw feeling solid and safe.
Storing in Different Climates
In a damp coastal shed I cover the saw and add a small tub of moisture absorber nearby. In a dry climate I focus more on dust covers and keeping the tool out of direct sun so plastic parts do not get brittle over time.
When I Hand It Off to a Pro
If the brake feels slow, a guard cracks, or the motor smells hot, I stop using the saw and take it to an authorized service center. No home project is worth gambling on a tool that feels wrong.
Adding My Own Learning Curve
My first week with the Metabo, I mis-cut a whole stack of baseboard because I flipped one piece the wrong way on a compound cut. I laughed, then groaned, then drove back to the store. That mistake lives in my head now, and it keeps me patient.
Over time I picked up little tricks the manual does not spell out, like:
- Marking my most used angles with a thin paint pen
- Using painter’s tape on the cut line to reduce tear-out
- Keeping a small notebook with project notes and odd angles
When a project runs late and I’m still in the garage at 9 p.m., I turn on more light, grab some water, and remind myself I can always finish tomorrow. The saw will still be there. My fingers, eyes, and ears are not replaceable.That’s how I, as a working user in real American garages and job sites, set up and use a Metabo miter saw in a way that feels safe, calm, and repeatable.
FAQs – How to Set Up and Use a Metabo Miter Saw
How do I set up and use a Metabo miter saw for the first time?
Bolt the Metabo miter saw to a solid stand and plug it into a safe outlet. Check guards, PPE, and the manual, then make a few slow test cuts on scrap wood to learn the feel.
How do I unlock a Metabo miter saw before using it?
Press the saw head down and gently pull the transport pin or lock shown in your Metabo manual. Let the head rise, then test the up and down motion with the tool unplugged.
How do I adjust angles on a Metabo miter saw for trim and picture frames?
Set the miter angle on the front scale, then unlock the bevel knob and tilt the Metabo miter saw head to the needed mark. Cut scrap wood first so you can fine tune the setting.
How do I change the blade on a Metabo miter saw safely?
Unplug the Metabo miter saw, lock the spindle, and loosen the arbor bolt in the direction shown in the manual. Swap in the new blade, tighten the bolt, then spin it up once with no load.
What basic maintenance does a Metabo miter saw need?
Brush or vacuum dust after each use, check the cord and guards, and store the Metabo miter saw dry and covered. In damp areas add light oil on bare metal to resist rust.