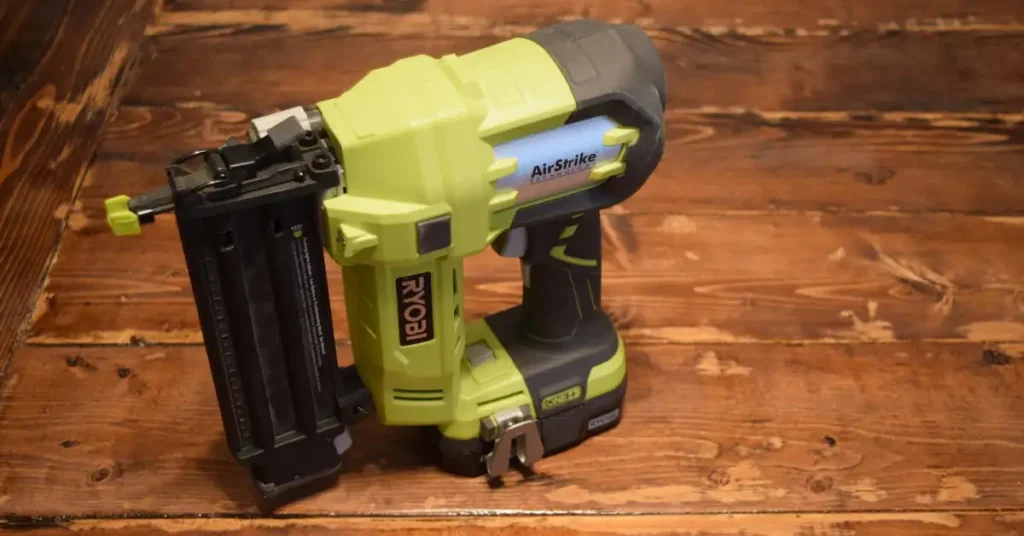
Ever tried loading a Ryobi cordless brad nailer in the middle of a trim job, only for it to stop feeding nails? I’ve been there — standing in a hot Florida garage where even the humidity seems to fight you. It messes with everything, from wood glue to nail strips.
Getting the right setup matters as much as knowing how to load it. In cold Midwest mornings or dry Arizona air, a well-loaded nailer saves time and stress. After testing Ryobi’s AirStrike system beside DeWalt and Milwaukee, here’s what I learned — and how to load it right every single time.
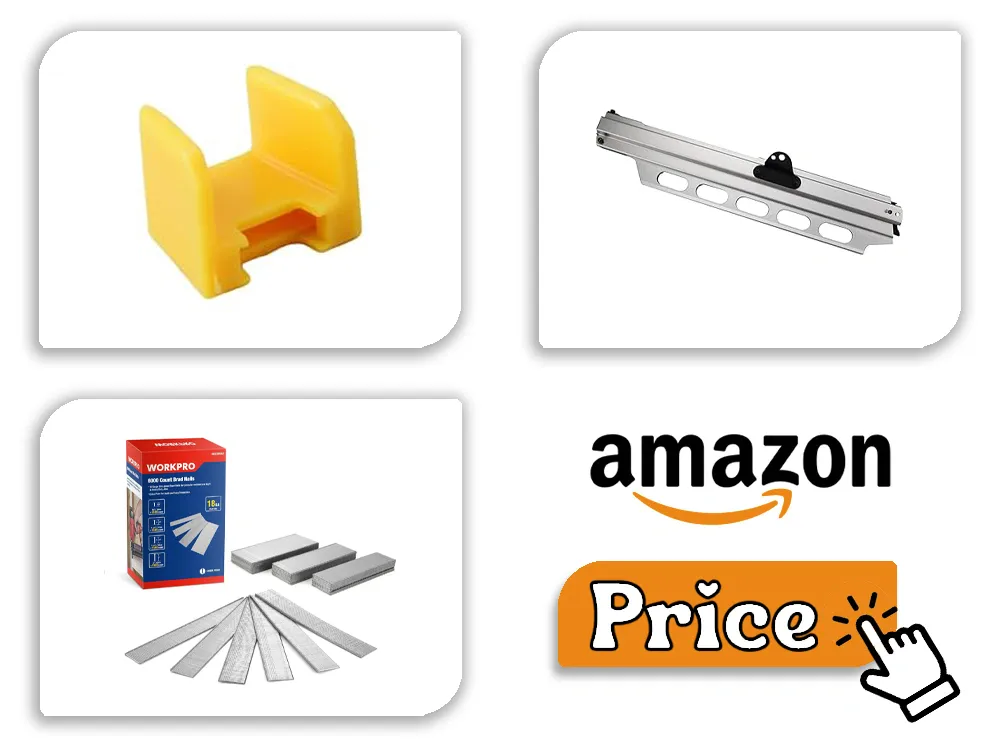
Table of Contents
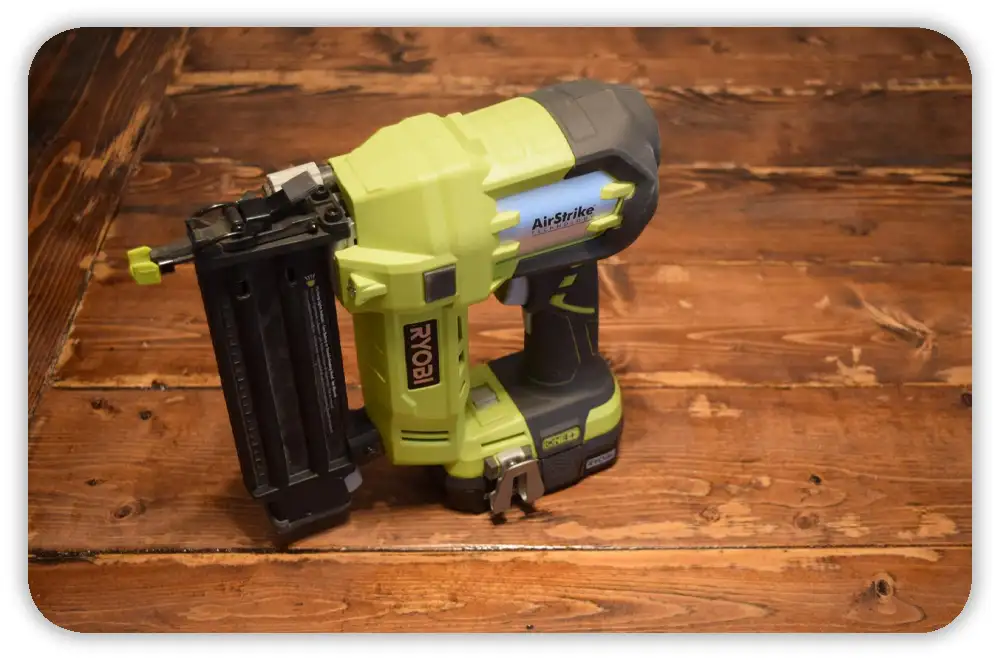
What Makes Ryobi Cordless Brad Nailers Different?
When I first tried my Ryobi cordless brad nailer, I didn’t expect it to feel this free. No hose. No compressor dragging behind me. That alone changed how I work in tight corners and small garage spaces.
Ryobi’s AirStrike system builds its own air pressure, giving you pneumatic-style power without extra gear. It’s perfect for trim, baseboards, and cabinetry — places where control and mobility matter most.
I’ve used pneumatic nailers from brands like Bostitch and DeWalt. They shoot fast and clean. But once you switch to cordless, you notice how much time you save. No setup, no tangled hoses, and no compressor noise.
That’s what makes Ryobi different — it’s all-in-one. The same 18V ONE+ battery that runs my drills, saws, and impact drivers powers it too.
In humid Florida garages or dry Arizona air, the design holds up well. There’s no moisture from a compressor, and the battery power stays steady in any season. Whether it’s 95°F or freezing cold, it fires strong.
Understanding the Ryobi 18V ONE+ AirStrike System
The AirStrike system feels completely self-contained. There’s no air hose, no valve — just a sealed unit that builds its own pressure when you pull the trigger.
It runs on Ryobi’s 18V ONE+ battery — the same one used in their drills, impact drivers, and lawn tools. That’s a big plus. I keep one 4Ah battery labeled “nailer only,” and it’s always ready to go.
It’s also quieter and cleaner than pneumatic nailers. That’s a big deal when you’re trimming indoors. I’ve used it during home installs without waking the kids or needing ear protection. It fires with a crisp click, not a loud air blast.
Common Ryobi Brad Nailer Models
I’ve used a few Ryobi cordless nailers side by side. They all feel similar, but each fits a different job:
- P320 / P321 — 18GA Brad Nailers: My go-to for trim, paneling, and finish work. They shoot 18-gauge brads from 5/8″ to 2″.
- P326 — 16GA Straight Finish Nailer: Great for thicker baseboards or casings.
- P330 — 15GA Angled Finish Nailer: Best for crown molding or door frames where corners are tight.
All share the same AirStrike DNA — cordless use, tool-free jam release, depth control, and smooth firing. I’ve found 18GA nailers lighter for detail work, while 15GA models feel sturdier for structural trim.
Choose the Right Brad Nails for Your Nailer
The nails you use matter as much as the tool itself. Using the wrong brads is the fastest way to cause jams. Each Ryobi nailer fits a specific gauge and nail type — get that wrong, and you’ll spend more time fixing than nailing.
What Size and Type of Nails Do Ryobi Brad Nailers Use?
Ryobi’s 18-gauge cordless brad nailers, like the P320 and P321, use C1 brads from 5/8″ to 2″. They’re ideal for trim, casing, and molding where you want small holes that fill easily.
I’ve had great luck with DeWalt, Grip-Rite, Bostitch, and Hart brads. They feed smoothly even in high humidity. Cheap off-brand nails can swell or bend, leading to jams and double feeds.
Why Nail Quality Matters
At first, I thought all brads were the same. I was wrong. Cheap nails often have uneven glue or weak collation — that’s what causes jams. I once ran discount nails through my P320 and spent more time fixing than working.
In humid areas, off-brand nails can swell and stick. In cold climates, they can turn brittle and break. Either way, you lose time.
Now I only buy nails I’ve tested — usually from DeWalt, Grip-Rite, or Bostitch — and store them in a sealed box.
Fastener Compatibility Table
| Tool Model | Gauge | Nail Type | Range |
| P320 / P321 | 18-GA | C1 Brad | 5/8″–2″ |
| P326 | 16-GA | C Finish | 3/4″–2½” |
| P330 | 15-GA | DA Angled | 1″–2½” |
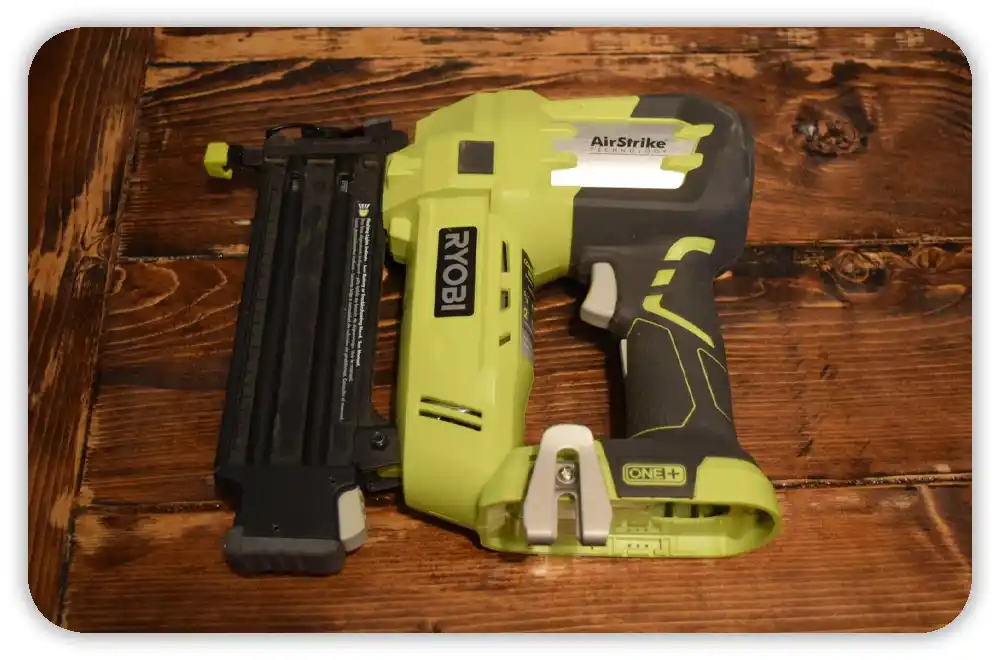
Know Your Nailer’s Design and Safety Features
Before loading nails, take a minute to learn how your nailer works. It’s about safety and speed. Once you know where each part is, you’ll work smoother and make fewer mistakes.
I remember my first day with the P321. I was so eager to start that I didn’t lock the pusher spring. It jammed right away. Reading the manual would’ve saved me ten minutes and a headache.
Key Parts to Check
- Magazine release button: Usually at the rear.
- Pusher spring: Keeps nail strips tight.
- Jam-release latch: Lets you clear bent nails fast.
- Depth dial: Adjusts how deep each nail sets.
- Contact tip: Must touch the surface before firing.
Knowing these helps you fix problems fast and stay safe.
Essential Safety Checks Before Loading
Here’s the quick routine I follow every time before loading:
- Remove the 18V ONE+ battery. It’s your first safety step.
- Point the tool away from yourself and others.
- Wear ANSI Z87.1-rated eye protection.
- Don’t press the tip or pull the trigger while loading.
Ryobi’s dry-fire lockout helps, but safety habits matter more.
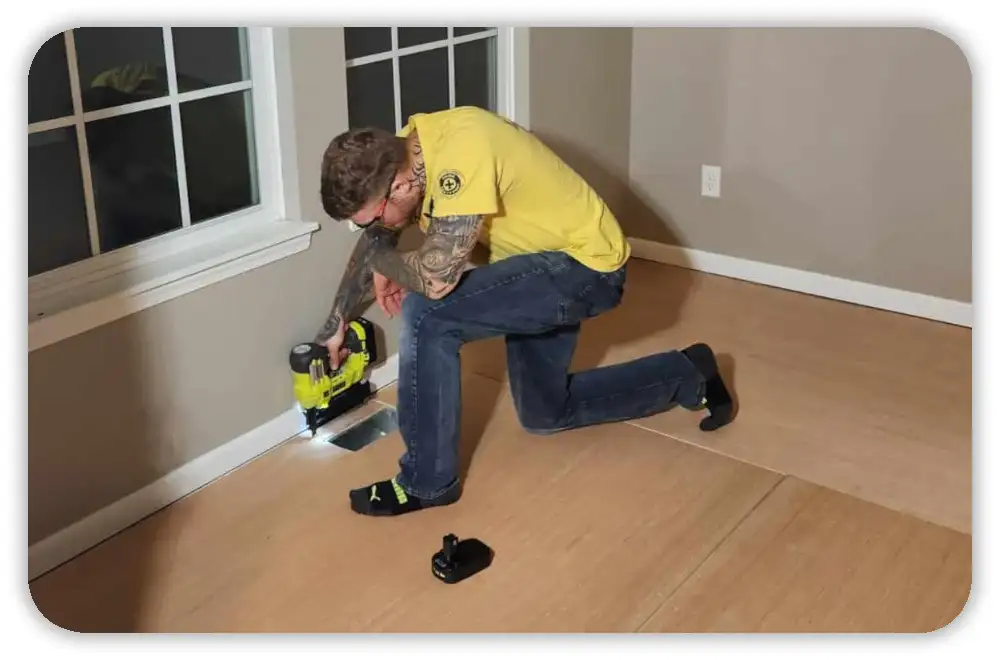
How to Load a Ryobi Cordless Brad Nailer
Once you’ve got the right brads, loading a Ryobi cordless brad nailer takes less than a minute. But that one minute matters. A small mistake — like tilted nails or a loose latch — can lead to jams later. Here’s how I load mine after years of trial and error.
Step-by-Step Loading Instructions
I always start with one rule: remove the battery first. It’s easy to forget, but it’s the best safety habit you can build.
Then I do this:
- Remove the 18V ONE+ battery — no exceptions.
- Press the magazine release button on the rear of the tool.
- Slide the magazine open until it stops.
- Insert a strip of 18-gauge brads with the points facing down.
- Make sure the nails sit flat against the rail — not tilted.
- Close the magazine until it clicks into place.
- Reinsert the battery and test-fire a few nails into scrap wood.
I always test on scrap before touching finished trim. It’s saved me from sinking a crooked brad into painted wood more than once.
Quick Troubleshooting During Loading
Even with practice, small hiccups happen. Here are three common ones I’ve seen — and how to fix them fast.
- Magazine won’t close? One nail is likely out of line. Slide the strip out, straighten it, and reload.
- Nails won’t feed? Check for a bent brad or sawdust in the track.
- Latch stuck? Pull back the pusher spring to release tension. Never force it closed — you’ll bend the follower.
In cold weather, the latch can stiffen. A light wipe of dry silicone spray keeps it smooth.
Verify Before You Fire
After loading, I pause before firing the first nail. That habit started after I jammed a tool into soft pine. Now, I double-check everything — it takes seconds but saves time later.
A well-loaded Ryobi cordless brad nailer should feel balanced, click cleanly, and sound ready when you pull the trigger.
The Pre-Fire Checklist
Here’s what I check before firing:
- Battery seated firmly. Push until you hear a click.
- LED light solid. A steady white light means it’s ready.
- Safety tip pressed down. The tool won’t fire otherwise.
- Nails visible through the window. If you can’t see them, reload.
This checklist works in hot Florida garages or icy Michigan shops — anywhere I’ve used it.
What the LED Light Means
One thing I love about Ryobi’s design is that small LED near the trigger. It’s more than a work light — it gives you quick feedback.
| LED Signal | Meaning | Action |
| Solid White | Ready to fire | Proceed normally |
| Flashing Red | Low battery | Swap in a fresh 4Ah or 6Ah pack |
| Flashing White | Jam or stall | Open the latch, clear the jam, add oil |
| No Light | Battery disconnected | Reseat or replace the battery |
From my experience, a flashing white light often means the striker is dry. A drop or two of silicone oil fixes it fast.
Common Loading and Firing Problems
Even if you load perfectly, your Ryobi cordless brad nailer might act up now and then. Most problems come down to power, oil, or alignment. Here’s what I see most — and how I fix it.
Nail Jam in the Magazine
Symptom: Magazine won’t open or close, or nails feel jammed halfway.
Fix:
- Remove the battery — always first.
- Open the magazine using the latch.
- Pull out any bent or stuck nails with pliers.
- Clear out glue or debris from the nail track.
- Reload and close until it clicks.
In humid areas like Georgia, nail glue softens and sticks. Keeping nails dry solves this fast.
Striker Clicks but No Nail Fires
Symptom: You hear a dull click but no nail shoots.
This usually means the striker is dry or stuck.
Fix:
- Remove the battery and open the jam latch.
- Add 2–3 drops of silicone oil into the drive channel.
- Move the striker gently with a screwdriver if needed.
- Reinsert the battery and dry-fire a few times to spread oil.
Avoid petroleum oils like WD-40 — they damage seals.
Misfires from Low Power
Symptom: The tool fires once, then stops or buzzes.
That’s usually low battery power. Smaller 1.5Ah packs work for drills but not for nailers — they need more current.
Fix:
- Use at least a 4Ah battery (PBP005) for steady power.
- In cold weather, switch to a 6Ah pack (PBP007).
- Charge batteries indoors to avoid cold damage.
I’ve worked with my Ryobi in both Florida heat and Michigan winters. A strong battery fixes most firing issues.
Preventative Maintenance for Smooth Loading
Your Ryobi cordless brad nailer rewards regular care. A little cleaning and oiling keep it working like new. I used to skip maintenance, and it showed — jams, slow firing, random misfires. Once I started monthly care, those stopped.
After Each Use
After every job, I wipe the tool clean — especially the magazine area. Sawdust builds up fast.
My routine:
- Wipe the magazine with a dry cloth.
- Remove the battery before storage.
- Store upright in a dry area — not in damp spots or hot cars.
It takes one minute but prevents hours of fixing later.
Monthly Maintenance
Once a month, I go deeper.
- Wipe the nail track with a silicone-lubed cloth.
- Add two drops of silicone oil to the striker channel.
- Dry-fire twice (no nails) to spread the oil.
This habit keeps parts smooth and seals in good shape.
Seasonal Tune-Up
Before big projects or each new season, I give my nailer a quick check:
- Tighten screws and fasteners.
- Inspect O-rings and seals for wear.
- Store batteries between 60°F–80°F.
In hot Florida summers, I keep my nailer in the shop. In cold states, I tell friends to bring it inside before heading to the job site.
Pro Tips from Real DIYers and Contractors
After years of using Ryobi’s AirStrike nailers and swapping stories with other builders, I’ve learned a few habits that make a real difference. These aren’t from Ryobi’s manual — they’re from garages and job sites all over the U.S.
Label one battery “nailer only.”
I do this to keep one pack always charged and healthy. Nailers pull short bursts of power, so using a dedicated 4Ah or 6Ah battery prevents wear on smaller packs.
Warm batteries in winter.
If you live in a cold state like Michigan or Minnesota, keep your batteries inside until you’re ready to work. Cold lithium cells lose power fast. A warm battery fires stronger and lasts longer.
Test-fire after oiling.
When I add silicone oil, I shoot a few nails into scrap wood. It spreads the oil through the striker channel and keeps the firing smooth.
Don’t over-tighten screws.
I’ve seen people strip the casing thinking “tighter is better.” But too much pressure can slow the striker or damage threads.
Treat it like precision gear.
Even though it’s cordless, the AirStrike has seals, sensors, and valves. Handle it gently — not like a framing gun.
Frequently Asked Questions (Voice Search-Friendly)
These are the questions I hear most from other Ryobi users — especially DIYers learning how to load and use their first nailer.
Why won’t my Ryobi brad nailer shoot nails?
It’s usually one of three things — low battery, jammed nails, or a dry striker. Check your battery first. Then open the latch, clear any stuck brads, and add a few drops of silicone oil.
What size nails fit in a Ryobi cordless brad nailer?
Most 18V models like the P320 and P321 use 18-gauge C1 brads from 5/8″ to 2″. Stick with clean brands like DeWalt, Bostitch, or Grip-Rite.
Can I use DeWalt or Bostitch nails in my Ryobi nailer?
Yes. I’ve used both in my P321 with no issues. Just make sure they’re 18-gauge C1 brads. Avoid cheap off-brand nails — uneven glue or weak collation can jam the track.
Should I oil my Ryobi brad nailer?
Yes, but only with 100% silicone oil. Skip WD-40 or anything petroleum-based. I oil mine once a month or anytime I feel slower firing.
How do I avoid jamming when loading nails?
Keep the magazine track clean and use straight, dry brads. Bent or dirty nails are the main cause of jams. I always make sure each strip sits flat before closing the latch.
Final Thoughts — Load It Right, and It’ll Fire Every Time
After years with Ryobi’s AirStrike line, I’ve learned that most firing issues come from loading mistakes — not tool defects. The right nails, clean tracks, and charged batteries make all the difference.
Loading your Ryobi the right way prevents 9 out of 10 jams. Take a minute to prep it right, and it’ll fire clean every time — whether you’re trimming baseboards in Texas heat or framing windows in a chilly Michigan garage.