Finding metal studs in a wall is one of those tasks I used to avoid. I always thought it was tricky, maybe even impossible without special tools. But after moving into a new apartment and wanting to hang shelves, I realized I had to learn.
I made mistakes. I punched a few wrong holes. But with time, I found methods that work, even if you don’t have fancy gadgets. If you’ve struggled with this or feel lost, you’re not alone. I’ll walk you through everything I’ve learned about how to find metal studs in a wall, sharing tips, stories, and the things I wish someone had told me from the start.
Why Finding Metal Studs Matters
When I first tried hanging a heavy mirror, I didn’t think much about what was inside my wall. I used plastic anchors, but after a few weeks, the mirror started to sag. A friend told me, “You have to anchor into a stud.” In many modern buildings, especially apartments and offices, walls use metal studs instead of wood. Metal studs are strong, but they’re thinner and placed differently than wood. If you miss the stud, your shelf, TV, or mirror might not stay up long.
It’s not just about weight. Drilling into metal is different from wood. The wrong screw can slip or strip. Knowing where the studs are saves time, money, and headaches. I learned that the hard way.
How Metal Studs Differ From Wood Studs
At first, I thought all studs were the same. But after talking with a contractor, I realized there are key differences. Here’s what I noticed:
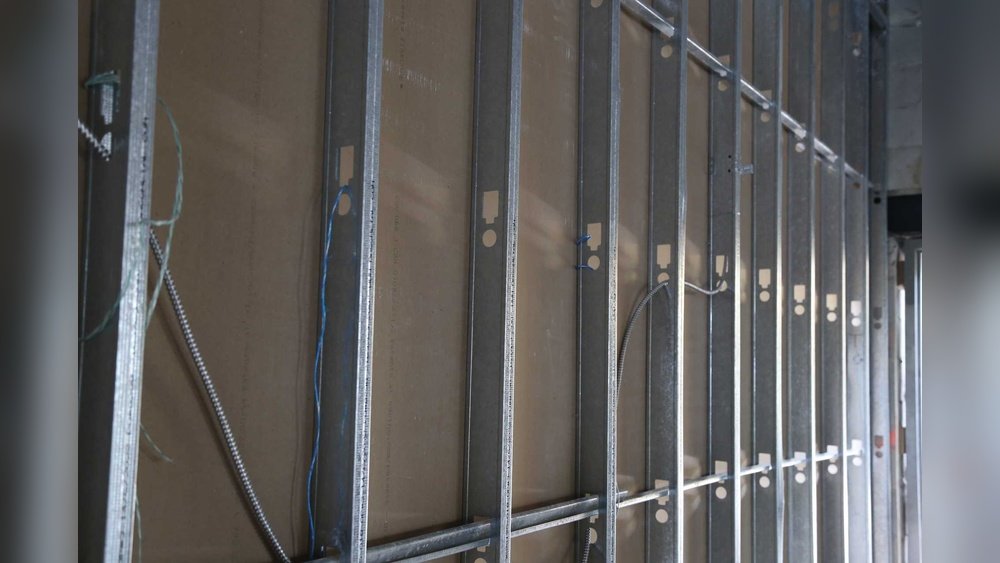
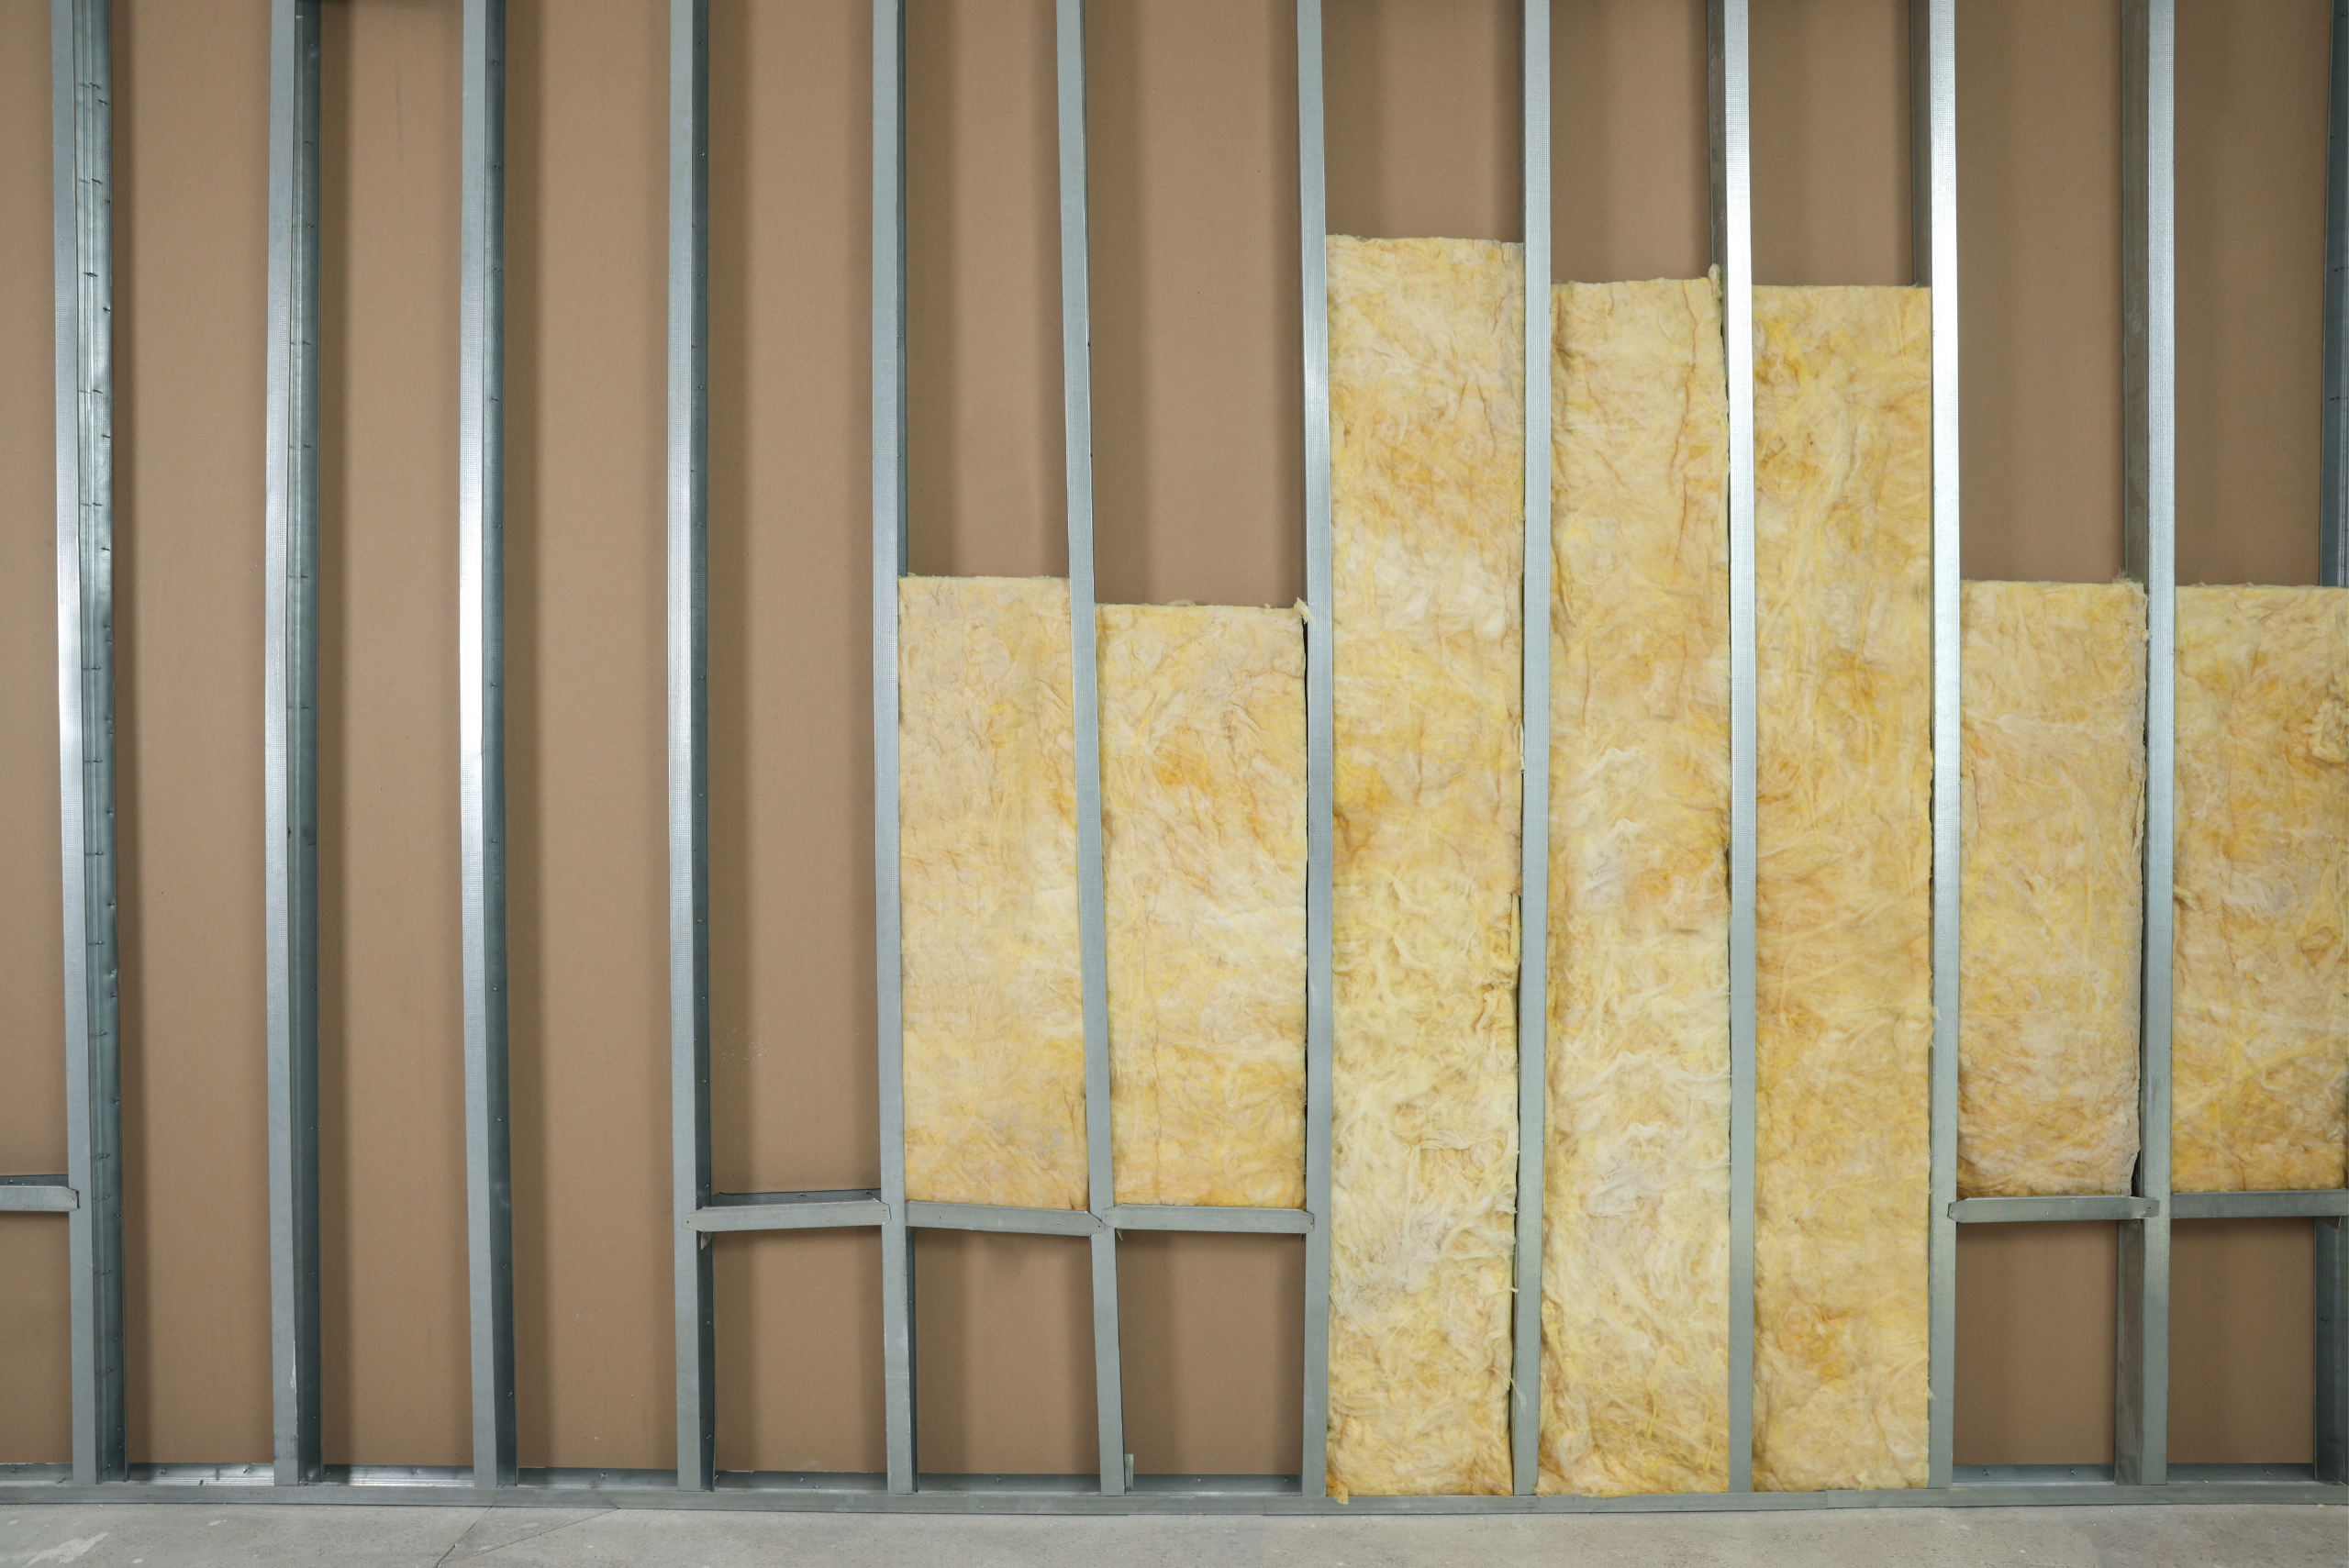
- Metal studs are usually C-shaped and made from thin galvanized steel.
- They’re often found in newer homes, condos, and offices.
- Metal studs are lighter, don’t warp, and resist fire better than wood.
- But they’re not as thick, and screws don’t grip as tightly as in wood.
If you’re used to wood, you’ll find metal studs feel “hollow” when you knock on the wall. They don’t make the same solid sound. This confused me at first.
Tools I’ve Used To Find Metal Studs
You don’t always need expensive tools, but some make life easier. Here’s what I’ve used and how they compare:
| Tool | Price Range | Accuracy | Ease of Use |
|---|---|---|---|
| Magnet | $0 – $5 | Medium | Easy |
| Electronic Stud Finder | $15 – $50 | High | Very Easy |
| Tapping/Knocking | Free | Low | Medium |
| Drill/Test Hole | Free | High | Medium |
I started with the basics—a simple magnet. Later, I bought an electronic stud finder, but I still use the magnet sometimes. Tapping and drilling test holes are last-resort options for me.
Step-by-step: How I Find Metal Studs In Walls
I’ll walk you through the process I use now. It’s a blend of old-school and modern tricks. You don’t have to use all the steps. Pick what works for your tools and comfort.
1. Look For Clues
I always start by looking for visible clues. Outlets and light switches are almost always mounted on studs. If you find an outlet, there’s a stud on one or both sides. I use that as a starting point.
Sometimes, you can even see tiny dimples or patches where screws or nails are under the paint. These are often spaced about 16 or 24 inches apart—standard stud spacing. Don’t trust them blindly, but they can point you in the right direction.
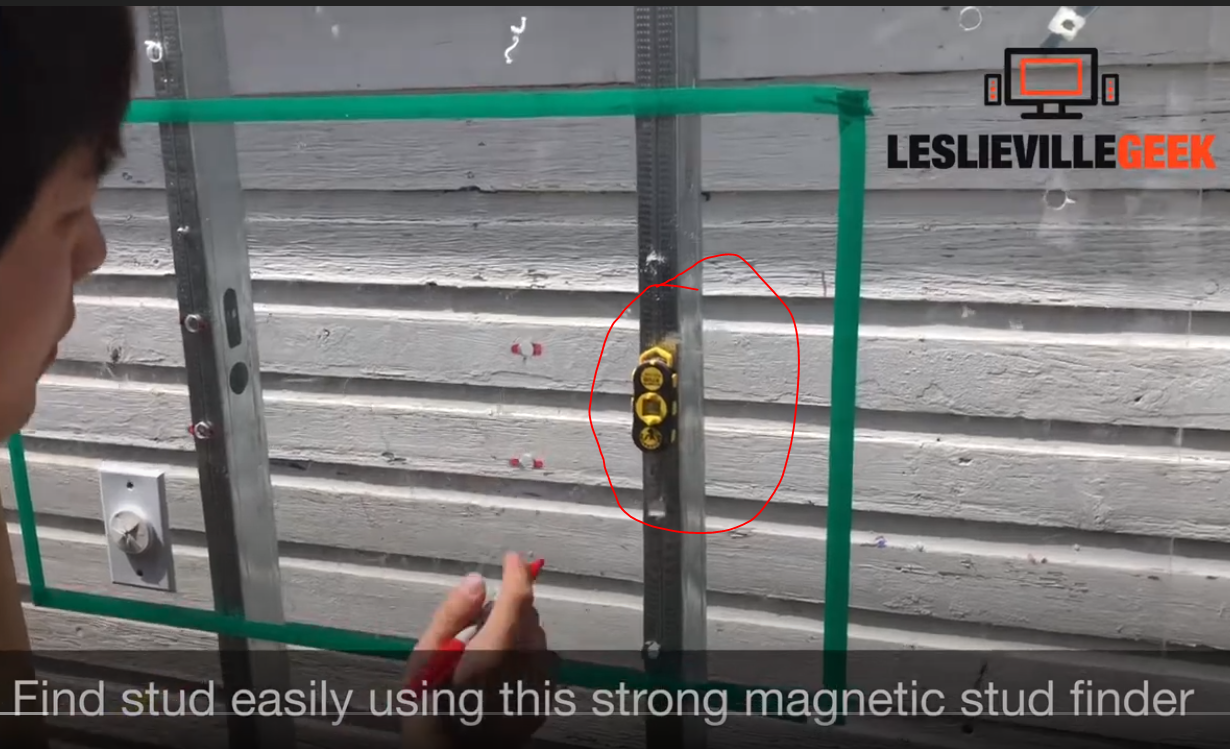
2. Use A Magnet
A strong magnet can help you find the screws that hold drywall to the metal studs. I use a little neodymium magnet, which sticks to the wall where there’s metal underneath. I slowly move it horizontally about 12–24 inches above the floor, then again at shoulder height. When the magnet pulls, I mark the spot with a pencil.
One insight I wish I knew sooner: move the magnet slowly and in small circles. It’s easy to skip a screw if you move too fast.
3. Try An Electronic Stud Finder
When I bought my first electronic stud finder, I was skeptical. Some only work well on wood. But I found models that have a “metal” or “deep scan” mode. These can sense metal studs behind drywall. I press the button, slide the device across the wall, and wait for the beep or light.
One mistake I made at first was not reading the instructions. Some stud finders need to be calibrated on a “clear” wall section before use. If you skip this, they give false readings.
4. Measure Standard Stud Spacing
Most metal studs are spaced 16 inches on center. Sometimes it’s 24 inches. Once you find one stud, measure 16 inches to the left and right. Repeat the magnet or stud finder test at those spots. I use a tape measure and make light pencil marks. This method is fast once you find the first stud.
Here’s a quick comparison of common stud spacing:
| Building Type | Stud Spacing |
|---|---|
| Residential (most) | 16 inches |
| Commercial/Office | 24 inches |
| Older Buildings | Varies |
But I learned the hard way—never trust the measurement alone. Always check with a magnet or stud finder before drilling.
5. Tap Or Knock On The Wall
This is the old-school method. I tap the wall lightly with my knuckle or a screwdriver handle. Where the wall sounds hollow, there’s no stud. Where the sound is dull and solid, there’s likely a stud behind. With metal studs, the sound change is less obvious than with wood.
But with practice, I got better at hearing the difference.
A non-obvious tip: try knocking at different heights. Metal studs can “shift” a little if the wall isn’t perfectly straight. Check at eye-level and near the floor.
6. Drill A Small Test Hole
If I’m still not sure, I drill a tiny pilot hole (1/16 inch) at my marked spot. When I hit a stud, the drill bit will feel resistance and may make a metallic “clink. ” If it goes through easily with no resistance, I missed the stud.
Don’t make the hole too big. If you miss, you can patch a tiny hole with spackle. But too many mistakes can make a mess.
7. Confirm With A Screw
The final test: I drive a self-tapping screw into the spot. Self-tapping screws go through metal studs without pre-drilling. When the screw grabs and gets tight, I know I found the stud. If it spins endlessly, I’m in drywall.
Self-tapping screws are a must for metal studs. Regular drywall screws don’t work well—they’ll strip or not grip at all.
Common Challenges And How I Overcame Them
I’ve faced a few surprises with metal studs. Here’s what I learned:
Stud Finder Not Working
Some stud finders are made for wood only. I once bought a cheap one and got random readings. I learned to check for a “metal” mode or buy one designed for both wood and metal.
False Positives
Pipes, wires, or metal corner beads can fool both magnets and electronic stud finders. I always double-check by measuring standard spacing and looking for other clues. If I’m close to a bathroom or kitchen, I’m extra careful not to hit a pipe.
Off-center Outlets
Not all outlets are perfectly mounted on studs. In one apartment, the outlet box was floating between studs. I drilled where I thought a stud was—and hit nothing. When in doubt, combine at least two methods before drilling.
Different Wall Types
Some older buildings have plaster walls or double drywall. In those, my magnet and stud finder tricks don’t always work well. Sometimes, I have to rely on measurements and careful drilling.
Mistakes I Made (so You Don’t Have To)
Let me be honest—I’ve made some silly mistakes. Here are a few:
- I drilled too many test holes in one wall. It looked like Swiss cheese.
- I used regular screws and wondered why nothing held.
- I trusted the “16-inch rule” too much in an old house. The studs were not spaced evenly.
One thing I wish I knew: always patch extra holes right away. It’s easier to fix small holes before you mount anything.
Safety Tips You Should Know
Drilling into walls is never 100% risk-free. Here’s what I always do:
- Turn off power if I’m drilling near outlets or switches.
- Use a voltage detector to check for live wires. These cost about $10 and can save your life.
- Wear safety glasses. Tiny bits of metal can fly when drilling into studs.
- If you’re unsure, ask a friend or hire a pro for tricky walls.
What To Do If You Can’t Find A Metal Stud
Sometimes, despite all my efforts, I just can’t find a stud where I want to hang something. Here’s what I do:
- Use hollow-wall anchors designed for drywall, but only for light items.
- Install a mounting rail that spreads the load across several studs.
- Move the item to a spot where a stud is available.
If you’re hanging something heavy (like a TV), always anchor into a stud. I learned this the hard way after a shelf fell and broke a vase.
Metal Stud Mounting: Special Tips
Mounting into metal studs is different from wood. Here’s what I do:
- Use self-drilling metal screws (sometimes called Tek screws). They cut through metal and grab tightly.
- For extra-heavy items, I use toggle bolts. These grip behind the metal for added support.
- Drill at a slow speed. Metal gets hot fast, and high speed can dull your drill bit.
- If mounting a TV or heavy shelf, use a mounting plate to spread the weight.
A little-known fact: some metal studs have pre-punched holes. If you line up with these, you can sometimes use a bolt and nut for extra security.
How To Patch Extra Holes
After finding the stud, I often have a few extra holes to patch. Here’s my quick fix:
- Fill the hole with spackle using a putty knife.
- Let it dry, then sand smooth.
- Touch up with paint.
For small holes, this takes just a few minutes. If you wait, dust can settle in and make patching harder.
Quick Reference: My Go-to Metal Stud Finder Methods
Here’s how I decide which method to use:
| Situation | Best Method |
|---|---|
| No tools at all | Outlet clues, magnet, tapping |
| Have a magnet | Find screws, confirm with spacing |
| Have a stud finder | Deep scan/metal mode |
| Need 100% proof | Drill small test hole |
A Real-life Example
Last year, I wanted to mount a heavy bookshelf in my living room. The wall was drywall over metal studs. I first used a magnet to find the screws. Next, I measured 16 inches to find the other studs. My stud finder confirmed them.
I drilled a tiny test hole and hit metal. I used self-tapping screws and a mounting plate. The shelf has held strong for over a year, and I sleep better knowing it’s secure.
If You’re Still Unsure
If you’re new to DIY or just worried about making mistakes, don’t stress. Start small—practice on a closet wall or somewhere hidden. You’ll gain confidence. And remember, it’s normal to make a few mistakes while learning.
For more info on building codes and wall construction, you can check this Wikipedia page on metal stud framing.
Frequently Asked Questions
How Do I Know If My Wall Has Metal Or Wood Studs?
The easiest way is to use a magnet. If it sticks, you likely have metal studs. Also, metal studs are common in newer buildings and apartments. You can check in a closet or behind an outlet cover to see the stud type.
Can I Use Regular Screws In Metal Studs?
No, regular drywall or wood screws won’t hold well. Always use self-tapping metal screws. They’re designed to cut into metal and hold securely.
What If My Stud Finder Doesn’t Detect Metal Studs?
Some stud finders only work on wood. Check your device for a “metal” or “deep scan” mode. If it doesn’t have one, try a strong magnet or measure from an outlet to find the studs.
Are Metal Studs Strong Enough To Hold A Tv Or Heavy Shelf?
Yes, but only if you use the right hardware. Use self-tapping screws or toggle bolts, and always follow the TV or shelf mounting instructions. Spread the weight if possible.
What’s The Best Way To Patch Extra Holes?
Fill small holes with spackle and a putty knife. Let it dry, sand smooth, and touch up with paint. For bigger holes, use a drywall patch kit.
Finding metal studs used to stress me out. Now, I see it as a simple, even satisfying DIY skill. With a few tricks and the right tools, you can tackle any wall project with confidence. Good luck—and don’t be afraid to learn by doing!
As an Amazon Associate, We earn from qualifying purchases