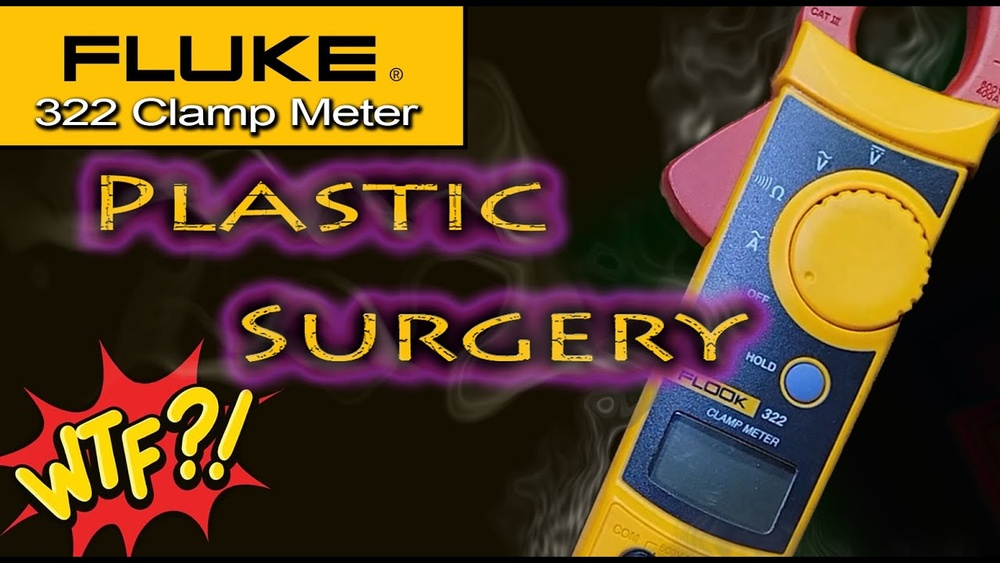
I’m going to be honest—I’ve owned a Fluke 322 Clamp Meter for years, and there’s nothing more frustrating than when it stops working right when you need it. I use mine all the time, from checking basic home wiring to diagnosing problems in HVAC units. If you’re reading this, your Fluke 322 is probably giving you trouble, too. I get it! In this article, I’ll share what I’ve learned from my own experience dealing with a non-working Fluke 322, how I figured out the problems, and what you can do to fix it.
Why Your Fluke 322 Clamp Meter Might Not Work
I remember the first time my Fluke 322 just wouldn’t turn on. I started to panic a little—was it broken for good? Over the years, I’ve run into several reasons why this meter might not work. The most common ones are:
- Dead batteries
- Dirty or corroded battery contacts
- Blown internal fuse
- Damaged display
- Faulty selector switch
- Worn or broken test leads
- Internal circuit issues
- Environmental factors (moisture, dust, etc.)
Let me break down each one from my own experience.
1. Dead Batteries
It sounds simple, but I can’t count how many times a dead battery has been the cause. The Fluke 322 uses two AAA batteries. If your meter doesn’t power up, check these first.
- Take off the back cover with a screwdriver.
- Swap in new, good quality AAA batteries.
- Make sure you put them in the right way—match the positive and negative signs.
Fresh batteries have solved my “broken” meter more times than I want to admit.
2. Dirty Or Corroded Battery Contacts
Sometimes, even with new batteries, my meter wouldn’t turn on. When I looked inside, I saw white or greenish stuff on the metal contacts. That’s corrosion.
- Clean the contacts with a cotton swab and a little vinegar or rubbing alcohol.
- Dry everything before putting the batteries back.
This small step brought my Fluke 322 back to life more than once.
3. Blown Internal Fuse
If your clamp meter turns on but doesn’t measure current or voltage, the internal fuse might have blown. I made this mistake when I measured voltage with the test leads in the wrong sockets.
- Open the case carefully.
- Look for a small glass fuse near the battery compartment.
- If the fuse wire is broken, replace it with the same type and rating.
Fuses are cheap, and changing one is easy if you have a small screwdriver.
4. Damaged Display
One day, my meter powered on, but the screen stayed blank or showed weird symbols. If the display is cracked, has black spots, or is unreadable, the display might be bad.
- Shine a flashlight at an angle to check for faint numbers.
- If it’s cracked or leaking, you’ll need a replacement screen or a new meter.
Sometimes, reseating the internal display connector (a ribbon cable) fixes it—but only if you’re comfortable opening electronics.
5. Faulty Selector Switch
The rotary switch lets you pick what you want to measure—voltage, current, resistance. If it gets stuck, is hard to turn, or doesn’t “click” into place, your meter might not work right.
- Gently turn the switch through all positions.
- If it feels gritty or loose, dirt might be inside.
- Blow air into the gap or use a little contact cleaner.
I once fixed a sticky switch by just rotating it back and forth 20 times.
6. Worn Or Broken Test Leads
Sometimes, the problem isn’t the meter at all. Old, cracked, or broken test leads can cause bad readings or no readings.
- Inspect the red and black leads for cuts, kinks, or broken wires.
- Try a different pair if you have one.
I always keep a spare set in my toolbox, just in case.
7. Internal Circuit Issues
Occasionally, something inside the meter just fails. Maybe a tiny part on the circuit board burned out. If none of the above fixes work, this could be the cause.
- You might see a burnt smell or melted spots inside.
- Internal repairs are possible, but I usually leave those to a professional.
8. Environmental Factors
Moisture, dust, or drops can ruin a meter. I once left my Fluke 322 in a damp basement overnight. The next day, it wouldn’t work.
- Wipe it down and let it dry for 24 hours.
- Store it in a dry place.
A Dry, Clean Meter Lasts Longer—lesson Learned!
My Step-by-step Troubleshooting Routine
Whenever my Fluke 322 acts up, I follow these steps. This routine has saved me time and frustration.
- Check the batteries. Replace with fresh ones.
- Inspect the battery contacts. Clean if needed.
- Look at the display. Is it cracked or blank?
- Test the test leads with another meter.
- Turn the selector switch through all settings.
- Open the case. Check for blown fuses or obvious damage.
Let me walk you through each step with more detail.
Step 1: Check And Replace Batteries
Remove the back cover and take out the old batteries. Put in new ones. If the meter now turns on, great—you’ve found the problem.
Step 2: Clean Battery Contacts
If there’s any sign of corrosion, clean the contacts. Even a little bit can stop the meter from working.
Step 3: Examine The Display
If the meter turns on but you can’t see numbers, try shining a light across the display. Sometimes the backlight fails, but the display itself still works.
Step 4: Swap Test Leads
Plug in a different set of test leads. If the readings come back, you know your leads were the problem.
Step 5: Rotate The Selector Switch
Move the switch through all positions. Sometimes dust or oxidation stops it from making good contact.
Step 6: Inspect Inside For Damage
If you’re comfortable, open the meter and look for anything unusual—burn marks, loose parts, or broken fuses.
What Makes Fluke 322 Different?
I’ve used a lot of meters, but the Fluke 322 is known for being tough and reliable. It measures up to 400 amps AC and is great for tight spaces.
Here’s how it stacks up against other clamp meters I’ve tried:
| Feature | Fluke 322 | Typical Clamp Meter |
|---|---|---|
| Max AC Current | 400A | 200A |
| Build Quality | Excellent | Average |
| Size | Compact | Bulky |
| Display | Clear LCD | Basic LCD |
| Price | Higher | Lower |
I’ve dropped mine more times than I can count, and it still works—most of the time! When it doesn’t, it’s usually one of the simple fixes above.
When To Repair And When To Replace
This is a question I’ve asked myself more than once. Sometimes you just want to keep fixing your old friend, but other times, it makes sense to get a new one.
Here’s a quick way I decide:
| Problem | Repairable? | Cost |
|---|---|---|
| Dead batteries | Yes | Low |
| Corroded contacts | Yes | Low |
| Blown fuse | Yes | Low |
| Cracked display | Maybe | Medium |
| Broken test leads | Yes | Low |
| Internal circuit damage | No | High |
If the repair is cheap and easy, I fix it myself. If the screen is smashed or there’s a big internal problem, I start shopping for a new one.

Tips To Keep Your Fluke 322 Working Longer
Through trial and error (and a few mistakes), I’ve found some simple ways to keep my meter working well.
- Store it in a dry place. Moisture causes trouble.
- Don’t drop it. Even though it’s tough, drops can break the display.
- Change batteries regularly. Old batteries can leak and corrode contacts.
- Clean the clamp jaws. Dust or grease can mess with readings.
- Use the right test leads. Cheap leads can cause errors.
A little care goes a long way.
How To Tell If It’s Time To Call Support
Sometimes, no matter what I try, the meter still won’t work. That’s when I check the warranty. Fluke meters come with a two-year warranty. If yours is still covered, contact Fluke support before trying risky repairs.
I found their customer service pretty helpful. You can get more info from the official Fluke website or check their support page:
fluke Support

Common Mistakes I’ve Made (so You Don’t Have To)
- Forgetting to check the batteries first—always start here!
- Measuring voltage in the wrong mode—this can blow the fuse.
- Not inspecting the test leads—broken leads can mimic a broken meter.
- Ignoring signs of moisture—always let a damp meter dry completely.
- Forcing the selector switch—gentle is better.
I’ve made all these mistakes, but each taught me something.
Real-world Example
Last year, I was troubleshooting a friend’s air conditioner. My Fluke 322 wouldn’t turn on. I almost gave up, but then I checked the batteries—both were dead. Swapped them out, and the meter worked perfectly. It was a good reminder: always check the basics before assuming the worst!

Frequently Asked Questions
What Should I Do First If My Fluke 322 Isn’t Working?
Always start by replacing the batteries. It’s the easiest and most common fix. If that doesn’t help, clean the battery contacts and check the test leads.
Can I Repair A Cracked Display On My Fluke 322?
It’s possible but tricky. If you have electronic repair experience, you might try. Otherwise, it’s usually better to replace the meter.
How Can I Avoid Blowing The Internal Fuse?
Make sure you select the correct measurement mode before testing voltage or current. Double-check your test lead placement to avoid accidents.
Are Replacement Parts Easy To Find?
Fuses and test leads are easy to get. Displays or internal circuit parts are much harder to find, and often not worth the trouble for a basic meter.
Where Can I Get Official Support For My Fluke 322?
Visit the Fluke Support page for help, manuals, and warranty information.
If your Fluke 322 clamp meter is giving you a headache, don’t worry. Most problems have simple fixes. With a little patience and some basic tools, you can get it working again—just like I did. And if all else fails, maybe it’s time to treat yourself to a new one.
Good luck!
As an Amazon Associate, We earn from qualifying purchases