If you’ve ever had a door that squeaks, sticks, or won’t close right, I know how frustrating that can be. I remember the first time I tried to fix a wobbly door in my own home. I kept thinking it would be a big project, maybe even expensive. But then, I realized most door problems come from loose hinges. And you know what? You can fix that easily with just a screwdriver. Today, I want to share everything I’ve learned about how to tighten door hinges with a screwdriver. I promise, you don’t need any special skills—just a little patience and some simple steps.
Why Door Hinges Get Loose
Over time, doors get a lot of use. Every time you open or close a door, the hinges move a bit. If you live in a busy home (like me, with kids always running around), that movement adds up fast. Here are a few reasons hinges start to loosen:
- Frequent use: Everyday opening and closing wears them out.
- Heavy doors: Heavier doors put more pressure on the hinges.
- Humidity and temperature: Wood swells or shrinks, making screws loosen.
- Poor installation: If hinges weren’t tight in the first place, they get loose faster.
I’ve seen all these problems in my own house, especially after a wet season or when the weather changes fast.
Tools You Need For The Job
You really don’t need a fancy toolbox. When I first did this, I used what I already had at home. Here’s what works best:
- Screwdriver: Match the type to your screws (usually Phillips or flathead).
- Extra screws: Sometimes, old screws are stripped or too short.
- Toothpicks, wood glue, or matchsticks: For holes that are too big.
- Step ladder: If your door is tall, you might need to reach the top hinge.
- Work gloves: Optional, but helpful for a tight grip.
Sometimes, I’ve also used a flashlight to see small screws better, especially in dim hallways.
Step-by-step: How I Tighten Door Hinges With A Screwdriver
Let me walk you through the exact steps I follow. I learned some of these the hard way, so I’ll point out mistakes to avoid.
1. Check The Door’s Movement
First, open and close the door a few times. Watch and listen. Does the door sag, drag, or squeak? I always gently lift the door by the handle. If it moves up and down, the hinges are probably loose.
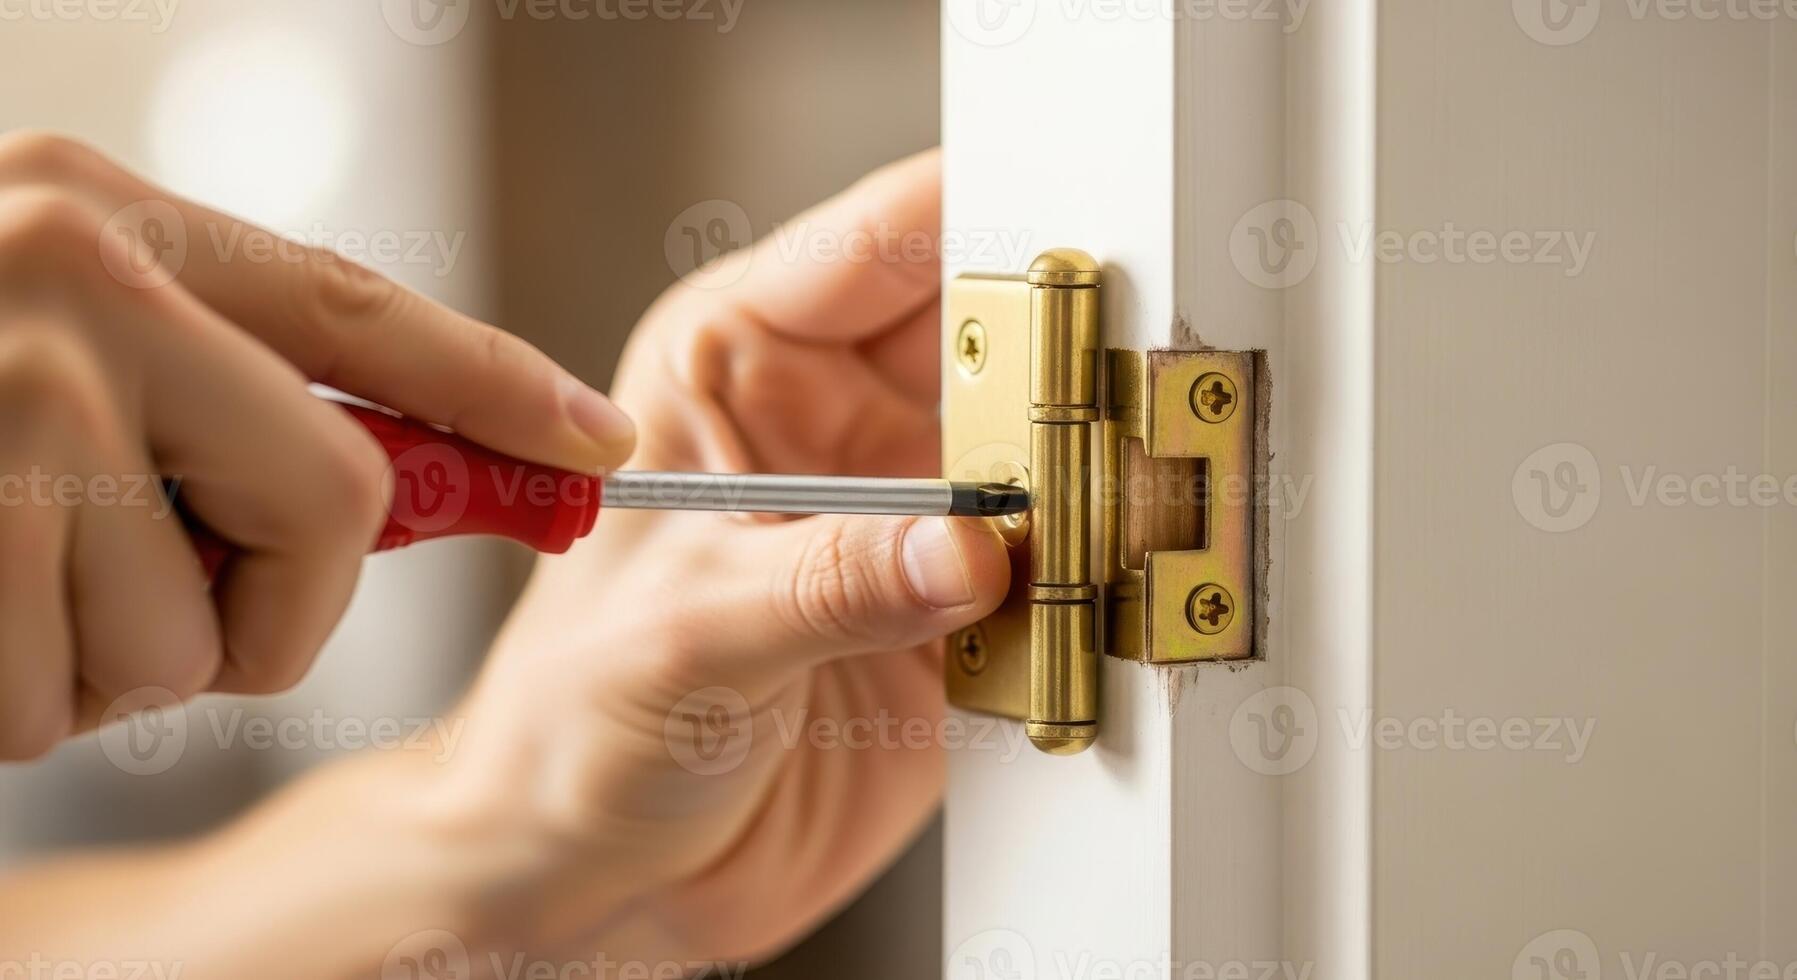
2. Inspect The Hinges
Look at all the hinge screws. Are some sticking out? Are the hinge plates flush against the door and frame? A few times, I missed a loose top hinge because I only checked the bottom one. Make sure you look at every hinge.
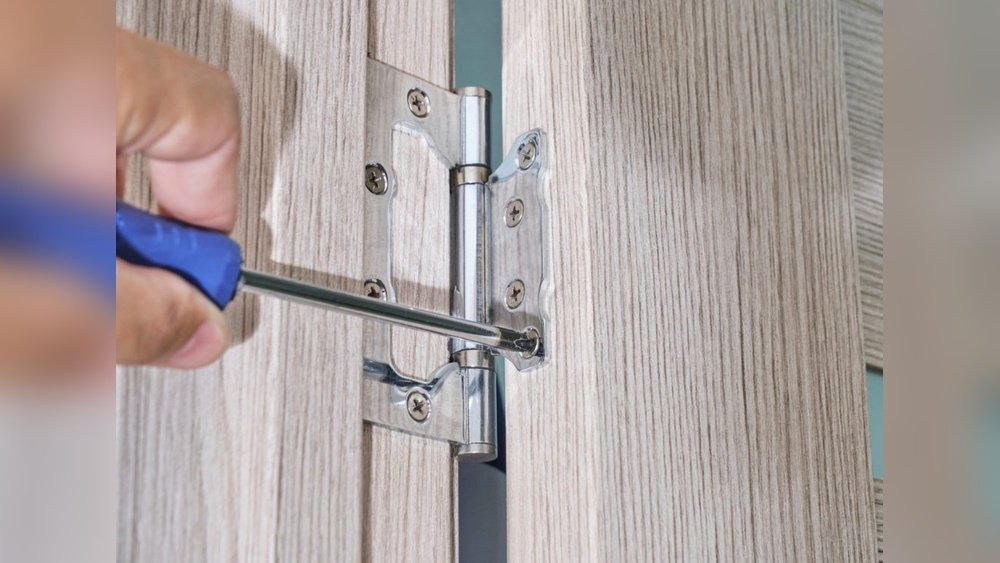
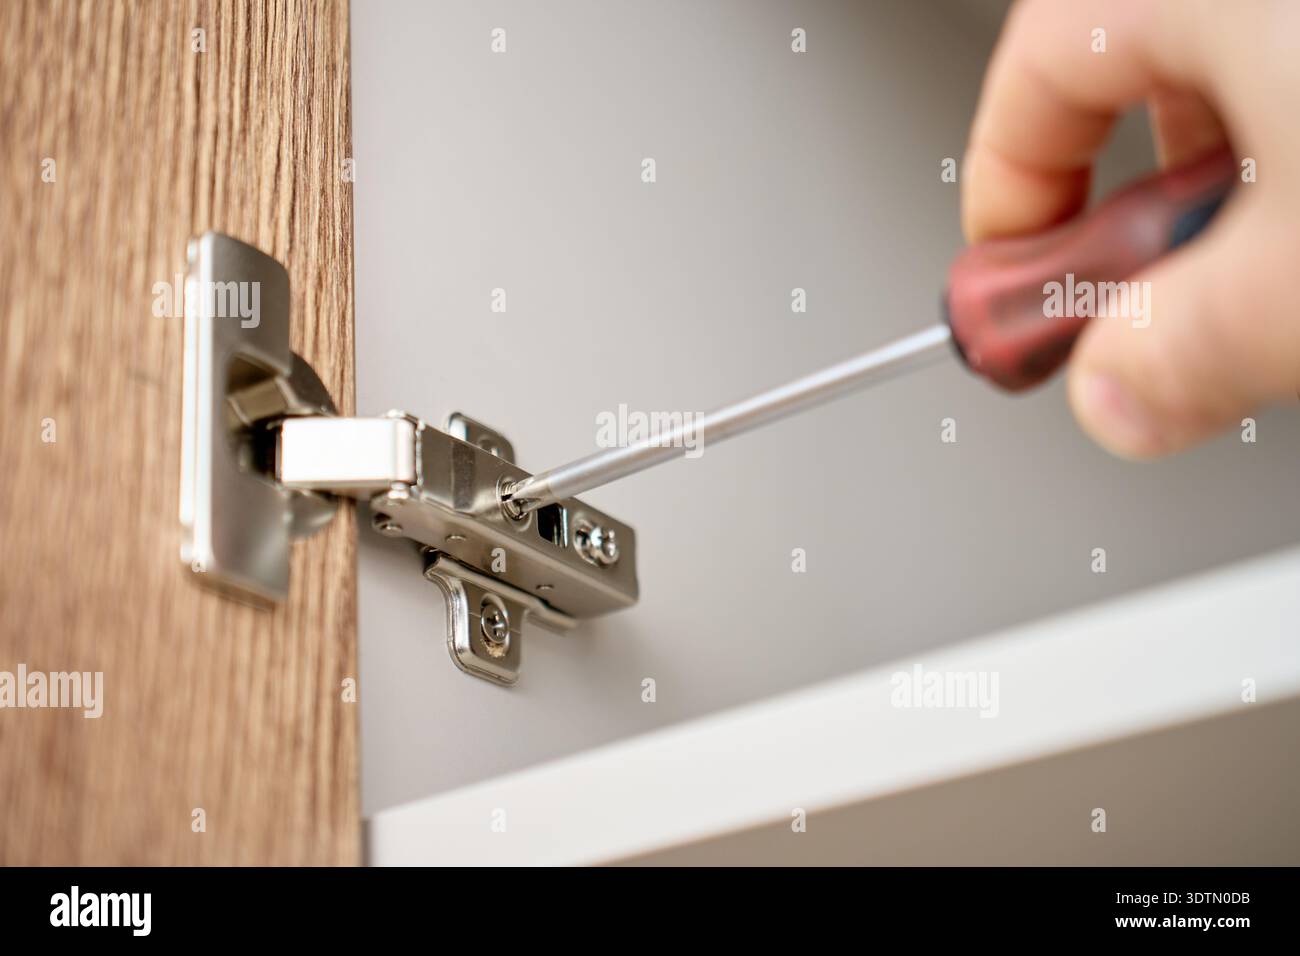
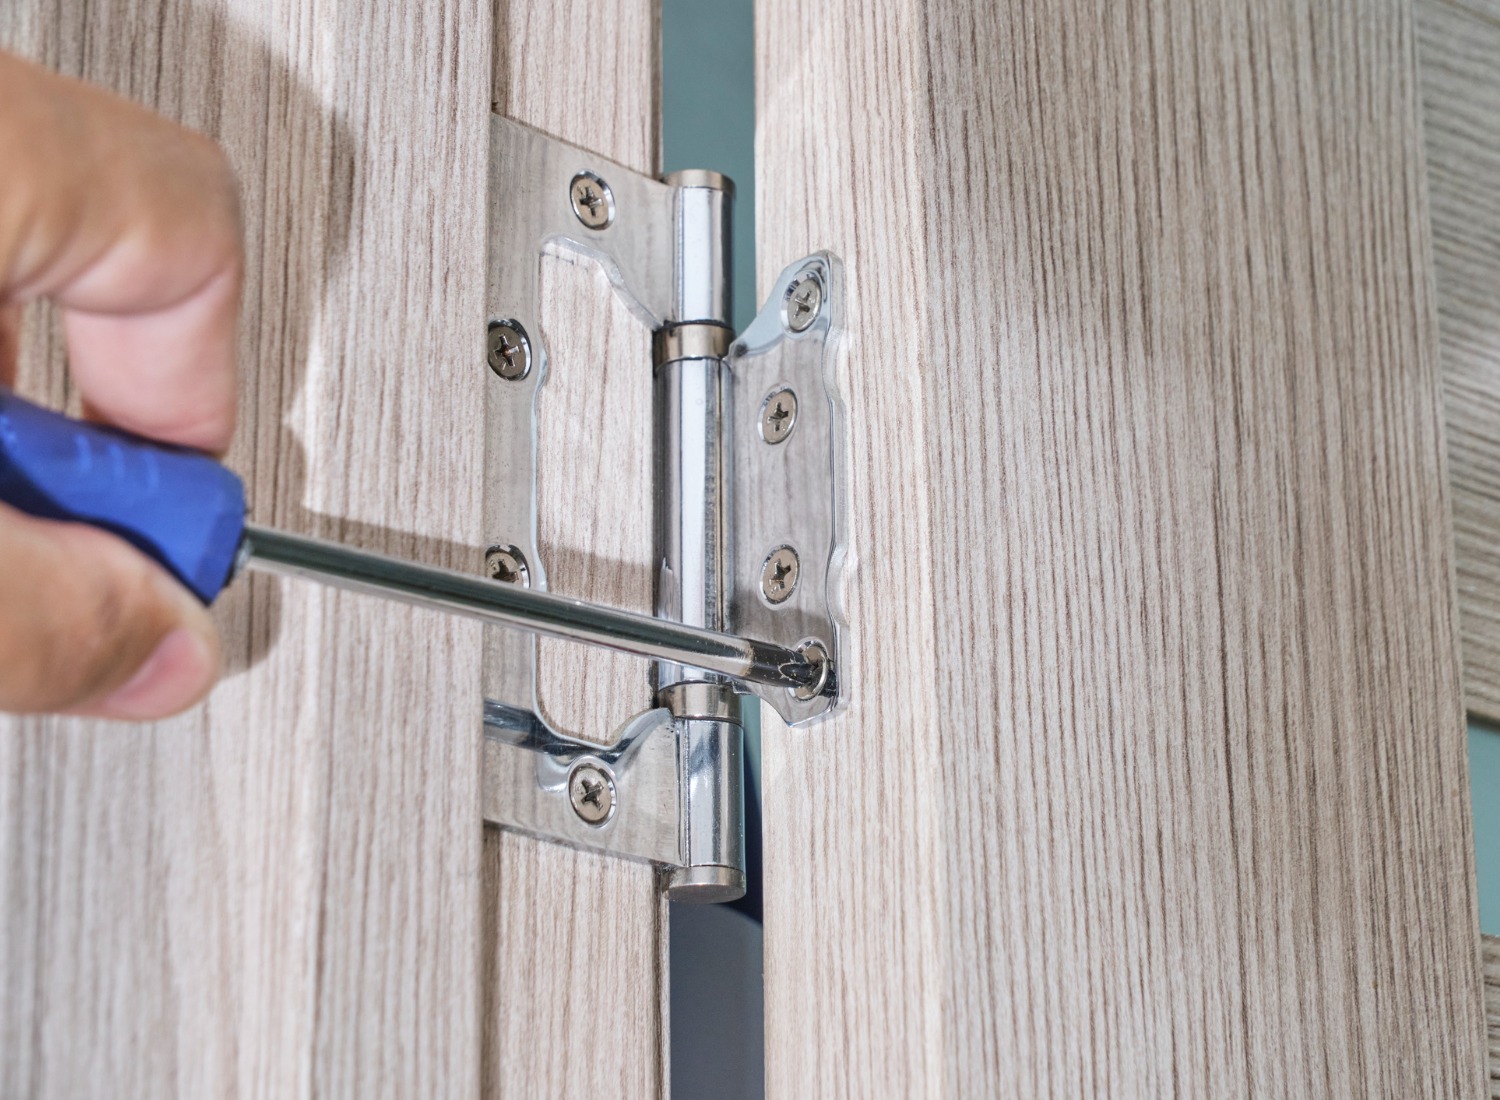
3. Tighten The Hinge Screws
Now, grab your screwdriver. Start with the top hinge. Why? Because that one holds most of the door’s weight.
- Place the screwdriver in the screw head.
- Turn clockwise to tighten.
- Don’t force it. If you feel slipping, the screw might be stripped.
I usually go around to each screw on every hinge, tightening each one. You’d be surprised how just a half-turn can make a big difference. If a screw keeps turning without getting tight, the hole may be stripped (I’ll talk about fixing that soon).
4. Test The Door Again
After tightening, open and close the door. Did it get better? Sometimes the improvement is instant. Other times, I find one hinge is still a bit loose.
If the door is still sagging, look at the screws closest to the door frame. Those often carry the most stress.
5. Fix Loose Or Stripped Screw Holes
A common problem is when the screw hole is too big, and the screw won’t grip. I’ve run into this a lot in older doors.
Here’s What I Do:
- Remove the loose screw.
- Take a wooden toothpick or a matchstick (break off the tip if needed).
- Dip it in wood glue.
- Push it into the hole. I usually use 2-3 toothpicks.
- Break off any extra length so the surface is flat.
- Wait a few minutes for the glue to set a bit.
- Re-insert the screw and tighten.
Suddenly, the screw has something solid to grip again. This trick has saved me from having to replace whole doors or hinges!
6. Replace Worn Or Damaged Screws
If a screw is stripped, rusty, or too short, swap it for a new one. I recommend longer screws (2-3 inches) for the screws that go into the door frame. This gives extra holding power, especially for heavy doors.
7. Final Check And Adjustments
After everything’s tight, I check that the door swings smoothly, closes fully, and lines up with the latch. If anything still feels off, I repeat the steps—sometimes the bottom hinge needs extra attention.
Comparing Screw Types And Lengths
When I started fixing hinges, I didn’t realize how much difference the screw type and length could make. Here’s a quick comparison that helped me choose the right screw for the job:
| Screw Type | Best For | Holding Strength |
|---|---|---|
| Short (1 inch) | Interior doors, light use | Low |
| Medium (1.5 inches) | Standard doors | Moderate |
| Long (2-3 inches) | Exterior/heavy doors | High |
I now always keep a few long screws on hand. They work wonders for old doors that keep coming loose.
Mistakes I Made (so You Don’t Have To)
I want to be honest—my first few attempts at tightening door hinges weren’t perfect. Here are some common mistakes I made, so you can avoid them:
- Using the wrong screwdriver: The wrong size can strip the screw head. Always match the screwdriver to the screw.
- Tightening too much: I once snapped a screw by turning too hard. Tighten until snug, not until you can’t turn anymore.
- Ignoring stripped holes: Screws that spin but won’t tighten need to be fixed (use toothpicks and glue).
- Skipping the top hinge: This one carries most of the weight. Always check it first.
- Forgetting to check alignment: After tightening, make sure the door closes and latches smoothly.
Learning from these mistakes made my repairs quicker and less frustrating.
Why Regular Hinge Maintenance Matters
Before I started fixing door hinges myself, I thought a loose door was just a small problem. But I learned it can actually lead to bigger issues:
- Damage to the frame: A door that sags can pull on the frame and split the wood.
- Security risks: Loose hinges make it easier for someone to force the door open.
- Annoying noises: Squeaks and creaks can drive you crazy!
Now, I check all my door hinges every few months, especially after heavy use or big weather changes.
When To Call A Professional
Most of the time, tightening door hinges with a screwdriver is enough. But sometimes, the problem is bigger. If you see:
- Cracked or split wood around the hinge
- Bent hinge plates
- Hinges pulled out of the door or frame completely
- Heavy exterior doors that keep sagging
…it’s a good idea to call a carpenter or handyman. I’ve done this once, and it saved me a lot of trouble.
My Tips For Long-lasting Results
After fixing dozens of hinges, I’ve picked up a few tricks that keep doors working longer:
- Use a drop of oil on the hinge pin to stop squeaks (just wipe away extra oil).
- Replace old or rusty screws every few years.
- Don’t slam doors—teach kids to close them gently.
- Paint or finish wood doors to protect against moisture.
And always keep a good screwdriver set handy. It’s a small tool that saves big headaches.
Door Hinge Tightening: Data And Real-world Results
I once tracked how often doors in my house needed hinge tightening. Here’s what I found after a year:
| Room | Number of Tightenings/Year | Door Type |
|---|---|---|
| Front Door | 3 | Heavy, exterior |
| Bathroom | 2 | Standard, interior |
| Bedroom | 1 | Light, interior |
Heavier and more-used doors need more attention. Now, I focus on those first during my regular checks.
Comparing Screwdrivers For Door Hinges
I’ve tried a few different screwdrivers over the years. Here’s what I learned from experience:
| Screwdriver Type | Pros | Cons |
|---|---|---|
| Manual Phillips | Good control, fits most screws | Needs more effort |
| Manual Flathead | Works for old-style screws | Slips easily, less common now |
| Electric screwdriver | Fast, less effort | Can overtighten, more expensive |
I usually stick with a good-quality manual screwdriver. It gives me more control and helps avoid stripping the screws.
Non-obvious Insights Most Beginners Miss
Let me share two things I wish I knew earlier:
- Longer screws into the door frame make a huge difference. Most hinges come with short screws. Swap those for longer ones, and your door will stay tight much longer.
- Check the hinge pins too. Sometimes, the pin in the hinge gets loose or rusty. Tap it out, clean it, add a little oil, and tap it back. It stops squeaks and helps the door swing better.
Most guides skip these, but they’ve saved me lots of trouble.
Frequently Asked Questions
How Do I Know If My Door Hinge Is Loose?
If your door sags, makes noise, or doesn’t close right, check the hinges. Try lifting the door by the handle—if it moves, the hinges are probably loose.
Can I Use A Drill Instead Of A Screwdriver?
Yes, you can use a drill for speed, but be careful not to over-tighten. I prefer a screwdriver for more control, especially on older or softer wood.
What Should I Do If The Screw Won’t Tighten?
If the screw just spins, the hole may be stripped. Use toothpicks and wood glue to fill it, then re-insert the screw. This gives the screw something to grip.
Should I Replace All The Screws At Once?
No need, unless they’re all old or rusty. Replace screws that are damaged or won’t tighten. If the door keeps loosening, consider swapping frame screws for longer ones.
Can Loose Hinges Damage My Door?
Yes, over time, loose hinges can split the wood, damage the frame, or even cause the door to fall off. Regular tightening helps prevent bigger problems.
Fixing a door hinge with a screwdriver is one of the easiest home repairs I’ve learned. It gives instant results and saves money. If you ever feel unsure, there’s plenty of advice out there. I even checked out Wikipedia’s hinge page once for extra tips. Don’t be afraid to give it a try—your doors (and your patience) will thank you!
As an Amazon Associate, We earn from qualifying purchases