I still remember the smell of my first soldering attempt. It wasn’t the sweet scent of pine flux. It was the smell of burnt plastic and failure.
I was sitting at my kitchen table in Chicago on a rainy Saturday. I was trying to fix a broken headphone cable with a cheap $5 tool I bought at a hardware store.
It was a disaster. The handle got too hot to hold, and the solder just balled up and rolled off the wire. I almost gave up on electronics right then and there.
Years later, I know better. The tool you use makes all the difference. If you are looking for a soldering iron for beginners, I want to save you that frustration.
Here is what I have learned from burning my fingers so you don’t have to.
Table of Contents
Why You Should Avoid the “Super Cheap” Bins
When I started, I thought all irons were the same. I was wrong. The cheap “pencil” irons that plug directly into the wall are usually bad news.
They have no temperature control. They just get as hot as possible and stay there. This burns off the flux (the stuff that helps solder stick) instantly.
I found that these irons make learning harder. You think you are bad at soldering, but really, it is just the tool fighting you.
For my friends in the US, stay away from the bottom-shelf options at big box stores. Spending just $20 more changes everything.
The Two Types I Actually Recommend
Over the years, I have tested dozens of irons. For a beginner, there are really only two paths you should take today.
1. The “Smart” Portable Iron (My Current Favorite)
Right now, I love the Pinecil (or the Miniware TS101). These are tiny, smart irons that run off a USB-C laptop charger.
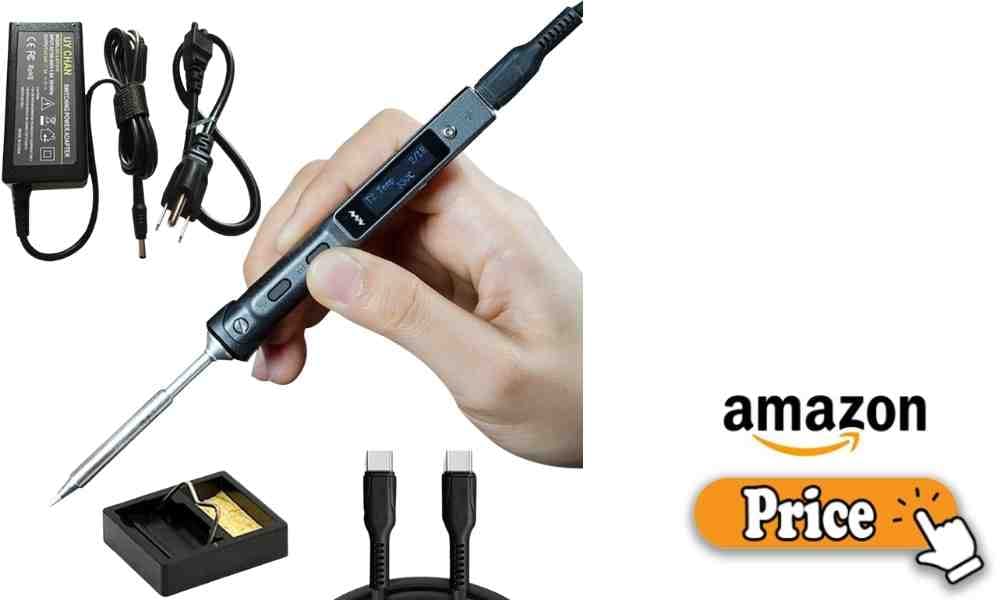
I keep one in my backpack. It heats up in about 8 seconds. When I press the button, it melts solder instantly. It feels like magic compared to my old gear.
If you already have a high-power USB-C charger for your laptop (MacBook or Dell style), this is the cheapest way to get pro-level performance.
2. The Classic Benchtop Station
If you want something that sits on a desk in your garage, get a soldering station. This is a unit with a heavy base and a temperature dial.
The gold standard here in the States is the Hakko FX-888DX. You will see this blue and yellow box on almost every hobbyist’s workbench.
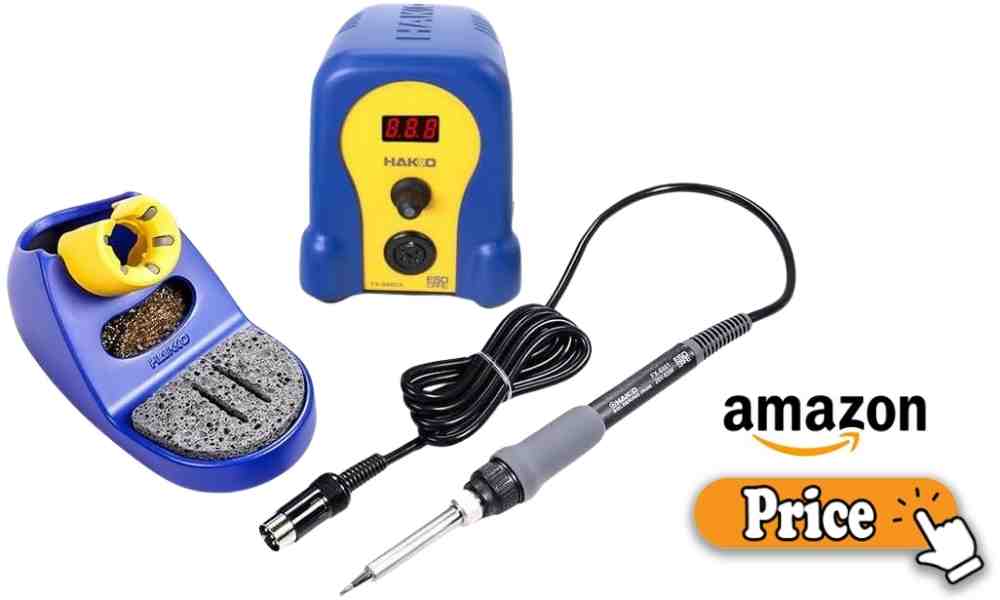
I used one of these for ten years. It is built like a tank. If you plan to solder every weekend, this is the reliable choice. It just works, every time.
Critical Features You Need
If you decide to shop for a different model, don’t go in blind. Based on my experience, there are three things you absolutely must check.
Adjustable Temperature is Non-Negotiable
Never buy an iron without a dial or buttons. You need to control the heat.
I usually set mine to around 350°C (about 660°F). If you can’t change the temp, you will burn delicate parts or melt wire insulation.
High Wattage (Power)
You want at least 60 Watts. Low power irons (15W or 30W) are frustrating.
When you touch a cold metal joint, the iron loses heat. A low-watt iron “freezes” and gets stuck to the board. A high-watt iron powers through and keeps the heat flowing.
The Right Tip Shape
Most irons come with a super sharp “needle” tip. I hate these. They are terrible at transferring heat because the point is too small.
I always swap to a Chisel tip (looks like a flathead screwdriver) or a Bevel tip. The flat surface helps heat up the wire much faster.
What Else You Need
Buying the iron is only step one. I learned the hard way that you need a few accessories to actually finish a job.
- Flux: This is soldering magic. It comes in a tube or pen. If your solder isn’t sticking, add flux. It cleans the metal and makes the solder flow like water.
- Brass Wool: I use this to clean my tip. Wet sponges are okay, but they cool the tip down too much. Brass wool cleans it without the thermal shock.
- A Stand: You are holding a 700°F metal stick. You need a safe place to set it down so you don’t burn your house down.
A Note on Solder
In the US, you will see two main types of solder: Leaded (60/40) and Lead-Free.
If you are just learning, I honestly recommend Leaded solder. It melts at a lower temperature and flows much smoother. It is much easier to learn with.
Just be smart about it. Don’t eat while soldering, and wash your hands with soap immediately after you finish.
If you choose Lead-Free for health reasons, just know you will need higher heat and a bit more patience. It can be tricky for beginners.
Final Thoughts
Soldering is one of the most useful skills I have ever learned. Fixing a $200 game console with a $0.10 part feels incredible.
Don’t be intimidated. Get a decent soldering iron for beginners, grab some scrap wire, and practice.You will mess up a few times. That is part of the fun. Just keep your tip clean and your ventilation running.
FAQs – Soldering Iron for Beginners
What wattage is best for a beginner soldering iron?
You need at least 60 watts. This power keeps the iron hot. Low power tools get cold too fast. A 60-watt iron makes the work smooth and easy for a new user.
Do I really need flux to solder electronics?
Yes, it is a must. Flux cleans the metal parts. It helps the solder stick tight. Without it, the job is hard. Using flux makes the bond strong and neat.
Is lead solder safe for me to use?
It is safe if you are careful. Wash your hands well after use. Do not eat while you work. Open a window for air. This keeps you safe while you learn.
What is the best iron tip shape to start with?
Pick a chisel tip. It has a flat, wide face. It moves heat very well. Sharp needle tips are hard to use. The flat shape helps you work fast and well.
How often should I clean the iron tip?
Clean it every time you use it. Poke the hot tip into brass wool. This takes off old dirt. A clean tip heats up fast. It makes your tool last a long time.
As an Amazon Associate, We earn from qualifying purchases