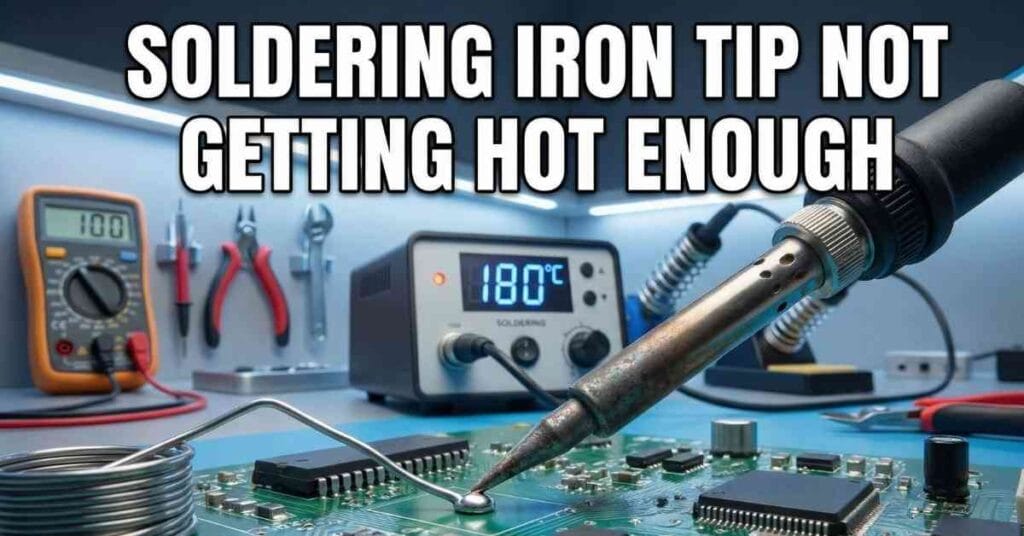
I had one of those slow days when nothing seemed to work right. I sat at my bench, turned on my iron, and waited for that warm glow. The iron felt hot in my hand, but the tip did not act like it. The solder just sat there and refused to melt.
It was strange because the heater was on, yet the tip stayed cold. I learned fast that this problem can come from small things like dirt or loose fit. It can also come from deeper issues like a weak heater.
So I made a simple checklist. It helped me fix the issue step by step. I want to share that here in the same way I figured it out.
How I Knew the Tip Was Not Hot Enough
The first sign was the solder. It did not melt. It formed a bead and rolled off the tip. It looked dull and stiff. It almost felt like the tip had no life in it at all.
I tried a small test. I added a bit of fresh solder to the tip. If it melts fast, the tip has heat. If it sits there like a lump, then the heat is not moving to the tip. My test showed the second case.
I also checked the speed. The iron warmed slow. The joint stayed cold. That told me the tip itself had a heat transfer issue, not just a temp setting issue.
Most Common Causes at a Glance
From what I saw and later confirmed, these are the top reasons.
- Tip oxidation
- Loose or wrong tip fit
- Tip too small for the joint
- Weak or worn heater
- Sensor or station error
- Power supply issues, which can show more in older homes in the USA
These points gave me a clear view of what to check first.
Tip Oxidation or Dirt
This was the issue for me on most days. I would start work, look at the tip, and see a dark skin on it. It looked dry and dull. It also smelled a bit like burnt flux.
Oxidation blocks heat. Even when the heater is hot, the heat cannot cross that layer. So the tip feels cold to the solder. I wiped it with brass wool. Then I added fresh tin. The shine came back and the heat came back too.
If the tip is old or pitted, cleaning will not save it. I learned that fast. In that case, a new tip is the best path. It also helps to tin the tip before I turn the iron off.
Poor Thermal Contact Between Heater and Tip
I once found my tip a bit loose. It moved when I tapped it. I laughed at myself for not seeing it sooner. A loose tip cannot get heat. It sits there like a cold shell.
Some tips fit tight. Some do not. I noticed generic tips can have small gaps. OEM tips fit better with brands like Weller and Hakko, which are common in the USA. A tight fit means better heat flow.
I pushed the tip in, tightened the collar, and the heat came back. If the tip still feels weak, the inner metal may be worn. In that case, it is time to replace it.
Wrong Tip Size or Shape
I used a thin tip on a thick joint once. It was a long day, and I wanted to finish fast. But the joint pulled the heat away. The tip lost the fight. That is what a big ground plane does.
A small tip holds less heat. So it cools fast when it touches a large part. A chisel tip has more mass. It stores more heat. It wins these battles. in many USA repair tasks, like fixing small home gadgets, a mid-size chisel tip works well.
Now I pick the tip based on size first, not shape. That change alone made my work smoother.
Low Power or Underperforming Iron
One of my older irons was only 20W. It was great for tiny jobs. But it slowed down on big work. I kept raising the temp, but it never got strong enough.
Low-power irons lose heat fast. When I touched a thick joint, the temp dropped at once. That told me I needed more wattage. So I got a 60W iron with a fast recovery time. It worked far better.
In many USA stores, I still see lots of low-watt irons on the shelf. They are fine for light work but fall short for big joints.
Heating Element Failure
I had a heater fail once. It did not fail all at once. It got slow. It got weak. It heated the handle more than the tip. I knew something was off.
A bad heater gives heat, but not enough. It also warms unevenly. When I saw this, I knew it was time to check the inside. I stayed safe and did not go deep into the repair. I only checked the basics and then got a new element.
If the heater costs more than half of the iron, I replace the whole iron. That choice saved me time.
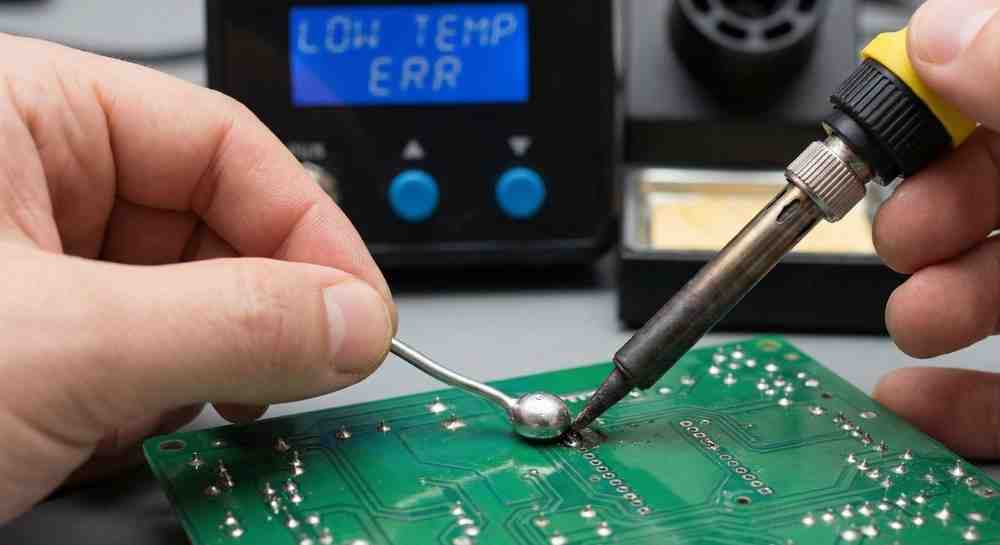
Temperature Sensor or Calibration Issues

On one job, my screen showed 700°F. But the tip felt like room temp. That was the day I learned sensors can drift.
A faulty sensor gives the wrong reading. The iron stops heating because it thinks it is hot. Some stations need a reset. Some need a small calibration. I kept it simple and followed the guide from the maker.
Brands like Hakko and Weller often support calibration well in the USA. That helped me fix the issue fast.
Step-by-Step Troubleshooting Flow
Here is the simple path I use now.
- Clean the tip and re-tin.
- Push the tip in and tighten it.
- Raise the temp a bit and test again.
- Use a larger tip if the joint is large.
- Check the cord and plug.
- Suspect the heater only after all easy checks.
- Pick repair or replacement based on cost.
This list made my work feel calm and clear.
Prevention Tips for Better Long-Term Use
I clean the tip often. I tin it before I turn it off. These small habits save the tip. They also help heat move fast.
I pick the right tip for each job. A small tip is nice for tiny pads. A wide tip is great for big joints. I also check for damage or rust. If the tip looks bad, I replace it.
These steps keep my iron ready every day. It also saves me money.
When to Repair and When to Replace
I check the cost first. A tip is cheap. A heater is not. A new station is sometimes the smarter choice. I also think about how much I use the iron.
In the USA, parts for big brands are easy to find. So repair makes sense for those models. For cheaper irons, I skip the repair and buy a new one.
This mix of logic and cost helped me avoid trouble.
Final Thoughts
Most times, a cold tip is not a big deal. It is often dirt, loose fit, or the wrong tip. Easy fixes. I learned that with time and many small mistakes.
Now I check the simple things first. It saves stress. It saves time. And it makes each job feel smooth.
I hope my steps help you fix your iron and get back to clean, easy solder work. If you take it slow, the tip will feel hot and ready again.
FAQs – Soldering Iron Tip Not Getting Hot Enough
Why is my Soldering Iron Tip Not Getting Hot Enough?
The tip may be dirty, loose, or too small. It may also have a weak heater. A quick clean and tight fit can help fast and guide you to the next step.
How do I fix a soldering iron tip that will not heat well?
Clean the tip and add fresh tin. Check the fit. Try a wide tip. These steps help find the cause and get smooth heat flow for better work.
Can a bad heater make the soldering iron tip stay cool?
Yes, a weak or old heater can slow heat. The iron may feel warm but the tip stays cool. Check simple parts first before you look at the heater.
Does tip size affect heat at the solder joint?
Yes, a small tip can lose heat fast on big joints. A wide tip holds more heat and works well on large pads or parts that pull heat away.
Why does new solder not melt on the tip?
The tip may have dirt or dark spots that block heat. A quick clean and new tin layer can help the heat reach the solder and start the flow.
As an Amazon Associate, We earn from qualifying purchases