I remember the exact moment I almost threw my circular saw across the garage.
It was a Saturday morning. The sun was shining. I was building a simple cabinet for my shop. I had a fresh sheet of oak plywood on the sawhorses. This wood was not cheap. I wanted to do a good job.
I measured twice. I clamped my straight-edge guide down tight. The wood actually groaned under the clamps. I was ready for a perfect cut.
I fired up my Makita 5007MG. I lined it up. I started pushing. It felt fine at first. But halfway through the sheet, the saw began to fight me. It pulled to the left. I pushed harder against the guide to keep it on track.

I finished the cut. I looked at the edge. My heart sank.
The cut was burnt. It was rough. Worst of all, it was not straight. The saw had drifted away from the line. It was off by nearly an 1/8th of an inch.
I was angry. I thought my guide was broken. I thought I was just bad at this.
I was wrong. I ruined that sheet of plywood. But I decided to stop guessing. I needed to know why this happened.
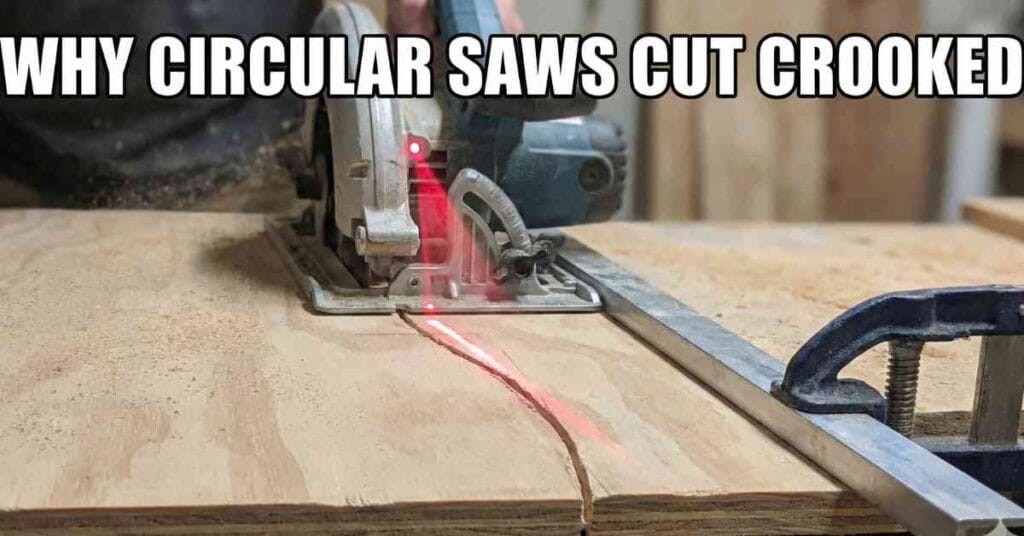
It turns out, a straight guide does not mean a straight cut. The tool might be working against you.
Here is what I found out. This is why circular saws cut crooked. And here is how I fixed it.
The Main Problem
Most people make a simple mistake. I did too. We assume if we push a saw forward, it cuts a straight line.
This is only true if the blade is straight. The blade must be parallel to the edge of the base plate. The base plate is the metal shoe on the bottom of the saw.
What if your blade is angled? Even a tiny bit? We are talking 1/32 of an inch. If it is angled, the saw tries to drive sideways. But you are trying to push it forward.
Think of it like a car. Imagine your front tires are turned slightly to the left. But you force the steering wheel straight. The tires will scrub. They will drag. They will heat up.
That is what happened to my Makita. The blade was “crab walking.” I forced it to follow the guide. But the blade wanted to go left.
Eventually, the blade won. It flexed. It got hot. It wandered off the line.
How I Checked My Saw
I did not just guess. I wanted proof. I did a simple data check. You should do this too. Do it before you make another cut.
It takes five minutes. It saves you money on wood.
1. Unplug the saw. Do not skip this. Safety is first.
2. Flip it over. Look at the bottom of the metal base plate.
3. Mark a tooth. I took a black marker. I put a dot on one specific tooth at the front of the blade.
4. Measure.
I used a precise ruler. I measured the distance from that tooth tip to the edge of the base plate.
- My Measurement: 4.1 inches.
5. Rotate and Repeat. I spun the blade. I moved that same marked tooth to the rear of the saw. I measured again.
- My Measurement: 4.15 inches.
My blade was off by 0.05 inches. That is about 1/20th of an inch.
That sounds tiny. But over an 8-foot cut, it is huge. That tiny angle creates massive friction. That was my culprit.
Other Factors That Ruined My Cut
The alignment was the main bad guy. But I found two other things I was doing wrong. These made it worse.
1. The “White Knuckle” Grip
The saw was fighting me. So, I gripped it like a stress ball. I shoved it forward. I slammed it sideways against the guide rail.
This is bad technique. When you apply that much side pressure, two things happen:
- You twist the saw.
- You bow the guide rail. This happens if you use a thin ruler.
I realized something important. A sharp saw should float through the wood. Do not force it. If you have to grunt to move it, something is wrong.
2. The Blade Depth Trap
I was cutting 3/4-inch plywood. But I had my blade depth set to the max. I had nearly 2 inches of blade hanging out the bottom.
The Physics of the Flop: A circular saw blade is a thin metal disc. It spins fast. Centrifugal force keeps it stiff. But I buried 2 inches of it in wood. The friction creates heat. Metal expands when it gets hot.
The rim of the blade gets hotter than the center. The blade starts to wobble. It loses stiffness. This is called “blade deflection.”
I had the blade set too deep. I gave it more surface area to heat up. I gave it more room to wobble.
The Fix: Step-by-Step
I understood the data. Fixing it took about 20 minutes. Here is the process I used. It gave me laser-straight cuts.
Step 1:
Most good saws have adjustment screws. My Makita has them. They hold the base plate to the motor housing.
- I loosened these screws slightly.
- I tapped the base plate gently.
- I checked my measurements again. I wanted the front and back distance to be equal.
- I tightened the screws. I verified the numbers one last time.
Step 2:
I looked at my old blade. It was a 24-tooth “framing” blade. It was old. The teeth were rounded.
A dull blade needs more force. More force equals crooked cuts.
- The Fix: I bought a high-quality 60-tooth “finish” blade.
- The Result: The difference was huge. It sliced the wood. It did not tear it.
Step 3:
I changed how I set up every cut. Now, I place the saw on the edge of the board first.
I lower the blade depth. I want only one full tooth visible below the wood.
- Why this helps: Less metal in the wood means less heat. Less heat means a straighter blade.
Step 4:
This was hard to learn. I stopped steering the saw.
I set the saw against the guide. I verified my alignment. Then, I pushed the saw with just two fingers.
If the alignment is true, the saw wants to go straight. I only use a little side pressure. Just enough to touch the guide. Not enough to flex it.
Troubleshooting Your Cuts
Are you in your shop right now? Are you scratching your head? Use this table. It will help you find the problem.
| The Symptom | The Likely Cause | The Quick Fix |
| Saw drifts away from guide | Blade is angled toward guide. | Adjust base plate screws. |
| Saw binds or stops | Blade is warped. Guide is bowing. | Check guide. Replace blade. |
| Burn marks on one side | Blade is not parallel to shoe. | Re-align the base plate. |
| Rough, fuzzy edge | Dull blade. Wrong tooth count. | Get a 40T or 60T blade. |
| Motor sounds tired | Pushing too hard. Blade too deep. | Raise blade depth. Slow down. |
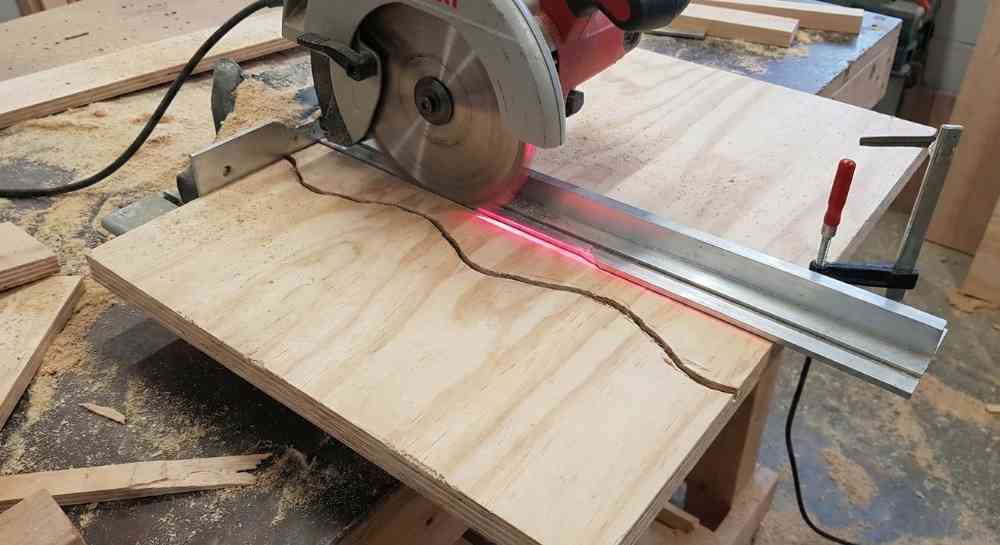
Why The Guide Rail Matters
I also looked at my guide rail. I was using a cheap aluminum ruler. It was flimsy.
When I pushed the saw against it, the ruler bowed. It curved in the middle. This made the cut crooked.
I switched to a rigid guide. You can buy a track saw rail. Or you can make one. A strip of 3/4″ plywood works well. It is stiff. It does not bend.
If you can bend the guide with your hand, do not use it. It will not stay straight under pressure.
Conclusion
I made these adjustments. I went back to that same sheet of plywood.
I clamped the guide. I set the depth correctly. I relaxed my grip.
The Makita glided through the oak. It felt like butter. There was no burning smell. I did not fight the handle.
I put a square on the cut edge. It was perfect.
Cutting straight is not about strength. It is not about buying the most expensive tool. It is about geometry.
If your tool fights the math, you lose. If you align the tool to the math, you win. The cut practically makes itself.
So, do not ruin your next project. Flip that saw over. Measure the blade. It takes five minutes. It is worth it.
FAQs – Why Circular Saws Cut Crooked
Why do circular saws cut crooked even with a guide?
Why circular saws cut crooked is often due to a bad blade. The teeth might be dull. Change the blade to fix the drift. It is a very quick and easy swap to do.
How do I stop my circular saw from drifting?
Check the base plate first. If it is not straight, the saw pulls left. Align the shoe to the blade. This stops the drift. It helps you cut straight lines easily.
Does the blade depth affect the cut quality?
Yes, deep blades wobble more. This makes the cut bad. Set the blade so just one tooth shows. This keeps the steel stiff. It cuts smooth and stays on the line.
Why is my straight edge guide not working?
Thin guides bend when you push. This causes a curve. Use a thick wood strip or a track saw rail. Clamp it tight. Do not push the saw too hard against the side.
Why does my saw burn the wood while cutting?
A dull blade burns the wood. Dirty teeth cause friction too. Clean the blade or buy a new one. A sharp blade cuts fast. It leaves a clean edge on your board.