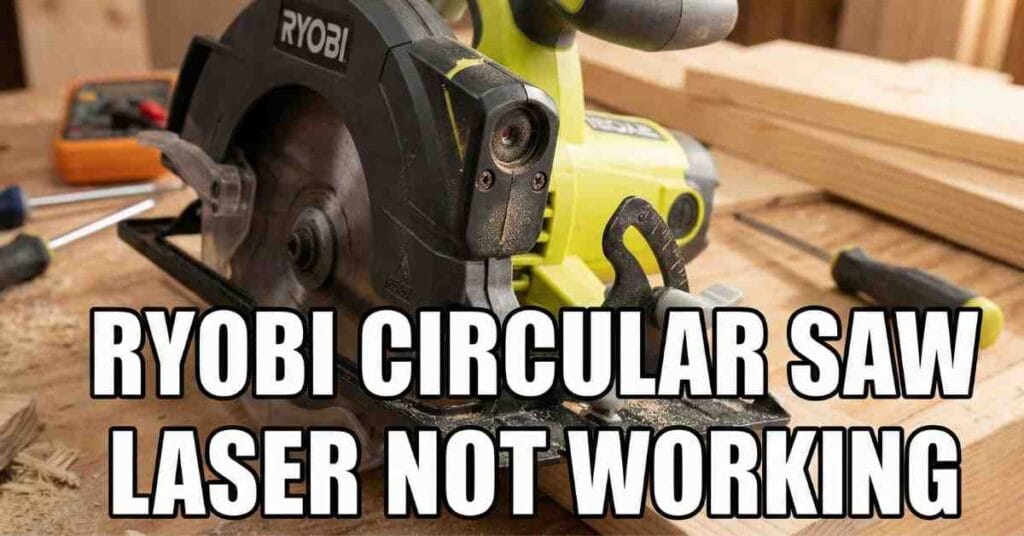
It was a hot Tuesday morning in my Florida shop. I had a big stack of oak boards ready for a new bench. I pulled out my Ryobi saw and lined up the blade. I flipped the laser switch, but nothing happened. The red line I rely on for straight cuts was gone.
It is so annoying when a tool quits right in the middle of a project. I have spent years fixing tools in this humid shop. I knew I had to find the problem fast. If your Ryobi circular saw laser is not working, don’t worry. I found the most common fixes that will save your project.

Checking the Hidden Laser Batteries First
Most people think the laser uses the big 18V battery. I made that mistake for a long time too. On many Ryobi saws, the laser has its own small power source. It usually sits in a tiny box near the handle or the blade guard.
In my Florida workshop, the heat makes small batteries leak fast. I opened the cover and found two old AAA batteries. They were dead and a bit crusty. Replacing them is the easiest fix, but it is the one we always miss.
Battery Guide for Common Ryobi Saws
| Saw Model Type | Battery Needed | Where to Look |
| Corded 7-1/4 Inch | 2 AAA Cells | Top of the handle |
| 18V One+ Cordless | LR44 Button Cells | Near the laser lens |
| Compact Series | 2 AAA Cells | Side of the motor |
If the new batteries don’t work, look at the metal tabs. Sometimes a little rust gets on the metal. I use a tiny bit of sandpaper to clean those tabs. This helps the power reach the laser bulb.
Cleaning Dust Off the Laser Lens
Sawdust is part of shop life, but it is a laser killer. My shop stays dusty no matter how much I clean. Fine pine dust loves to stick to the glass lens. Even a thin layer can make the red beam look very dim.
I once thought my laser was broken for good. I was ready to buy a new saw. Then I took a soft cloth and wiped the tiny glass window. The red line came back bright and sharp right away.
How I Clean My Laser Lens
- First, I use a puff of air to blow away the big wood chips.
- Next, I use a cotton swab with a drop of rubbing alcohol.
- I gently wipe the glass to clear off the sticky grime.
- Finally, I dry it with a clean cloth so it does not streak.
Fixing a Stuck or Gritty Power Switch
The tiny switch for the laser gets a lot of abuse. Sawdust gets inside the button and stops the metal parts from touching. My switch felt “mushy” and did not click like it used to. This is a common sign of a dirty connection.
I used my shop vac to suck the grit out of the switch cracks. Then I clicked the button back and forth many times. This “exercise” breaks up the dust trapped inside. If the light flickers when you touch the button, the switch is the problem.
Finding Loose Wires from Tool Vibration
A circular saw shakes a lot when it cuts thick wood. This vibration can shake a tiny wire loose inside the saw. This happened to me after a long day of cutting heavy plywood. The laser just quit because a wire snapped off.
I had to unscrew the small plastic cover over the laser. Inside, I saw a tiny red wire that was not connected. If you feel safe with a screwdriver, you can check this too. Just make sure the big battery is out first.
Signs Your Saw Has a Loose Wire
- The laser only works when you shake the saw.
- The red line blinks on and off while you are cutting.
- The light stays on when the saw is still but dies when it runs.
Replacing a Burnt Out Laser Diode
Sometimes the part is just dead and cannot be fixed. Laser bulbs have a limited life. The high heat in my Florida shop makes them wear out even faster. If the batteries are fresh and the wires are tight, the bulb is likely burnt.
The good news is that Ryobi makes it easy to swap this part. You do not need to buy a whole new saw. You can buy a new laser module online for a low price. It only takes a few screws and one plug to fix it.
Read More: Skil Circular Saw Blade Is Not Spinning
Adjusting the Laser for a Straight Cut
Once the light is back on, you must make sure it is straight. I once fixed my laser but found it was pointing way to the left. A crooked laser is worse than no laser at all. It will ruin your good wood.
Most Ryobi saws have small screws near the laser hole. I make a test cut on a scrap piece of pine. I stop the saw and see if the red line sits in the cut. I turn the screws until the line is perfectly center.
Common Laser Alignment Problems
| The Problem | The Likely Cause | The Quick Fix |
| Line is tilted | Loose mounting screw | Tighten the side screw |
| Line is off-center | Drift from vibration | Turn the alignment screw |
| Line is blurry | Dirty glass or moisture | Clean with alcohol |
| Line is flickering | Loose battery tabs | Bend the tabs inward |
Keeping Your Laser Working for Years
I love my Ryobi tools because they work hard. To keep your laser bright, blow the dust off after every single job. Don’t let the wood dust sit there and get damp from the air. This keeps the parts from rusting.
I also take the small batteries out if I won’t use the saw for a month. This stops the batteries from leaking acid inside your tool. It is a simple habit that saves you a lot of money and stress.
My oak bench looks great now that my saw is fixed. There is nothing better than a clean and straight cut. If your laser is still dark, check your model number on the side. I can help you find the exact part you need to order.