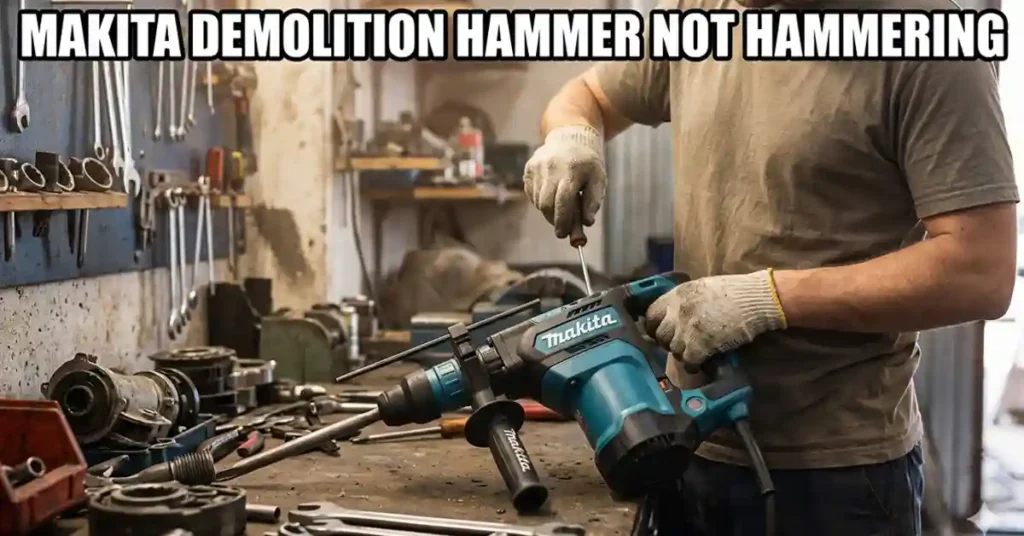
It was a hot Tuesday in July. The sun was baking my driveway. I had a big slab of old concrete that needed to go. I grabbed my Makita demolition hammer and plugged it in. I pulled the trigger. The motor roared. The fan blew dust into my face. But when I pushed the bit against the ground, nothing happened. No thumping. No hitting. Just a loud motor and a very still chisel.
I stood there like a fool. I had a deadline and a sore back. My tool was acting like a fan instead of a hammer. If your Makita demolition hammer is not hammering, I know the feeling. It is a mix of confusion and stress. You expect power, but you get a dud. After years of fixing tools, I have learned that these machines are simple. Usually, a tiny part or a cold day is the only problem.
The Morning My Makita Demolition Hammer Went Silent
I remember the smell of the oil and the sound of the birds. I had high hopes for that concrete work. I pushed down hard on the tool. I thought I just needed more weight. My shoulders ached, but the bit stayed still. I even tried to talk to the tool, which never helps.
I sat down on a bucket to look at the casing. It was not smoking. It was not making a grinding noise. It just would not “catch.” This is the most common issue with these hammers. They use air to do the work. If that air system fails, the hammer stops hitting.
Understanding the Air Cushion Failure
To fix the tool, I had to learn how it works. Inside the barrel, there is a piston. A motor moves that piston back and forth. But the piston does not hit the bit directly. Instead, it pushes a pocket of air. That air then throws a heavy metal piece called a striker. The striker hits the beat piece, and the beat piece hits your chisel.
When your Makita demolition hammer is not hammering, that air cushion is gone. It is like trying to jump on a flat trampoline. There is no bounce or power.
Why the Air Cushion Fails
| Common Cause | What It Feels Like | The Quick Fix |
| Stiff Grease | Tool is cold and lazy | Run it for 5 minutes |
| Worn O-Rings | Weak hits or no hits | Replace rubber seals |
| Dry Cylinder | Scratching or dry sound | Add Makita grease |
| Broken Striker | Loud clanking metal | Replace internal parts |
The Simple Warm-Up Trick
That July morning, I realized I had not used the hammer in months. The grease inside had turned into a thick paste. It was like cold honey. The piston was moving, but it could not move fast enough to create a vacuum.
I let the tool run in the air for about four minutes. I could feel the metal housing getting warm in my hands. The smell of the grease changed. It started to get thin and slippery again. I gave the chisel a sharp “thump” against the concrete while the motor was wide open.
Suddenly, it started to hit. The rhythm came back. The dust started flying. If your tool has been sitting in a cold garage, try this first. It costs nothing. It saves you from taking the whole tool apart.
Checking the Grease Port
If a warm-up does not work, check the grease. I once opened a friend’s Makita and it was dry like a desert. There was no oil or grease at all. Without grease, the rubber seals cannot stay airtight.
How to Check Your Grease
- Find the cap: Most Makita hammers have a round cap on the top or side.
- Use the wrench: Use the pin wrench that came in your kit.
- Look inside: You want to see a healthy amount of cream-colored grease.
- Smell it: If it smells burnt or looks black, change it.
I always keep a tube of Makita Hammer Grease in my bag. Using the wrong grease is a big mistake. Standard grease is too thick. It will stop the hammer from hitting. You need the thin stuff that Makita makes for these tools.
The Mystery of the Worn O-Rings
When I finally took my hammer apart, I saw the real problem. The O-ring on the striker was flat. It had a tiny tear in it. It was so small I almost missed it. But that tiny tear let all the air escape.
Replacing the seals sounds hard, but it is not. You just take the bolts out of the front nose. You slide the cylinder out. You will see a piston with a rubber ring. Look for flat spots or cracks on the rubber.
I wiped everything down with a clean rag. I put on the new rubber rings. I felt a “pop” as they went into the grooves. When I put it back together, the air pressure was strong again. That is exactly what you want for a hard hit.
Inspecting the Beat Piece for Damage
Sometimes the issue is not air. It is metal. Inside the nose of the tool, there is a “beat piece.” It takes the hit from the striker and gives it to the bit. I once saw a hammer stop because this piece had shattered into chunks.
If you hear a “clanking” sound like marbles in a jar, stop at once. Do not keep pulling the trigger. Metal chunks can grind down the inside of the barrel. That is a very expensive fix. Open the front end and look for broken metal parts.
Identifying Internal Damage
| Part Name | Role in Hammering | Signs of Failure |
| Piston | Pushes the air | Motor runs but no air |
| Striker | Hits the beat piece | Weak impact power |
| Beat Piece | Hits the chisel | Bit won’t stay in |
| Tool Retainer | Holds the bit | Bit falls out |
My Personal Maintenance Routine
I treat my Makita tools like a high-end truck. I do not wait for them to break. After every big job, I wipe down the air vents. Dust is the enemy of any power tool. If dust gets into the cylinder, it acts like sandpaper. It will eat your rubber rings for breakfast.
Every six months, I do a grease check. I do not just add more. I wipe out the old stuff and put in fresh grease. It keeps the tool hitting hard. It also keeps the motor cool during long jobs.
Common Questions and Mistakes
People often ask me if they can use motor oil or WD-40. The answer is a loud “No!” Oil will leak out and make a mess. WD-40 will dry out the rubber seals and ruin them. Only use the grease made for demolition hammers.
Another question is about the carbon brushes. If your motor is not spinning at all, check the brushes. But if the motor sounds strong, your brushes are fine. The “not hammering” issue is almost always about air and seals.
Summary of the Fix
If your Makita demolition hammer is not hammering, do not give up. Start with the warm-up trick. Run it for a few minutes to thin the grease. Then check the grease level and look for worn O-rings.
Fixing these tools yourself is a great way to save money. It also helps you learn how your gear works. The next time you are on a job site, you can be the hero who knows how to fix a “dead” hammer.
That concrete slab on my driveway did not stand a chance. There is nothing like the feeling of a tool that works well. It makes the hard work feel a little easier. Take care of your Makita, and it will take care of the concrete.