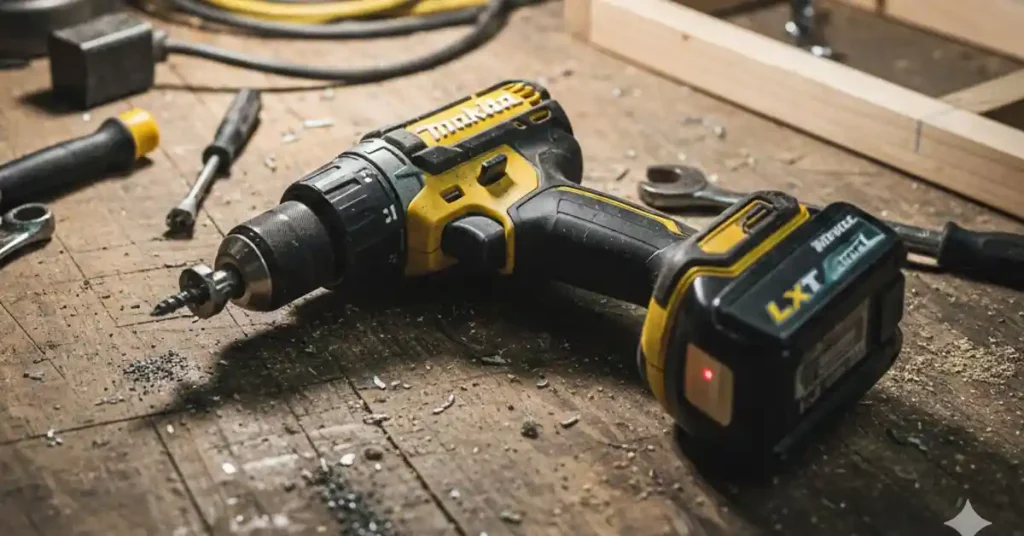
It was a hot Tuesday afternoon in my garage. I was halfway through building a new workbench for my shop. I picked up my favorite Makita drill and lined up a screw. I pulled the trigger, but nothing happened at all.

The silence was a total shock to me. There was no motor whine and no light. It was just a dead hunk of teal plastic in my hand. I felt a wave of stress because I had a long list of tasks to finish.
I spent the next hour testing every part of that tool. I want to share that journey with you now. If your Makita cordless drill is not working, do not panic yet. Most of the time, a dead tool just has a small glitch you can fix fast.
The First Culprit: Battery Connection Blues
The battery is the heart of any cordless tool. It is also the part that fails the most. When my drill died, my first thought was that the juice was gone. I had to look closer at how the pack was talking to the tool.

Testing the Power Levels
I pushed the small red button on the back of my LXT pack. Two bars lit up bright red. That should have been enough to drive a small screw. But Makita tools are smart and will stop if they sense a small internal cell error.
| Battery Light Status | What It Usually Means | My Personal Fix |
| Single Blinking Bar | Low Voltage | Charge for at least 20 minutes |
| Two Outer Bars Blinking | Overheated | Move to a cool spot for 30 minutes |
| All Bars Flashing | Communication Error | Clean the yellow connector port |
Cleaning the Metal Terminals
I noticed a thin layer of fine wood dust on the metal rails. I grabbed an old dry toothbrush and a can of air. I cleaned the teeth on the drill and the slots on the battery. A tiny bit of grit can stop the flow of power in an instant.
Checking the Safety and Gear Switches
After I cleaned the battery, the drill still did not budge. I started to get a bit worried about the motor. Before I took it apart, I checked the physical switches. This is where many “broken” tools hide their secrets from us.
The Center Lock Trap
I realized my thumb had bumped the direction switch. It was sitting right in the middle of the handle. On a Makita, the center spot is a safety lock. It stops the trigger from moving at all. I clicked it firmly into the forward gear and felt it lock.
The Gear Shifter
On top of the drill, there is a slider for speed one and speed two. I saw that mine was slightly crooked and not flat. If that gear is not fully set, the drill will stay silent. I slid it back and forth to make sure it was in the right spot.
When the Trigger Becomes the Real Problem
I could feel a slight crunch when I pulled the trigger. It did not feel smooth like it usually does in my hand. If you work in dusty areas, that grit gets inside the switch fast. This can break the electrical path inside the tool.
The Rapid Fire Method
Here is a trick an old pro taught me. First, take the battery out of the tool. This is very important for safety! Then, pull the trigger as fast as you can about fifty times. This helps knock the dust off the copper contacts inside.
Testing the Result
I did this for a full minute to be sure. I popped the battery back in and the LED light finally blinked at me. Progress felt great at that moment. The “massage” for the trigger saved me from buying a whole new tool that day.
Diagnosing Internal Failures
If you have tried the battery and the switches, we have to look deeper. This is where we see if the fix is easy or a big job. Some parts are easy to swap, while others mean the tool is done for good.
The LED Light Test
Pull the trigger halfway and look at the base of the tool. Does the small white light turn on? If the light is on but the motor is off, the battery is fine. The issue is likely the motor or the carbon brushes inside the casing.
Identifying Your Motor Type
My drill is a brushless model which is very tough. If these fail, it is usually the electronic circuit board. If you have an older Makita, you might see sparks through the side vents. That is a sign your carbon brushes are worn out and need a swap.
| Motor Type | Common Failure Sign | Repair Difficulty |
| Brushed | Visible sparks or burnt smell | Easy to fix at home |
| Brushless (BL) | Sudden stop or a beep sound | Hard to fix by yourself |
Real World Fixes from My Workshop
I have a friend who thought his drill was dead for a year. He left it in a damp shed over a cold winter. When we opened it up, the yellow connector had a bit of green rust. We scraped it off with a tool, and the drill worked like new.
The Heat Factor
It was a very hot day when my drill first stopped. Makita tools use a tech called Star Protection. If the battery gets too hot, it sends a signal to stop the motor. If your tool stops on a sunny day, give it a rest in the shade for a bit.
How to Prevent Future Tool Failures
Now that my drill is humming again, I want to keep it that way. I have started a small routine to avoid that dead tool panic. These simple steps save me a lot of money and time on my projects.
Charge Before Empty
I used to run my packs until the drill would not turn. That is very bad for the lithium cells. Now, as soon as I feel a loss in power, I swap the pack. This keeps the battery healthy and the motor running at the right speed.
Blow Out the Dust
Once a week, I use my air hose to blow air through the vents. You would be shocked at how much gunk flies out of a clean tool. Keeping the inside clear helps the motor stay cool while you work on big jobs.
Summary of My Easy Fix Steps
If you are in your shop right now with a dead drill, follow my path. Swap the battery first to rule out a power fluke. Clean the metal points with a dry cloth or a brush. Never use water on your power tools.
Check the direction switch and the gear slider on top. Pull the trigger many times with the battery out to clear out any hidden dust. If the LED light comes on, your battery is good. If the drill still fails, it may be time to visit a repair shop.
My workbench is finally done and it looks great. My Makita got me through the job in the end. It just needed a little bit of care and a quick clean. Most of the time, our tools just need us to pay attention to the small things.
FAQs: Makita Cordless Drill Stopped Working
Why is my Makita cordless drill not working even with a full battery?
The metal tabs on your battery or drill might be dirty. Dust stops the power from flowing. Wipe the contacts with a dry cloth to fix the connection.
How do I reset my Makita battery after it stops in the heat?
Move the battery to a cool, shady spot for thirty minutes. Makita tools have a sensor that cuts power to prevent a fire. Once it feels cool, it will run again.
Can I fix a Makita drill trigger that feels stuck or crunchy?
Remove the battery and pull the trigger fast fifty times. This knocks loose any hidden grit or wood dust. This simple trick often brings a dead trigger back to life.