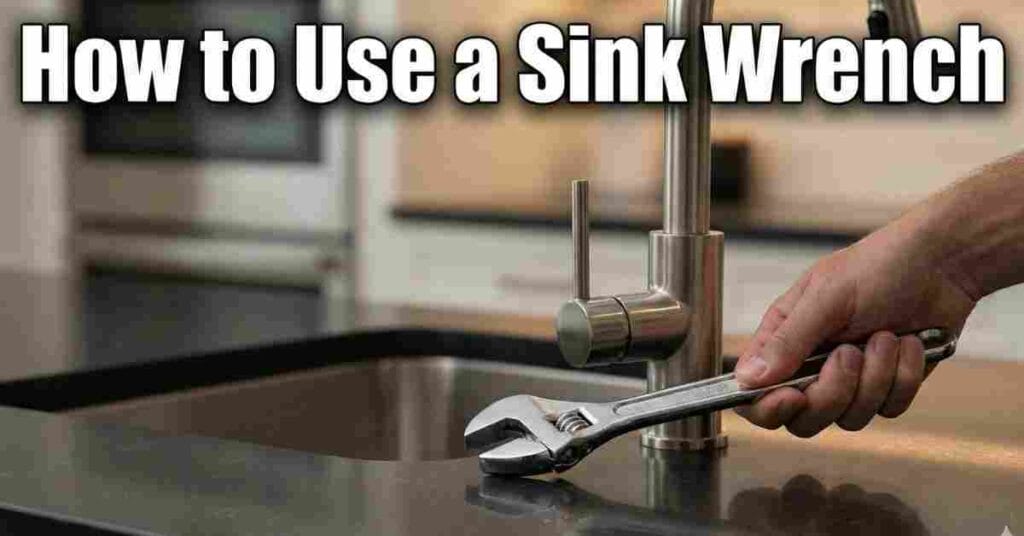
Last Tuesday, I found myself staring at a puddle under my kitchen sink. The faucet was wobbly, and a slow drip was mocking me from behind the basin. I grabbed my usual DeWalt set, but there was just no room for a standard wrench. That is when I reached for my basin wrench—the odd-looking tool that saves your sanity in tight spots.

Learning how to use a sink wrench feels like learning a secret handshake. It’s a bit awkward at first, but once you “get” it, you’ll never go back to scraping your skin against cold copper pipes.
Table of Contents
What Exactly is a Basin Wrench?
The first time I saw one, I thought it looked like a medieval hook. It is a long tool made to reach nuts tucked way up behind the sink bowl where hands can’t fit.
- The Anatomy: Most have a long, telescoping handle and a head that flips.
- The “Bite”: The head has sharp teeth and a spring jaw. This is what grabs the nut for you.
- Brands I Trust: For my big projects, I stick with Ridgid or Milwaukee. They feel solid. Cheap $10 tools tend to slip and round off your hardware.
Getting Ready
You can’t just dive under a sink. You have to prep the space first. My guest bathroom cabinet is tiny, so I’ve learned that prep prevents a big headache.
Before you touch the wrench, clear everything out. Get the old sponges and the half-empty soap bottles out of the way. I always lay down a thick towel or a yoga mat. The floor of a wood cabinet is hard. Your lower back will thank you later.
Next, grab a good light. I use a small LED light stuck to the wall. If you don’t have one, a headlamp is your best friend. Holding a light in your teeth while you work is a bad idea. I’ve tried it, and it just leads to a sore jaw and a wet face.
How to Use a Sink Wrench: The Step-by-Step Struggle
This is where the magic happens. It is all about the angle and the “bite” of the metal. If you get the grip right, the rest is easy.
Adjusting the Pivot Head
The head of the wrench should be at a right angle to the handle. Think of the letter “T.” You want the teeth to face the way you want to turn.
The “Left-Loosey” Flip
Remember, you are looking up. Everything feels backward when you are on your back. To loosen a nut, the open part of the jaw should face right. To tighten it, flip the head over so the jaw faces left. It feels like a brain teaser the first few times!
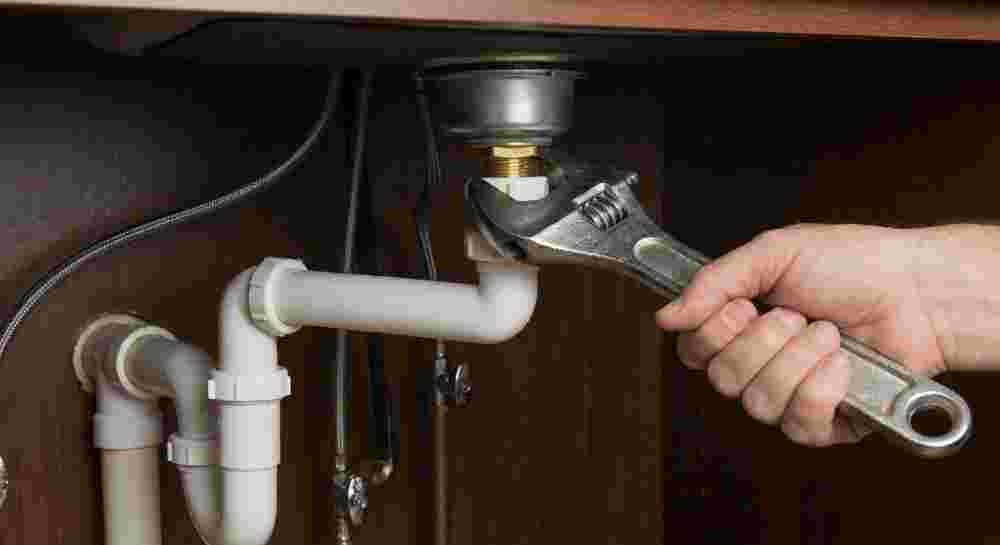
Engaging the Nut
Slide the wrench up the back of the sink. Hook those teeth onto the nut. I use one hand to guide the head and the other to hold the handle. Once the teeth grab, the spring jaw will lock on tight.
Turning the T-Bar
Use the handle at the bottom to twist. If the nut is stuck—and they often are—use the telescoping bar to get more power. You will hear a loud creak when it finally gives up. That sound is a victory for any DIYer.
Pro Secrets for Those Stubborn
Sometimes the house fights back. If you live in a place with hard water, nuts can rust shut. I have seen some that looked like they were welded on by time.
If the wrench slips, do not just pull harder. You will ruin the nut. Spray some PB Blaster or WD-40 on the threads and go get a snack. Let it sit for ten minutes. If it is still stuck, I sometimes use a long screwdriver through the handle loop for more turn power. Just be careful not to snap the plastic parts on newer Craftsman or budget faucets.
Common Mistakes
We have all been there. It is usually a Sunday night and the stores are closed. I have made every mistake so you don’t have to.
- Wrong Direction: Check your “flip.” I once spent ten minutes tightening a nut I wanted to remove.
- Too Much Power: When putting in a new faucet, do not go “Hulk” mode. You can crack the sink or crush the rubber seal. “Snug” is plenty.
- Ignoring the Pipes: If you can’t reach the nut, just take the drain pipe off. It takes two minutes. It gives your arms much more room to move.
Using a sink wrench is not about strength. It is about the right tool doing the reach for you. Next time you see a leak, do not call the pro yet. Take a deep breath, grab your wrench, and get under there.
FAQs – How to Use a Sink Wrench
What is a basin wrench used for?
A basin wrench helps you reach nuts behind a sink. It has a long neck and a swivel head. This tool works in tight spots where your hands or a standard wrench cannot fit.
How do I turn a sink wrench to loosen a nut?
To loosen a nut, flip the jaw to the right side. This allows the teeth to grab as you turn it. Remember the rule: “lefty-loosey” still applies even when you are lying on your back.
Can a sink wrench reach deep faucet nuts?
Yes, most basin wrenches have a telescoping handle. You can pull the bar to make the tool longer. Brands like Milwaukee make models that reach up to 17 inches for deep sinks.
Why does my basin wrench keep slipping?
Slipping usually happens if the jaw is not flat. Make sure the teeth hug the nut firmly. If the nut is rusty, use a spray like WD-40 to help the metal teeth get a better grip.
Is a plastic faucet tool better than a metal wrench?
Plastic tools work well for new installs. They are light and easy to hold. However, for old, stuck nuts, a metal Ridgid wrench is best. Metal tools provide much more turning power.