Ever feel like your sander isn’t pulling its weight? Knowing how to use a belt sander the right way can make or break your project. I’ve used mine in all kinds of places — from damp Florida garages to dry, dusty Arizona sheds — and learned one clear thing: setup matters.
With the right setup, sanding feels smooth and easy. Get it wrong, and you’ll fight uneven spots, burn marks, and wasted time. Whether you’re smoothing oak doors or flattening plywood panels, this guide shows how to use a belt sander safely and efficiently. These are real lessons I’ve learned after testing models from DeWalt, Makita, and Craftsman side by side.

Table of Contents
What Is a Belt Sander and Why Do Woodworkers Use It?
If you’ve ever tried sanding a large, uneven board by hand, you know how slow it is. That’s when I first grabbed a belt sander — and it changed everything.
A belt sander is a powerful tool that removes material fast. It’s made for flattening, shaping, and stripping wood before finer sanding.

How a Belt Sander Works
Picture a fast loop of sandpaper spinning on two drums. The electric motor drives that belt at high speed. You press it lightly against the wood, and it starts leveling in seconds.
The first time I used one, it ate through rough oak like butter. It’s not a finishing tool — it’s for heavy sanding and shaping. I learned quick that a belt sander fixes or ruins a board faster than you expect.
So, when I need speed and control for tough sanding, this is my go-to tool.
Common U.S. Use Cases
Here in the States, belt sanders are a daily helper. I’ve flattened tabletops in my Midwest shop, stripped deck paint in humid Florida, and shaped swollen door edges every summer.
In dry Arizona, I used one to smooth plywood for a garage build — the dust was wild, but it saved hours. Across regions, this tool wins for quick, even prep before finishing.
What Types of Belt Sanders Are There?
I’ve owned a few over the years, and each serves a different job. Picking the right one changes both comfort and results.
Handheld Belt Sanders
Most people start here. Handheld sanders are light, portable, and easy to guide. I use my DeWalt for small fixes, but Makita and Craftsman models work well too.
The best part is mobility. You bring the tool to the wood — not the other way around. For tight garages or small shops, that’s a lifesaver.
Stationary or Bench-Mounted Models
For heavy-duty jobs, I switch to a bench sander. It’s solid, powerful, and built for long runs.
These models often have flat tables, wide belts, and sometimes a miter guide. You’ll see them in most cabinet or metal shops. They stay steady and keep results consistent — great when sanding multiple parts.
Variable-Speed Belt Sanders
Speed control is more than a feature — it’s protection. It lets you slow down for softwoods or plastics and speed up for hardwood or steel.
Lower speed keeps soft materials from melting or burning. I found that out while sanding pine in a hot Florida garage — resin clogged my belt fast. A slower speed fixed it.
What Safety Gear Do You Need Before Using a Belt Sander?
A belt sander doesn’t forgive carelessness. It’s fast, loud, and messy. Safety gear is part of the job.

Essential PPE
Before starting, I always grab three things:
- Eye protection: ANSI-rated goggles stop flying chips.
Dust mask: A NIOSH-rated mask keeps sawdust out of my lungs. - Hearing protection: These machines often top 90 decibels.
Wearing them became a habit, like buckling a seatbelt. Simple, smart, and it keeps you working longer.
Workspace Safety
Keep cords behind you and clear of the sanding area. You don’t want to trip or grind through a live wire.
If you have a shop vac or dust collector, use it. Fine dust piles up fast. And never wear gloves — the belt can catch fabric in an instant. OSHA 1910.212 spells that out for a reason.
U.S. Workshop Tip
In coastal or humid areas, always plug into a GFCI outlet. Belt sanders pull real current, and grounded power keeps you safe from shocks.
How to Set Up Your Belt Sander for Best Results
Good setup makes good results. Early on, I’d slap on a belt and start sanding — big mistake. Once I learned to match the grit, track the belt, and secure my work, my finishes improved overnight.
Step 1 — Choose the Right Sanding Belt
Picking the right grit is key.
- 40–60 grit: Fast stock removal or stripping old paint.
- 80–120 grit: Leveling and smoothing.
- 180–220 grit: Fine prep before staining or sealing.
As for materials:
- Aluminum oxide: All-around woodwork choice.
- Zirconia: Great for hardwoods or metal.
- Silicon carbide: Works best on plastics and soft metals.
Cold shops can make belts stiff. In warm, humid places, I prefer open-coat abrasives to avoid clogging.
Step 2 — Install and Align the Belt
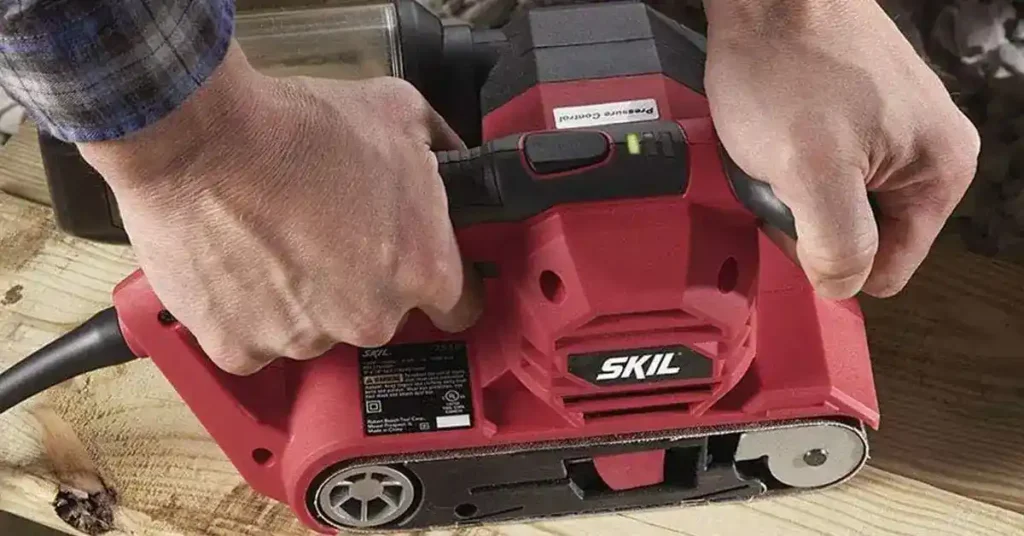
Always unplug before touching the belt. Match the arrows on the belt to the housing, then use the tension lever to tighten it.
Run the sander for a second and adjust tracking until the belt stays centered. Skip this, and you’ll fray a belt fast — trust me, I’ve done it.
Step 3 — Secure Your Workpiece
Clamp or hold your piece tight. Loose work moves, and that ruins precision.
I use clamps or a non-slip pad. For large panels, I support them flat so the belt stays even. The sander should move the surface, not the other way around.
How to Use a Belt Sander Step by Step
Once setup is solid, technique is everything. A belt sander isn’t a brute-force tool — it’s all about flow.
Step 1 — Start with a Soft Landing
Let the sander reach full speed first. Then lower the back roller, then the front — like landing a small plane.
Drop it flat too fast, and you’ll carve a trench. I learned that the hard way.
Step 2 — Move Constantly and With the Grain
Always sand with the grain. Going across it leaves deep scratches that won’t hide later.
Use long, even strokes that overlap halfway. Never stop mid-pass — that’s how you get gouges. I keep a steady rhythm, like brushing paint.
Step 3 — Apply Gentle, Even Pressure
Let the sander’s weight do the work. Pushing harder only burns wood and strains the motor.
If you see scorch marks, ease up or change belts.
Step 4 — Lift Off Smoothly at the End
When finishing a pass, lift the front roller first while still moving. This avoids “stop spots” and keeps your surface smooth.
Step 5 — Work Through Grits Gradually
Move from coarse to fine — 80, then 120, then 180. Don’t skip steps. Wipe dust between grits with a tack cloth to avoid scratches.
How to Avoid Common Belt Sander Mistakes
Even pros mess up with this tool. I’ve done it all — burned wood, rounded corners, gouged panels. Here’s how to avoid that.
Preventing Gouges and Divots
Most gouges come from tilting the sander or stopping in place. Keep it flat and balanced.
If it starts to pull, don’t fight it — guide it back gently. Smooth control beats strength every time.
Preventing Burn Marks
Burn marks mean a dull or dirty belt. Replace or clean it with a rubber stick. Keep your passes steady and light.
In hot climates, slow down and take breaks. Friction heat builds fast.
Avoiding Rounded Edges
Never let half your platen hang off an edge — it’ll round corners instantly. Sand edges separately.
For crisp lines, finish with a sanding block by hand.
How to Maintain and Store a Belt Sander
A little care keeps a belt sander running for years. A clean tool runs cooler, lasts longer, and saves money on repairs. I used to drop mine on the bench after work — until dust cooked the motor. Now, I spend five minutes cleaning after every use.
After-Use Cleaning
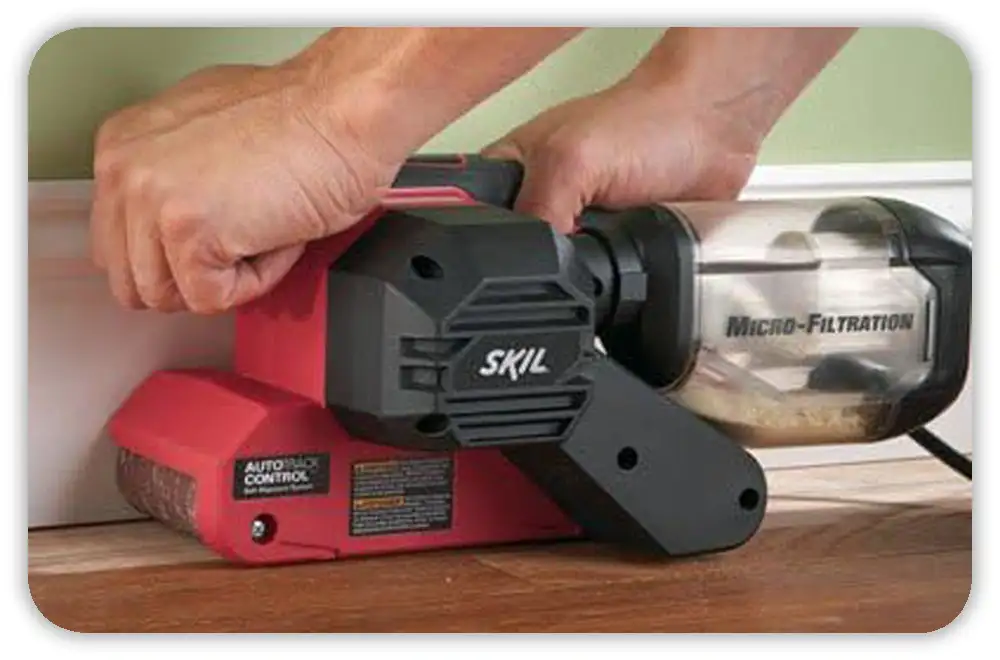
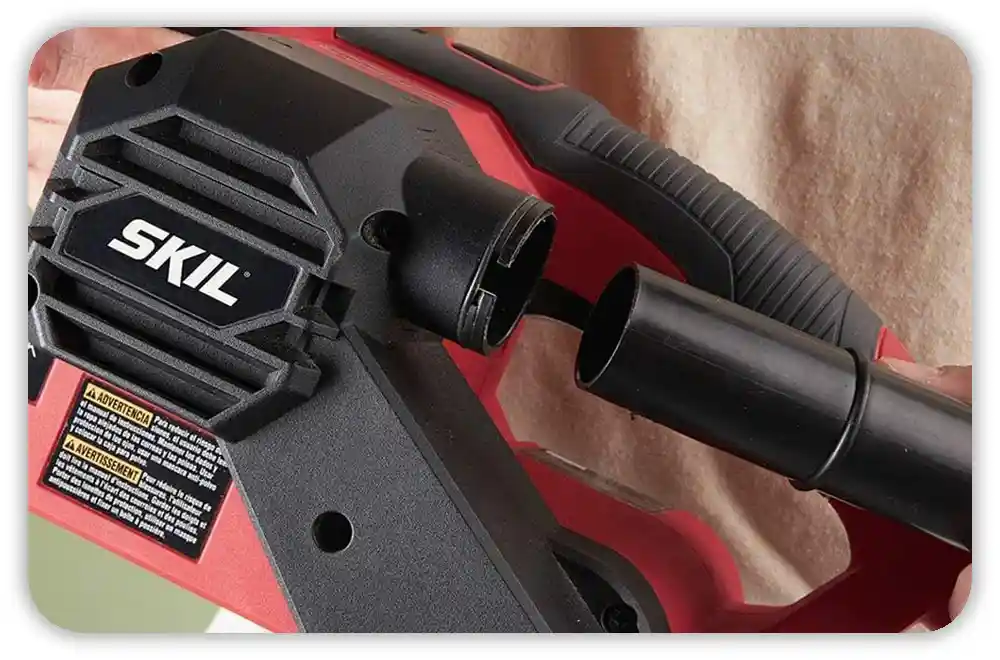
Always unplug first. Once cool, empty the dust bag or vacuum bin. Fine dust piles up fast, especially with pine or cedar.
Then I grab a brush or use compressed air to clear vents. It stops the motor from overheating and avoids that smoky “burnt wood” smell.
In humid areas like Florida, this step matters even more. Moist dust clumps up inside vents and shortens motor life.
Belt and Platen Care
Belts clog faster than most people expect. I use a rubber cleaning stick — one quick swipe clears the grit.
If a belt is torn or shiny, I replace it. A dull belt burns wood and strains the motor. I’ve tried “one more use” too many times — it’s never worth it.
Check the platen (the flat metal plate) now and then. If it’s worn unevenly, replace it. A flat platen keeps sanding smooth and even.
Storage Best Practices
When done, I store my sander on its side — never flat. That stops the belt from warping or sticking, especially in warm garages.
I hang spare belts on hooks off the floor. Concrete holds moisture, which makes belts curl or crack. I learned that during a damp Ohio spring.
If you’re near the coast, store belts in a sealed bin with a small dehumidifier pack. It keeps them dry and ready to use.
Advanced Belt Sander Techniques
Once you’ve mastered the basics, a belt sander becomes a precision tool. Over the years, I’ve used it for shaping, leveling, and fine prep work that goes beyond rough sanding.
Flattening Large Panels
When leveling a tabletop or door, I don’t start with the grain. I begin with diagonal passes at 45 degrees to knock down high spots.
Once it’s even, I sand with the grain for the final passes. It saves time and leaves a smooth, ready surface.
In dry places like Arizona, static dust clings — a quick vacuum pass helps.
Shaping Curves and Edges
The front roller is great for curves. I use it to round corners or smooth shaped edges.
Light pressure and steady motion are the secret. Press too hard, and you’ll dig a groove you’ll regret. I mark my curves with pencil lines so I stay consistent.
Stripping Paint and Varnish
Old paint clogs belts fast. Open-coat belts shed debris better and run cooler. Keep a vacuum or dust collector running — finish dust can ignite.
In Florida’s humidity, paint softens quickly, so I work in short bursts.
Sanding Metal or Plastic
Before sanding metal, clean every trace of wood dust. Sparks and sawdust don’t mix.
Use fine-grit zirconia belts and slow the speed if you can. It keeps heat down and avoids melting or color change.
In colder states, metal stays cool longer; in warm shops, take short breaks.
FAQs: How to Use a Belt Sander
What grit sandpaper should I start with on rough wood?
Start with 80-grit for rough wood. It cuts fast but leaves a clean surface. Move to 120, then finish with 180-grit for a smooth, ready-to-stain feel.
Can I use a belt sander on metal?
Yes. Use zirconia or ceramic belts and clear all sawdust before starting. Sparks and dust are a fire risk, so keep a fire extinguisher nearby.
Should I wear gloves when using a belt sander?
No. Gloves can catch in the moving belt. Use a solid two-handed grip instead. I’ve seen gloves get pulled in — not worth the risk.
How do I stop my belt from slipping off?
If your belt drifts or slips, check the tracking knob and tension. Make sure the arrows on the belt match the tool’s direction. Temperature swings — hot summers or cold winters — can affect tracking. A small tweak usually fixes it.