I still remember the first time my chainsaw chain jumped off the bar. I was cutting firewood on a chilly Saturday morning. I was in a groove, making good progress, and then—clack. The chain hung loose like a necklace.
I felt frustrated. I had just bought the saw and thought I broke it. But after a quick break and some reading, I realized I had just neglected a simple maintenance step.
Learning how to tighten the chain on a Stihl chainsaw isn’t just about safety; it’s about keeping your tool happy. Over the years, I’ve tightened hundreds of chains. Here is the exact method I use, written simply so you can get back to cutting fast.

Why Does the Chain Get Loose?
Before we fix it, let’s chat about why it happens. It usually isn’t because you did something wrong.
- Heat: Friction creates heat. Heat makes metal expand. As the chain gets hot, it gets longer and sags.
- New Chains: A brand-new chain will “stretch” or settle in during the first hour of use.
- Wear: Over time, the rivets wear down, making the chain physically longer.
What You Need
I keep it simple. You only need two things:
- Your Stihl Chainsaw (obviously).
- A Scrench: This is that T-shaped tool that came with your saw. It has a screwdriver on one end and a wrench on the other.
- Heavy Gloves: Never touch the chain with bare hands.
Step-by-Step: Adjusting the Tension
Most Stihl saws I’ve used (like the MS 170 or MS 250) use a standard side-tensioner. If you have a “Quick Tension” model with a thumb wheel, the steps are similar, but you won’t need the tool.
Here is my routine for the standard models.
1. Safety First
I always turn the engine off. I also let the saw cool down a bit if I’ve been running it hard. Touching a hot muffler is a mistake you only make once! I also make sure the chain brake is off (pull the front hand guard back).
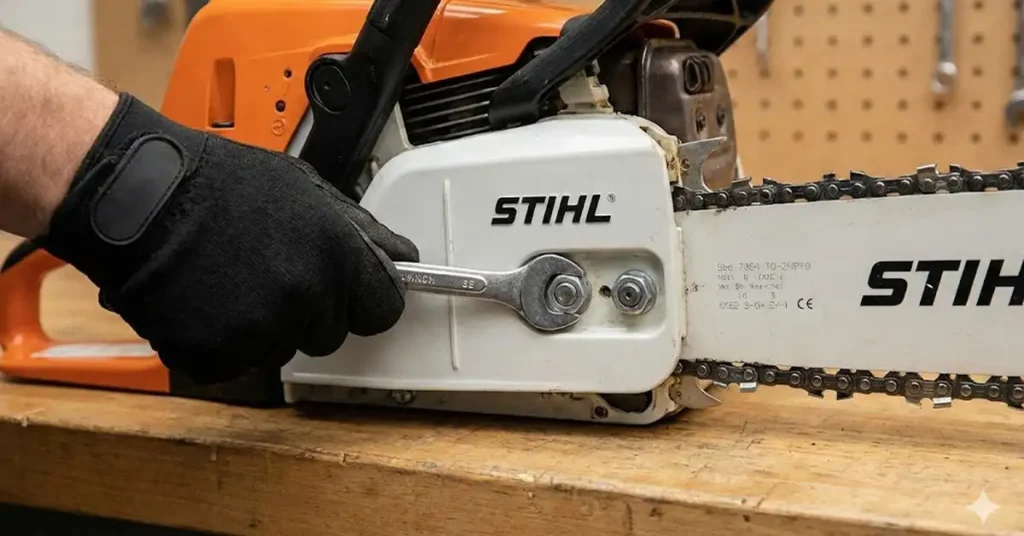
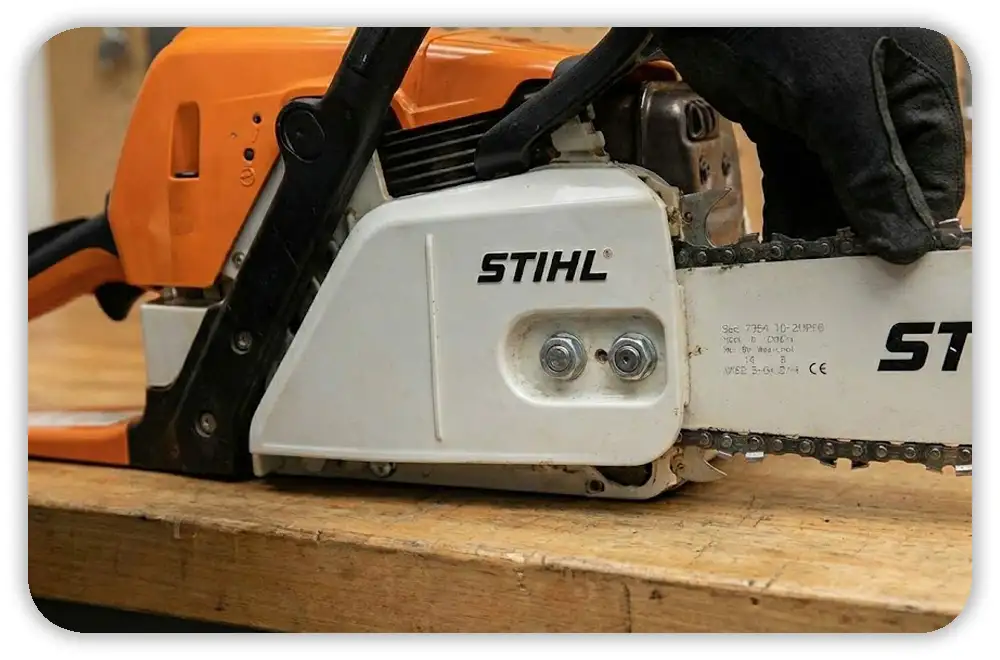
2. Loosen the Bar Nuts
Grab your scrench. Use the wrench end to loosen the two nuts on the side cover.
- My Tip: You don’t need to take them off. Just loosen them until they are finger-tight.
3. The “Nose Lift” (Crucial Step)
This is the trick I missed when I first started. With my left hand, I hold the nose (the tip) of the bar up.
Gravity pulls the bar down, which creates fake slack. By lifting the nose, you remove that slack before you tighten. If you skip this, your chain will be loose again the moment you start cutting.
4. Adjust the Screw
While keeping that nose lifted, use the screwdriver end of your scrench.
- Find the tensioning screw. It’s usually on the side, right between the two nuts.
- Turn it clockwise to tighten.
- Watch the bottom of the bar. You want the chain to rise up until it just touches the bar rail.
5. Lock It Down
Keep holding that nose up! Now, use the wrench to tighten the bar nuts again. Crank them down firmly.
How to Check: The Snap Test
I don’t rely on guesswork. I use the “Snap Test” to make sure the tension is perfect.
- Pull: Grab the chain on top of the bar (wear your gloves!).
- Lift: Pull it up away from the bar.
- Snap: Let it go.
The Result: It should snap right back into the groove. If it slowly sags or hangs down, it is too loose. If you can’t pull it up at all, it is too tight. You should also be able to pull the chain around the bar by hand smoothly.
Troubleshooting Your Tension
I made this table to help you spot issues quickly based on what I see in the field.
| Symptom | Diagnosis | The Fix |
| Chain sags below the bar | Too Loose | Tighten immediately. It may derail. |
| Chain won’t move by hand | Too Tight | Loosen the tension screw slightly. |
| Smoking bar rails | Way Too Tight | Stop! You are burning the bar. Loosen it. |
| Tension changes constantly | Worn Sprocket | Check your drive sprocket for deep wear marks. |
A Warning on “Hot Chains”
I have to share one last serious piece of advice.
Never tighten a hot chain and then store the saw.
When I am cutting all day, I tighten the chain while it is hot because it expanded. That is fine. But, when I am done for the day, I must loosen it again.
If you leave a hot, tight chain on the saw, it will shrink as it cools. This shrinking force is huge. It can bend your crankshaft or ruin the bearings. I learned this from an old logger, and it saved me a lot of money on repairs.
Final Thoughts
Tightening the chain on a Stihl chainsaw becomes muscle memory after a while. It takes me less than a minute now.
Don’t ignore a sagging chain. It is dangerous and it cuts poorly. Take the time to adjust it, listen to your tool, and enjoy the work. There is nothing quite like the feeling of a sharp, well-tuned saw flying through wood.
FAQs – How to Tighten the Chain on a Stihl Chainsaw
How tight should my chainsaw chain be?
Your Stihl chain should snap back when pulled up. It must not hang loose. You can pull it round by hand. If it sticks or stops, it is set too tight for the bar.
Why does my Stihl chainsaw chain keep coming loose?
New chains stretch as you cut wood. Heat also makes the metal grow long. Always hold the bar nose up when you tighten it. This stops the chain from getting loose too fast.
Do I tighten the chain while it is hot or cold?
Always adjust tension when the saw is cool. A hot chain shrinks as it cools off. This can break your saw parts. If you tighten it hot, loosen it when the work is done.
Which way do I turn the screw to tighten the chain?
Turn the screw to the right to tighten. This is the clockwise way. Watch the chain rise up to the bar rail. Ensure the side nuts are loose first to help the bar move.
How often should I check my chain tension?
Check it each time you add gas to the tank. A loose chain is not safe to use. It can jump off the bar and hurt you. Quick checks keep the saw safe and help it cut well.