The first time I dealt with cold solder joints, I thought my iron was bad. It was a Saturday afternoon in my garage. I was fixing a small LED wiring job.
Everything looked fine. Nothing worked.
I reheated the joint again and again. Same result. The solder just sat there. That was the moment I realized the problem was not the tool. It was how I used it.

Table of Contents
What Cold Solder Joints Look Like in Real Life
Cold solder joints do not always stand out. They often hide in plain sight. I have made joints that looked solid but failed when I touched the wire.
Most of the time, the solder looked dull. Not shiny. Sometimes it cracked. Other times, the wire pulled free with almost no effort.
Why My Solder Joints Kept Failing
Heat was my biggest problem. My garage was cold, around 45°F. The iron could not keep steady heat.
That slow heat transfer caused many cold solder joints. I also rushed too much. I moved wires before they cooled. I skipped cleaning more than I should have.
Tools I Now Use Before Fixing Cold Solder Joints
I stopped blaming the iron and fixed my setup. That change solved half the issue. I now keep my tools simple and ready.
- Temperature-controlled soldering iron
- Fresh rosin flux
- Quality solder, usually 60/40
- Brass tip cleaner
In the U.S., long extension cords can drop voltage. I learned that the hard way. Plugging straight into the outlet helped my iron stay hot.
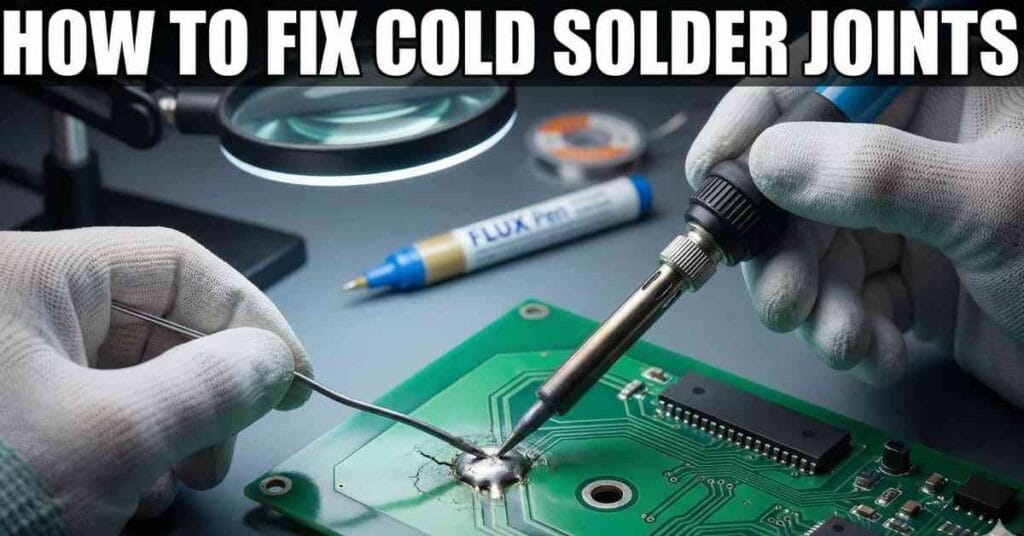
How to Fix Cold Solder Joints Step by Step
This is the process I use every time now. It felt slow at first. It saves time later.
Most cold solder joints disappear when I stick to this routine.
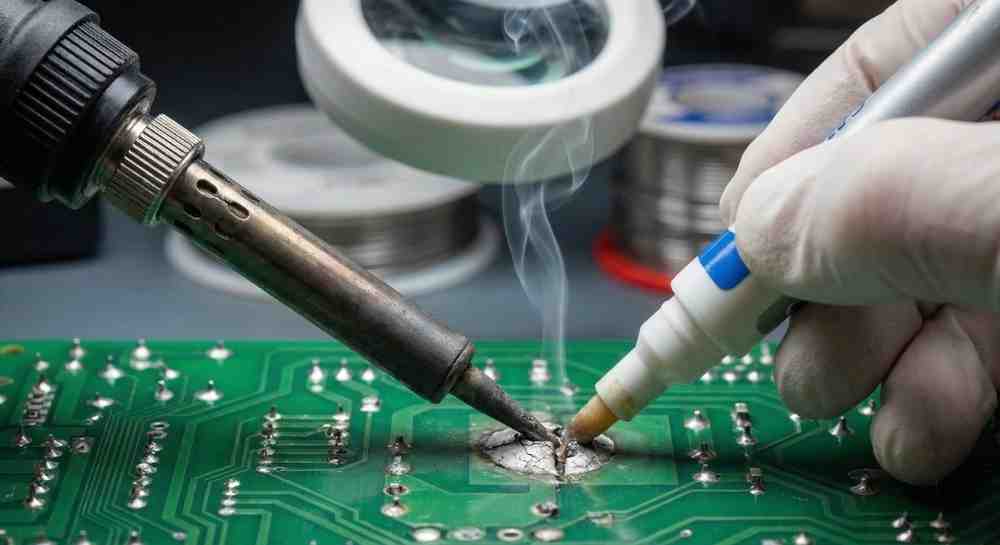
First, I let the iron fully heat up. Not warm. Fully hot. I touch both the pad and the wire at the same time.
Next, I add a bit of flux. The solder flows instead of fighting me. I feed solder into the joint, not onto the tip.
Finally, I hold everything still. No blowing. No tapping. I wait a few seconds and let it cool on its own.
Mistakes I Made That Caused More Cold Solder Joints
I used to turn the heat down to feel safe. That caused more problems than it fixed. Low heat is a top cause of cold solder joints.
I also reused old solder. Burned solder does not flow well. Cleaning the joint and starting fresh works every time.
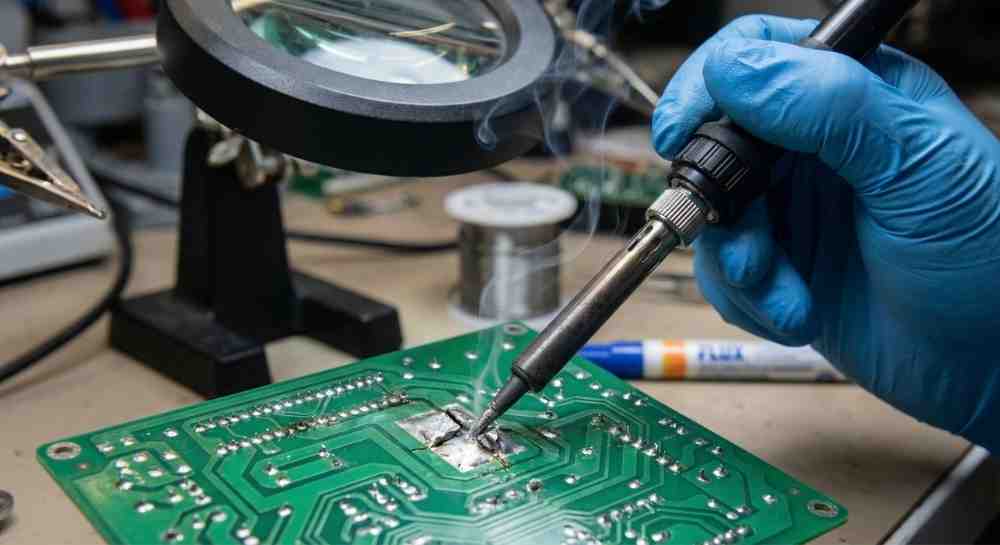
Cold Solder Joints in Different Projects I’ve Worked On
Circuit boards are the most fragile. Pads lift fast if you rush. I learned to slow down and use less pressure.
Automotive wiring is different. Vibration kills weak joints. When I fixed trailer lights, cold solder joints failed within days.
Thick wire needs more heat. That surprised me at first. Big wire pulls heat away fast, even more in cold weather.
How I Prevent Cold Solder Joints Now
Prevention changed how I solder. I clean first, even when wire looks clean. Oxidation lies.
I match heat to the job. Thin boards need care. Thick wire needs power. I also test one joint before finishing the rest.
That habit alone saved boards, time, and frustration.
When Fixing a Cold Solder Joint Is Not Enough
Sometimes the joint is not the real problem. I have seen burned pads and melted insulation cause repeat failure.
If the same joint fails again, I stop and inspect deeper. On safety tools, replacement is smarter. OSHA rules exist for a reason.
Final Thoughts
Learning how to fix cold solder joints made me better at soldering. It taught patience and focus.
Most failures are not bad luck. They are small mistakes repeated. Fix the process, and the joints fix themselves.
FAQs – How to Fix Cold Solder Joints
What is a cold solder joint and why does it fail?
A cold solder joint forms when solder does not fully melt or bond. It looks dull and weak. This causes poor electrical flow and early failure.
How to fix cold solder joints the right way?
To fix cold solder joints, reheat the joint fully and add fresh flux. Let the solder flow and cool without movement for a strong bond.
What causes cold solder joints most often?
Cold solder joints are caused by low heat, dirty metal, or moving parts while cooling. Cold garages and weak irons make this worse.
Can cold solder joints damage electronics?
Yes, cold solder joints can damage electronics over time. They cause heat buildup, signal loss, and random failures during use.
How do I prevent cold solder joints in the future?
Prevent cold solder joints by cleaning parts first and using proper heat. Match iron temperature to wire size and avoid rushing the joint.