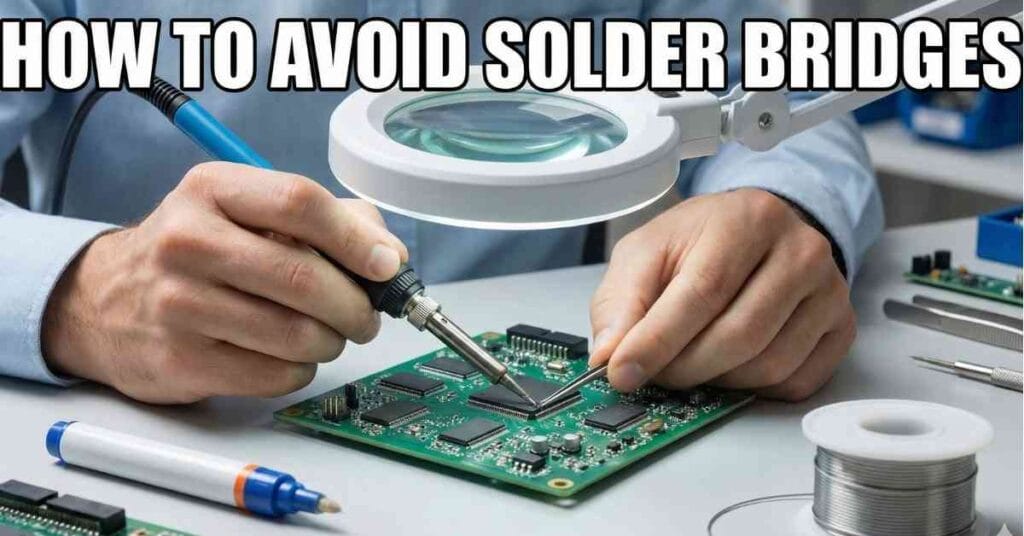
It is late Friday night, my bench light is humming, and my coffee has gone stone cold. I look down at my work, and my heart sinks because two pins are welded together.
I have been there many times, and I know how frustrating it feels to see that mess. This guide is about stopping that moment before it happens so you can save your board and your sanity.

Table of Contents
What a Solder Bridge Really Is
A solder bridge is not a mystery or a sign of bad luck. It is simply melted metal obeying the laws of physics and going where you didn’t tell it to go.
Wetting angles and mask dams
Solder acts a lot like water because it relies on surface tension to move. Engineers call this the wetting angle, which determines how the solder sits on the pad.
If the angle is high, the solder beads up like water on a waxed car, and that bead loves to grab onto the neighbor pin. We want the solder to lie flat and smooth, meaning it has a low wetting angle.
Your board also relies on a “solder mask dam,” which is that tiny wall of paint between the copper pads. If that dam is too thin or missing, there is nothing to stop the flow of molten metal.
Common parts where bridges love to form
I see this issue most often when working with tiny chips that have tight spacing. IC pins on parts like SOIC or TQFP packages are notorious for bridging because the gaps are so small.
It also happens on headers if the through-holes are packed too tightly together. Even PCB traces on cheaper boards can bridge easily if the protective mask is thin and the solder jumps the gap.
Tools That Reduce Bridges Before You Even Start
Most solder bridges are created before the iron ever touches the joint because your setup dictates your success. The right tools make a massive difference.
Tip thermal mass matters more than sharpness
I used to use ultra-fine needle tips because I thought sharp tips were better for small pads. I was wrong, and I struggled for years because of it.
Needle tips have low thermal mass, so they lose heat the second they touch the board. A chisel soldering iron tip is much better because it holds heat like a cast iron skillet. It flows solder smoothly without forcing you to push down hard.
Flux is not optional
If you take only one piece of advice from this guide, let it be this: always use flux. Flux breaks the surface tension of the solder and helps it flow where it belongs.
I keep a flux pen in my pocket whenever I am working. Adding extra rosin flux helps the solder flow to the pad instead of the neighboring pin, making shaky hands look steady.
Temperature Control That Stops Bridges Cold
If your iron is too cool, you get blobs; if it is too hot, you get running rivers of metal. You need to find the narrow happy zone in the middle.
Real-world temperature ranges
For those of us in the US using standard leaded solder, I usually stick around 650°F to 700°F. This range keeps the solder fluid without overheating the components.
If you are using lead-free solder, you will need to run it hotter. Just remember your environment; if you solder in a cold garage during winter, your tip cools down faster and might need a slight heat bump.
Why cranking the dial backfires
It is tempting to turn the heat up to the max to melt solder faster, but please don’t do it. High heat keeps solder liquid for too long.
When solder stays liquid, it runs everywhere like water. Worse, extreme heat can kill the glue holding the pads down. I have lifted pads this way, and once a pad lifts, the board is often ruined.
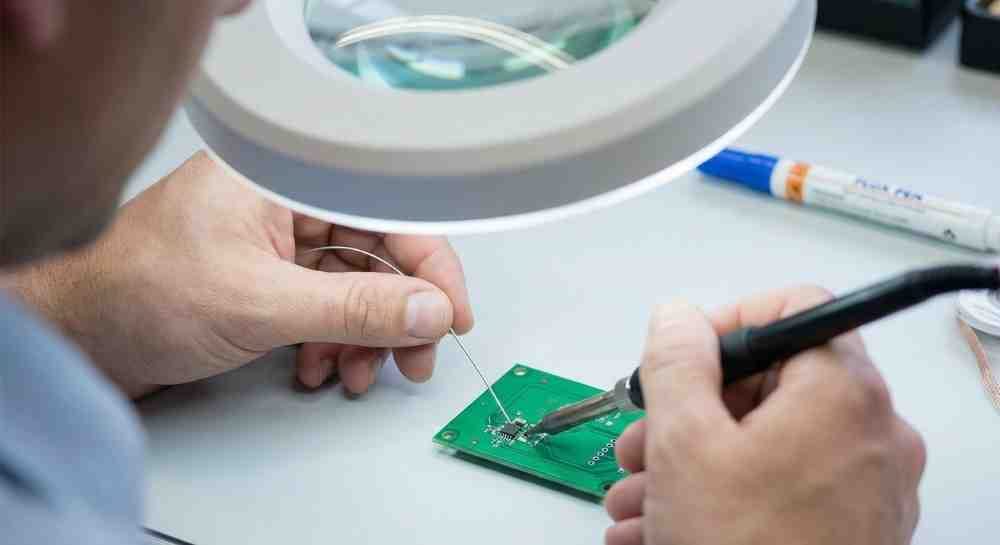
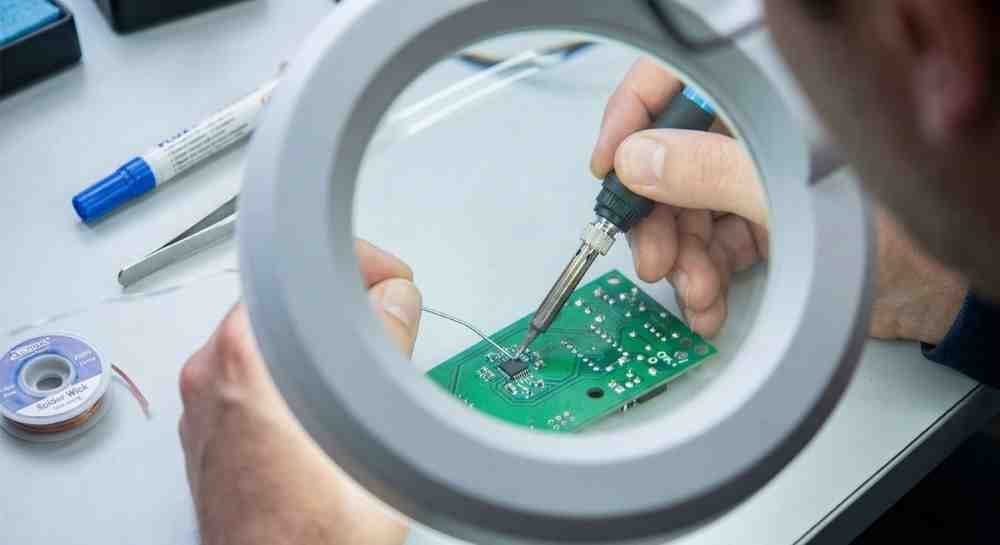
Hand Technique That Separates Clean Joints From Messes
Soldering is about muscle memory, not natural talent. Anyone can learn these movements with a little bit of patience and time.
Less solder than you think
The biggest mistake beginners make is feeding solder directly to the iron tip. You actually want to feed it to the joint itself.
Heat the pin and pad first, then touch the solder to them gently. You want a small solder fillet, not a giant ball. If you ever think “just a little bit more,” stop immediately, because that extra bit causes the bridge.
Drag soldering: The risk and the reward
On surface mount chips, you can intentionally bridge pins with flux and clean them later. This technique is called drag soldering.
However, be very careful because this method is not foolproof. If you add too much solder, you don’t just get a bridge; you get a flood. It becomes a solid block of metal that is a pain to remove, so use a tiny amount.
Board Prep Most DIYers Skip
Dirty boards create messy solder every single time. I learned this lesson the hard way after ruining a custom PCB I had waited weeks for.
Cleaning before soldering
Grab some high-percentage isopropyl alcohol and wipe the board down with a lint-free cloth. This removes the invisible layers of grime.
Even a single fingerprint leaves oil that repels solder and pushes it toward the next pin. A quick wipe removes dust and oxidation, taking ten seconds to save you ten minutes of fixing later.
PCB quality matters
Cheap boards often have poor solder masks, which is the green, blue, or black coating that protects the traces.
If that mask is too thin between pads, bridges happen much more easily. I like to keep cheap practice boards around to test my heat and flow before I touch the expensive project.
Fixing a Solder Bridge Without Making It Worse
Panic makes bridges permanent, but slow fixes erase them. Take a deep breath and grab your cleanup tools.
Solder wick done right
Solder wick, also known as desoldering braid, is your eraser, but dry wick rarely works well on its own.
I always dip the end of my wick in flux before using it. Place it on the bridge and press lightly with the iron. The solder shoots up into the braid, and you should lift the iron and braid together so they don’t stick.
Iron-only cleanup tricks
Sometimes you don’t even need wick to fix a small mistake. Just clean your iron tip until it is shiny.
Touch the bridge gently and pull the iron away to “wipe” the excess solder off. You are using the tip to soak up the extra metal, though it might take two or three wipes to get it all.
When to Quit
Sometimes the board is telling you to stop. If you see the green coating turning brown, you are burning the board and need to pause.
If a copper pad starts to wiggle, the glue underneath has failed from too much heat. I have spent hours trying to save a $5 board, and it usually isn’t worth the stress. Walk away, save the parts, and know that your next board will be better.
FAQs – How to Avoid Solder Bridges
What causes a solder bridge on a PCB?
Too much solder is the main cause. Using a cold iron hurts too. The metal joins pins that must be apart. Use less wire and good heat to stop this mess.
Do I really need flux to stop bridges?
Yes, flux is a must for clean work. It helps the metal flow smooth. It stops solder from sticking to nearby pins. This makes your joints look shiny and clean.
What soldering iron tip is best for small parts?
Pick a small chisel tip. It holds heat the best. Sharp tips cool down too fast and stick. A good tip helps you avoid messy solder bridges on your board.
How do I remove a solder bridge safely?
Use solder wick and some flux. Heat it with your iron. The wick soaks up the extra metal fast. It clears the bridge without hurting the pads or the chips.
What temperature is best to avoid bridges?
Try 650°F to 700°F. High heat makes it run wild. Low heat makes hard blobs. This range keeps the solder smooth and makes it easy to work on the board.
As an Amazon Associate, We earn from qualifying purchases