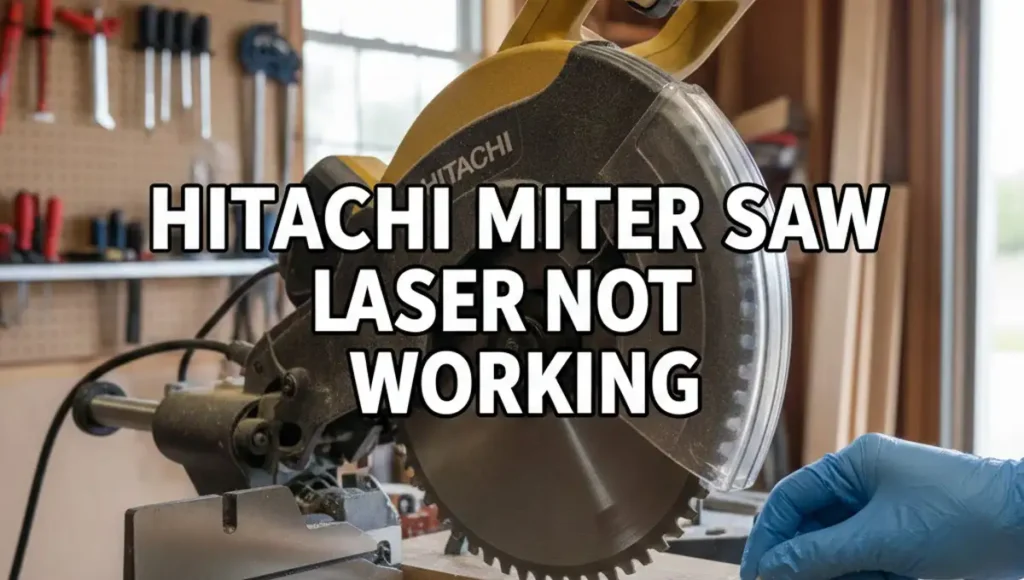
Last Tuesday, I was in my garage to finish a set of oak shelves. I had my wood marked and my Hitachi miter saw ready. I flipped the switch, but the red line was gone. My Hitachi miter saw laser was not working, and my quick project felt like a total mess.
I have spent years testing tools for my site, so I did not panic. I knew a dark laser is usually a small fix, not a broken saw. After ten minutes of poking around, I found the real cause. It was not even a broken part!
If your laser is dark, let me show you what I did. This guide will save you from making bad cuts. It will also save you a trip to the repair shop. Most fixes take less than five minutes and cost zero dollars.

Why Is My Hitachi Miter Saw Laser Not Working?
When a laser fails, it is usually due to dirt, dead batteries, or a loose wire. Most people think the bulb burned out, but that is rare. Hitachi saws are built like tanks and last a long time. The laser sits in a tough spot, but it deals with lots of dust.
Common Causes for Laser Failure
| Symptom | Likely Cause | Fix Difficulty |
| No light at all | Dead batteries or loose wire | Very Easy |
| Very dim or blurry light | Sawdust on the lens | Super Easy |
| Light flickers when cutting | Loose connection | Moderate |
| Light is on but off-center | Misalignment | Easy |
Step 1: The Secret Dust Problem
The most common reason a Hitachi miter saw laser stops working is sawdust. It sounds too simple, right? But think about where that laser sits. It is right above the spinning blade. Every time you cut, a cloud of fine wood dust hits the lens.
On my own saw, the dust was packed so tight it looked like gray plastic. I could not see the glass window at all. The light was trying to shine, but it could not get through the dirt. This is the first thing I always check now.
How I Clean the Lens
I do not use wet sprays or window cleaners on the lens. Those can turn the dry dust into a thick mud. Instead, I use a dry cotton swab to wipe the small glass hole. It is located just behind the clear blade guard.
If the dust is stuck, a quick puff of air works well. Once I cleared the lens on my saw, the red line came back. It was bright and sharp once again. It was just a simple cleaning job that saved my whole afternoon.
Step 2: Checking the Power Source
If your lens is clean but you still see no light, check the power. This is where many users get confused. Hitachi made two types of laser systems for their saws. One runs on batteries, and the other runs on the wall plug.
Battery-Powered Models
If you have a saw like the C10FCH2, your laser has its own power. It uses two AA or AAA batteries. I once spent a long time looking for a blown fuse. Then I realized my batteries had simply died from old age.
Look near the top handle for a small plastic door. It is usually held by one screw. If you see white crust on the metal tabs, the batteries leaked. Clean the tabs with a cloth before you put in fresh ones.
Corded Power Models
On pro Hitachi saws, the laser draws power from the main cord. If this is not working, check the toggle switch. These switches are not sealed perfectly. Fine dust gets inside and stops the power from flowing to the light.
I like to unplug the saw and flip the switch many times. This cleans the metal parts inside the switch. If it still will not turn on, look for a pinched wire. Sometimes the wire gets caught when you tilt the saw.
Step 3: Fixing a Dim or Blurry Beam
Sometimes the Hitachi miter saw laser is on, but the line is faint. You might struggle to see it on your wood. This happened to me while I was working on my driveway in the sun. The bright light washed out the red beam.
Dealing with Bright Light
Lasers on older Hitachi saws are not always very strong. If you work in the sun, you may not see the line. I usually move my saw into the shade or close the garage door. This makes the red line much easier to find.
Checking for Scratches
If the beam looks fuzzy, your lens might be scratched. This happens if you use a rough paper towel to clean the glass. If the lens is ruined, the light will scatter. In this case, you might need to buy a new plastic cover.
Step 4: Adjusting the Laser Alignment
A laser is no good if it does not point where the blade hits. Over months of use, the saw shakes a lot. This vibration can move the laser out of place. It makes it look like the laser is broken because the line is gone.
My Method for Perfect Alignment
I do not trust the factory settings for my cuts. I do a simple test cut on a scrap piece of wood. First, I make a small notch in the board. Then, I turn on the laser to see where the line falls.
Most Hitachi saws have two small screws for this. One moves the line left or right. The other turns the angle of the beam. I make very tiny turns until the red line sits on the edge of my cut.
Replacing the Laser Module
What if you cleaned the lens and changed the batteries, but it is still dead? In some cases, the laser part simply fails. This is a part that can wear out over many years of hard work. It is like a light bulb that finally pops.
Is It Worth the Cost?
New laser parts for Hitachi saws cost about thirty to fifty dollars. If your saw runs well, it is a very easy swap. Most units are held in by two screws. They have a simple plug that snaps into place with no tools.
| Hitachi Model | Part Number | Power Type |
| C10FCH / C10FCH2 | 327-024 | Battery |
| C12RSH / C12FSH | 328-560 | Corded |
| C10FSH | 322-104 | Corded |
Keeping Your Laser Working Long-Term
I hate fixing the same tool twice in one month. To keep my laser from quitting, I changed how I clean up. Now, I wipe the lens after every big job. I also make sure to turn the laser switch off when I am done.
If you have a battery saw, do not leave them in during the winter. Cold damp air can make batteries leak. This can ruin the whole laser box. Taking them out saves you a lot of trouble and money later on.
Final Thoughts on Laser Troubles
A dark laser will not stop your saw from cutting wood. But it does make your work much slower. I rely on my laser for quick chops. It helps me work fast without having to measure every single time.
If your Hitachi miter saw laser is not working, start with a Q-tip. Clean that lens before you buy any new parts! Most of the time, a little bit of dust is the only thing in your way.
FAQs: Hitachi Miter Saw Laser Stopped Working
How do I fix a Hitachi miter saw laser that is too dim to see?
Most dim lasers are just covered in fine wood dust. Use a dry cotton swab to wipe the small lens above the blade. This clear view makes the red line bright again.
Can I replace the laser on my Metabo HPT or Hitachi saw?
Yes, you can buy a new laser marker for most models. These parts usually plug right into the existing wires. It takes just a few screws to swap the old one out for a new beam.