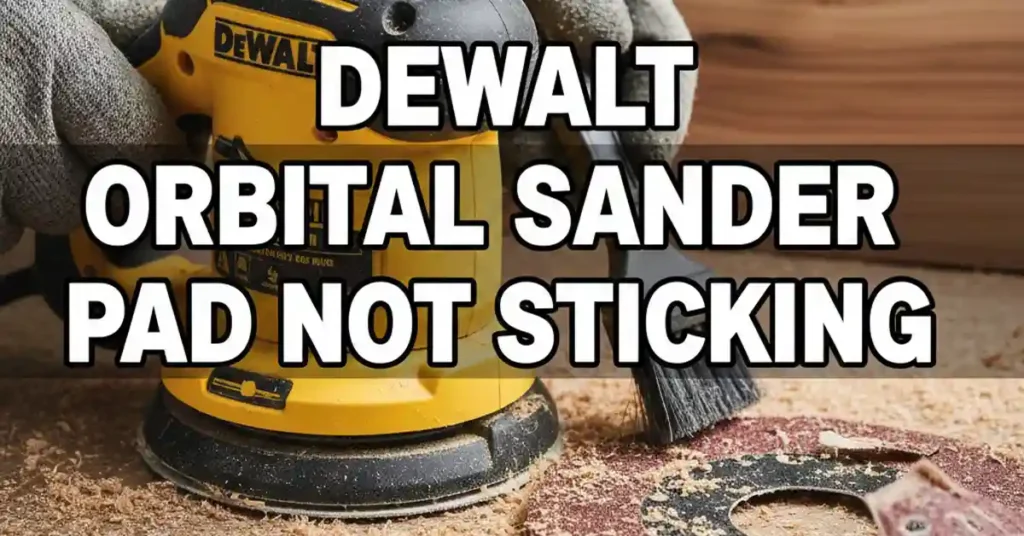
It was a hot Tuesday in my dusty garage. I was almost done with a pine table when my sander hissed. Suddenly, my sanding disc flew across the room like a tiny frisbee. I stood there with a bare tool and a confused look on my face.
I tried to slap on a new disc, but it just fell off. I felt the bottom of the tool, and it was burning hot. If your DeWalt orbital sander pad is not sticking, I know that pain. It can ruin a good day of work in seconds.

The Two Main Reasons Pads Quit
I used to think my sander was just broken. It turns out the issue is usually much simpler. These tools use a hook and loop system that works like Velcro. If those tiny plastic hooks fail, your sandpaper has nothing to grab onto.
Dust Clogs the Hooks
Wood dust is the enemy of a good grip. Sometimes, fine dust gets packed deep into the hooks. It acts like a wall between the tool and the paper. When the hooks are full, they can’t reach the loops on the paper.
Heat Melts the Plastic
This was my biggest mistake for years. I used to push down hard to sand faster. That pressure creates a lot of heat. Since the hooks are plastic, they melt into smooth little blobs. Once they are smooth, they are useless.
Troubleshooting Your Sander Pad
Before you buy a new one, take a close look at the base. I use a bright shop light to check the hooks. You can usually tell the difference between a dirty pad and a ruined one just by looking.
Is it Dirty or Melted?
| Pad Condition | What it Looks Like | The Fix |
| Dirty Hooks | Gray or white dust in the gaps | Clean with a stiff brush |
| Melted Hooks | Shiny, flat, or smooth spots | Replace the entire pad |
| Worn Loops | Back of paper looks bald | Buy better sandpaper |
If you see dust, try to clean it first. I use an old toothbrush and scrub in small circles. If you have a can of air, give it a good blast. If the paper sticks after a cleaning, you just saved some money.
Choosing the Right Replacement Pad
If your hooks are melted, you need a fresh pad. I have bought many of these over the years for my shop. DeWalt makes a few different types, so you have to be careful. You need to know your model number first.
Three-Hole vs. Four-Hole Pads
Most DeWalt sanders use screws to hold the pad on. Some models use three screws, while others use four. I always count my screws twice before I order. There is nothing worse than getting the wrong part in the mail.
Firm vs. Soft Pads
You might see different foam types online. Firm pads are great for keeping a tabletop flat and level. Soft pads have more cushion for curved chair legs. I keep one of each in my tool drawer just in case.
My Simple Guide to Replacing the Pad
Replacing the pad is a very fast job. I can usually do it in about five minutes. You only need a basic screwdriver to get it done. Most DeWalt models use a Torx T20 or a standard Phillips head screw.
Step 1: Power Down
I always pull the plug or take out the battery. I have seen tools turn on by mistake, and it is scary. Safety is the most important part of any DIY project. Take a second to make sure the power is off.
Step 2: Remove the Screws
Turn the sander over on your bench. Back out the screws one by one. I put them in a small cup so they don’t roll away. If you lose a screw in the sawdust, you will be hunting for a long time.
Step 3: Clean the Base
Once the old pad is off, look at the motor hub. It is usually covered in old wood gunk. I wipe it clean with a dry rag. If the base is clean, the new pad will sit nice and flat.
Step 4: Line Up the Holes
This is the most vital step of the job. Your sander has holes to suck up the dust. Your new pad has holes too. You must line them up perfectly. If you don’t, the dust will stay under the pad and melt it.
Step 5: Snug the Screws
I start the screws with my fingers first. This makes sure I don’t strip the threads. Then I use the tool to make them snug. Do not crank them too hard, or you might crack the plastic housing.
Why Your Sandpaper Might Be the Problem
Sometimes the DeWalt orbital sander pad is not sticking because the paper is bad. I have tried many cheap brands of sandpaper. Some are okay, but many are just a waste of time and money.
Low-Quality Loops
Flip your sanding disc over and look at the fuzz. This is the “loop” part of the system. On cheap paper, this fuzz is very thin. After the sander shakes for a minute, the fuzz just pulls right off the paper.
The Dust Factor
If the holes on your paper don’t match the pad, dust builds up. This dust acts like a wedge. It slowly pushes the paper away from the hooks. Always make sure your paper has the right hole pattern for your tool.
How I Make My Pads Last Longer
I used to buy a new pad every few months. Now, I can make one last for over a year. I follow a few simple rules in my shop to keep my gear in top shape. These tips will save you a lot of stress.
Stop the Pressure
This is the hardest rule to follow. We all want to work fast. But the sander works best when it can spin freely. I only use the weight of my hand. If I need more power, I switch to a coarser grit.
Use a Pad Saver
I started using a pad saver last summer. It is a thin layer that sits between the tool and the paper. If things get too hot, the cheap saver melts instead of the tool. It is a very smart way to protect your sander.
Start on the Wood
I always put the sander on the wood before I turn it on. If you start it in the air, it spins too fast. When it hits the wood at full speed, it rips at the hooks. Starting on the surface is much gentler on the tool.
Keeping Your Shop Clean
If dust can’t get out, it stays under the pad. This causes heat and wear. I always use a vacuum or a dust bag. A clean tool is a tool that lasts a long time and works better.
Empty the Bag
If the dust bag is full, the sander can’t breathe. I empty my bag when it is only half full. This keeps the air moving and the hooks cool. It also keeps my lungs a lot cleaner while I work.
Use a Vacuum Hose
On big jobs, I hook my sander to a shop vac. The strong suction pulls all the heat away from the pad. This keeps the plastic hooks cold and sharp. It is the best way to sand for a long time.
| Task | How Often? | Benefit |
| Clean Hooks | Every disc change | Better grip |
| Empty Dust | Often | Cooler pad |
| Check Screws | Once a month | No wobbling |
| New Pad | When melted | Smooth finish |
When to Buy a New Pad
If you have tried cleaning the hooks and it still won’t hold, just get a new one. Trying to use glue or tape is a bad move. It will leave a mess on your wood and won’t sand flat. A new pad makes the job fun again.
A fresh pad is a small price for a great finish. I keep a spare in my tool box at all times. This way, I never have to stop a project on a Sunday. Happy sanding, and keep those hooks clean!
FAQs: DeWalt Orbital Sander Pad Is Not Sticking
Why is my DeWalt orbital sander pad not sticking to the paper?
Dust or heat usually ruins the grip. Clean the hooks with a brush or check for melted plastic. A fresh pad or a pad saver often fixes this fast.
Can I fix a melted hook and loop pad on my sander?
Once the plastic hooks melt, they cannot be fixed. You must replace the pad to get a flat finish. Using a vacuum helps keep the new pad cool while you work.
How do I clean a dusty DeWalt sander pad?
Use a stiff brush or a blast of air to clear the hooks. This removes fine wood dust that blocks the grip. Doing this often makes your sanding discs last much longer.
Does any brand of sandpaper work on a DeWalt sander?
Most 8-hole discs will fit if the size matches. Check that the holes line up for the dust vacuum. High-quality loops on the paper stay on the tool much better.