It was a Saturday morning. The sun was out. I had my coffee in one hand. I had a plan in the other. I was finally going to build those new shelves for the pantry.
I walked into my garage. I grabbed my trusty DeWalt cordless drill. I slapped in a fresh battery. I pulled the trigger. It whirred to life with a high whine. It sounded angry. It sounded strong.
I felt good.

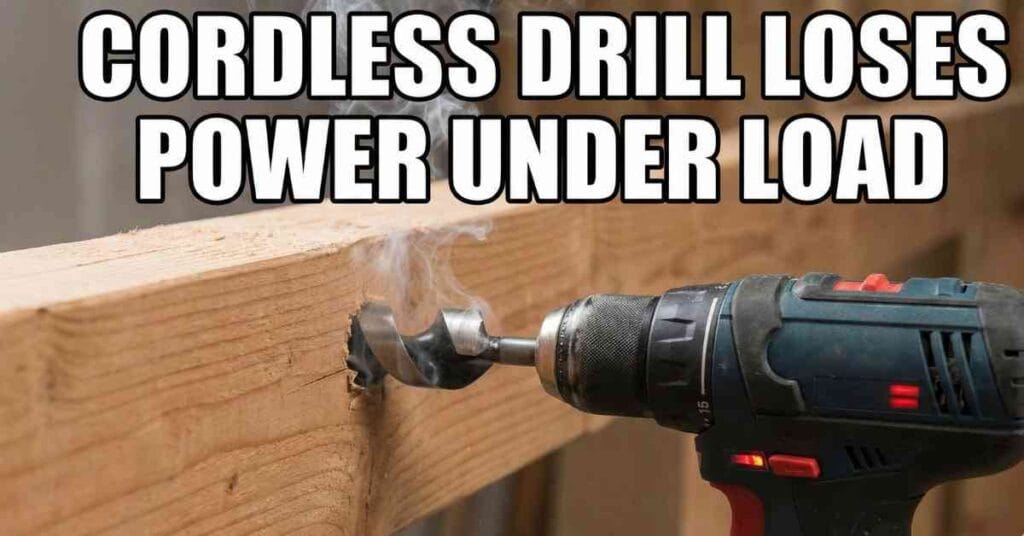
But then, I pressed the drill bit into a 2×4 stud. The moment the bit touched the wood, the drill died.
It didn’t just slow down. It stopped cold. The motor groaned. The chuck stood still. I pulled the trigger again. It spun in the air perfectly. I tried to drill again. It stopped again.
I stood there. I was confused. My project was stalled before I even drilled one hole. I felt frustrated. I felt like throwing the tool across the room.
If you are reading this, you likely have the same look on your face. Why does a drill spin fast in the air but lose all power under load?
I have spent years fixing tools. I learned that a spinning drill does not always mean a working drill. Over the years, I have seen this on my old blue Ryobi. I have seen it on my DeWalt. I have even seen it on my work-horse Milwaukee.
Here is exactly why this happens. Here is how I test for it. And here is how I fix it.

1. Check Your Settings
Before I start taking things apart, I check the easy stuff. I have felt foolish more than once. I thought my drill was broken. I was ready to buy a new one. But it was just a setting.
The Clutch Trap
The first time this happened, I was sure the motor was shot.
I pressed the drill into the wood. I heard a loud zipping or clicking sound. It sounded like a playing card in bicycle spokes. The motor was spinning fast. But the drill bit was not moving at all.
It was not broken. It was the clutch.
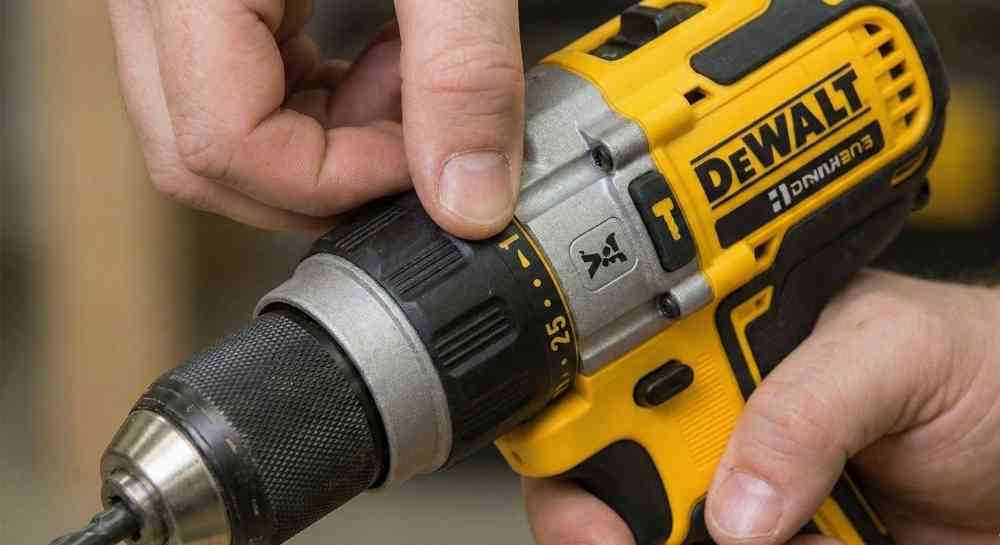
The clutch is that ring with numbers behind the chuck. It is made to slip. This is a good thing. It stops you from driving a screw too deep. It saves your wood.
But I had the dial set to “3”. This is a setting for small screws. It is not for drilling holes. As soon as the wood pushed back, the clutch did its job. It cut the power to the bit.
The Fix: I grabbed the black collar. I twisted it past the numbers. I lined it up with the little icon that looks like a drill bit. That symbol locks the clutch. It tells the drill to give you 100% of the power. Now, the motor and the bit move as one.
The Speed Switch Mistake
Another time, I was using a large spade bit. I needed to bore a one-inch hole through a thick post.
The drill would start. It would hit the wood. Then the motor would hum and stop.
I looked at the switch on top of the drill. It was set to “2”.
Most cordless drills have a gear switch on top.
- Setting 1: Low speed. High power (Muscle).
- Setting 2: High speed. Low power (Speed).
I was trying to do heavy lifting in high gear. It is like trying to drive your car up a steep hill in fifth gear. The engine stalls. It has no power.
The Fix: I slid the switch back to “1”. The drill spun much slower. But when I pushed it into the wood, it chewed right through. It didn’t stop once.
2. Battery Voltage Sag
This is the most common reason my drill dies. It is also the hardest to figure out. The battery looks fine.
Here is the scene. I put my 20V battery on the charger. The light turns solid green. It says “Full”. I put it in the drill. It spins fast in the air.
But under load? Dead.
Why? It is called Voltage Sag.
Think of the battery like a water tank. The drill is a faucet. When the drill spins in the air, it is just sipping water. It is easy work. Even a weak battery can keep up.
When you drill into wood, the motor gets thirsty. It needs a huge flow of power fast. If the battery cells are old, they have “internal resistance”. They can’t push the power out fast enough.
The voltage drops off a cliff. The drill thinks the battery is empty. It shuts off to protect itself.
My Testing Process
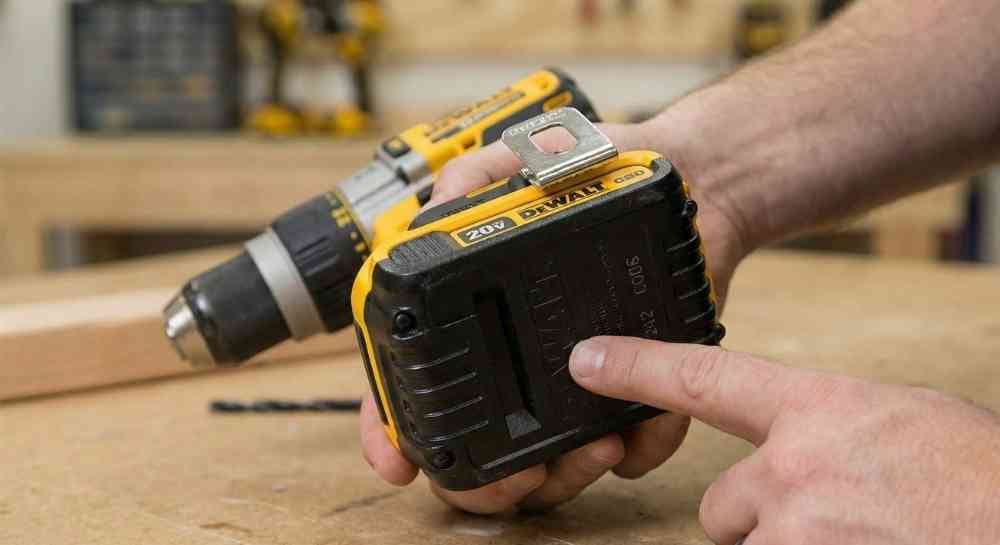
I don’t trust the green light on the charger. A battery can have a “surface charge”. This means it shows 20 volts. But it has no depth.
- The Swap Test: This is the best test. I grab a different battery pack. I charge it up. I try the same hole. If the drill works with the new pack, I know the old battery is the culprit.
- The Date Code: I flip the battery over. I look for the date code stamped on the plastic. If the battery is more than 4 or 5 years old, it is likely tired. Lithium-ion cells degrade over time. They lose their punch.
The Fix: Sadly, you cannot fix a bad cell easily. I recycled the old battery. I bought a new high-capacity pack. A 4.0 Ah (Amp Hour) battery handles load much better than a small 1.5 Ah battery.
3. Worn Carbon Brushes
A few years ago, I had an older blue Ryobi One+ drill. It was a workhorse. But one day, the power started to feel “choppy”.
It would drill for a second. Then it would cut out. Then it would start again. I also noticed something else. A smell. It smelled like burning electronics.
I peered through the little plastic vents on the back of the drill. I ran the motor. Inside, I saw a fireworks show. Blue sparks were jumping around inside the motor case.
This drill was “brushed”.
This means it uses two small blocks of carbon. These blocks push electricity into the spinning part of the motor.
Over time, these blocks wear down. They act like a pencil eraser. When they get too short, the spring cannot push them hard against the motor.
In the air, the vibration is low. They make contact. The drill spins.
Under load, the drill shakes. The short brushes bounce off the motor. The connection breaks. The power cuts out.
How I Replaced Them
I decided to fix it myself. It was easier than I thought.
- Open the Case: I removed the screws holding the plastic shell together. (On some DeWalt models, you just unscrew two plastic caps on the side).
- Find the Brushes: I found the motor. I saw two copper channels with springs.
- Check the Wear: I pulled the little carbon blocks out. They were tiny nubs. They were almost gone.
- Install New Ones: I bought a new set of brushes online for about $8. I slid them in. I made sure the spring snapped into place.
- Close it Up: I screwed the case back together.
The Result: I pulled the trigger. The drill sounded smooth. No more sparks. No more choppy power. It felt brand new.
4. Overload Protection
I recently upgraded to a fancy Milwaukee M18 Fuel. This is a “Brushless” drill. It does not have brushes to wear out. It has a computer brain inside.
One hot afternoon, I was drilling lag bolts into a deck. I was working fast. Suddenly, the drill just stopped.
No grinding noise. No slowing down. Just silence.
I pulled the trigger. Nothing happened. The light didn’t even turn on.
I thought I fried the board. I panicked.
But then I touched the metal casing near the motor. It was hot. Really hot.
Modern tools have Thermal Overload Protection. The computer watches the heat. If the battery or the motor gets too hot, the computer cuts the line. It does this to save the tool from melting.
The Fix: I didn’t force it. I took the battery off. I put the drill in the shade. I went and drank a glass of water. After 15 minutes, I came back. The metal was cool to the touch. I put the battery in. It worked perfectly.
Lesson Learned: If your modern drill stops silently, touch it. If it burns your hand, it just needs a break.
5. Mechanical Failure: Stripped Gears
This is the worst-case scenario. This happened to a cheap generic drill I bought online years ago.
The motor sounded strong. It was whining away at full speed. But the chuck? It wasn’t moving.
Or sometimes, it would turn slowly. But if I grabbed the chuck with my hand, I could stop it easily. The motor kept racing.
If you hear a horrible grinding noise—like rocks in a blender—and the bit isn’t turning, you likely have stripped gears.
The transmission inside uses plastic or metal gears. They turn the motor’s speed into power. If the teeth on those gears break off, the engine runs. But the wheels don’t turn.
The Fix: I took that cheap drill apart. The plastic gears were shredded. Finding parts for a cheap brand was impossible.
For my DeWalt, I could order a new transmission assembly. But for the cheap one? It went into the trash. Sometimes, the repair costs more than the tool.
6. The Chuck is Slipping
Sometimes, the drill is fine. The problem is how I put the bit in.
I was drilling metal once. The drill was loud. The motor was pushing. But the bit was not spinning. It was just sitting in the hole.
I looked closer. The chuck (the black jaws at the front) was spinning around the drill bit. The bit was staying still. I had not tightened the chuck enough. Or, I was gripping the round part of the bit instead of the flat part.
The Fix: I opened the jaws. I put the bit back in. I made sure the jaws grabbed the flat sides of the shank. I cranked the chuck tight by hand until it clicked. Problem solved.
My Troubleshooting Cheat Sheet
I keep a mental checklist now. Whenever a tool acts up, I run through this list. It saves me time.
| Symptom | Sound | What is Wrong? | The Fix |
| Drill stops, motor runs | Fast “Clicking” or “Zipping” | Clutch is slipping | Turn collar to “Drill” icon. |
| Drill stops, motor runs | Grinding / Crunching | Gears are stripped | Replace transmission or tool. |
| Drill dies instantly | Silence | Voltage Sag (Bad Battery) | Swap for a new battery. |
| Drill dies instantly | Silence | Overheated | Let it cool for 15 mins. |
| Power is choppy | Sparks / Crackling | Worn Brushes | Buy and install new brushes. |
| Chuck spins, bit stays | Squealing | Loose Chuck | Retighten bit on flat sides. |
Conclusion
I used to think that when a tool stopped, it was dead. I would get angry. I would worry about the cost of a new one.
But now I know that tools talk to us. They tell us what is wrong.
If your drill loses power under load, don’t throw it out. Check that clutch dial first. I bet you 50 bucks that is the problem. If not, check the battery date.
Repairing my own tools makes me feel more confident. It saves me money. And it keeps my Saturday projects on track.
So, go check your drill. Twist that dial. Swap that battery. You can fix this.
FAQs – Cordless Drill Loses Power Under Load
Why does my cordless drill lose power under load?
It is often just a setting. Check the clutch dial. Turn it to the drill bit icon. If that fails, test the battery. Old packs lose power fast. Swap it out to fix it.
Why is my drill battery full but not working?
Old cells get weak. They show full but die fast in use. We call this voltage sag. Try a fresh battery pack. It fixes the sudden power loss most of the time.
How do I get more torque from my drill?
Check the switch on top. Slide it to speed “1”. This gives the most torque. Also, set the clutch ring to the drill icon. This helps the drill push through wood.
Do worn brushes make a drill weak?
Yes, bad brushes cut power. You might see blue sparks. The motor will feel choppy. Swap them for new ones. This is a cheap fix that makes the tool run like new.
Why does my drill stop and flash?
It is too hot. The drill has a safety chip. It cuts power to save the motor. Let it rest in a cool spot. Wait ten minutes. It will run fine once it cools off.