When I went looking for the best cordless brad nailer, I wanted one thing: clean trim without a hose. I’ve used these nailers in real U.S. homes, from quick DIY fixes to full room remodels. In this guide I share what actually worked for me, so you can pick a cordless finish nailer with less guesswork.
What is a cordless brad nailer, and how does it work?
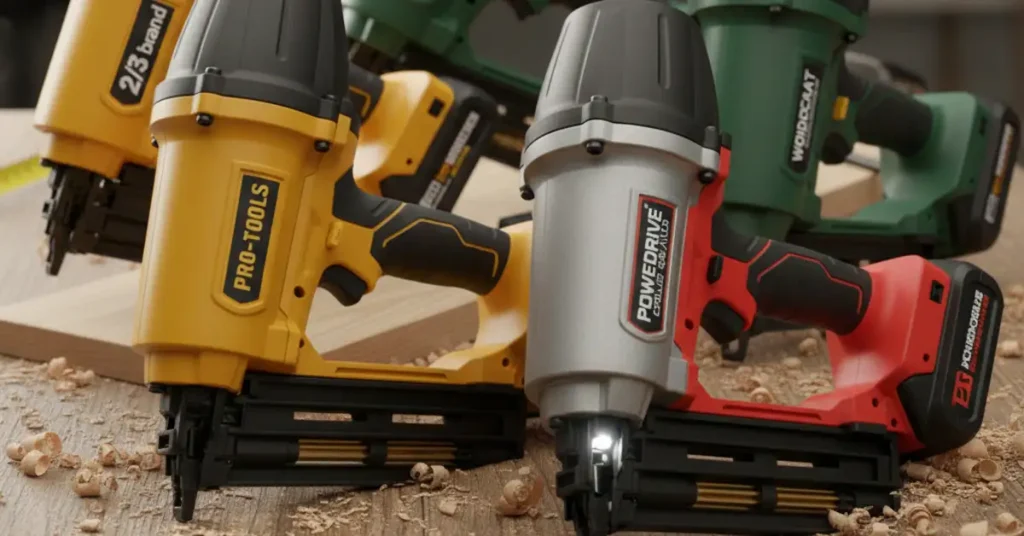
When I talk about the best cordless brad nailer, I mean a small trim tool that runs on a battery and shoots thin 18-gauge brads. There’s no hose. There’s no air tank. You snap in a battery, pull the trigger, and the tool builds pressure inside for each shot. It fires fast and clean, and you skip all the setup you get with a big compressor. So a cordless brad nailer gives you real trim power with far less gear in your way.
How does a cordless brad nailer differ from a pneumatic nailer?
On my jobs, the big change is simple: hose vs battery. A pneumatic nailer needs a hose, a compressor, and a plug. A cordless brad nailer carries its power in the battery and a small drive unit. It takes a split second to build pressure between shots, but the setup time is almost zero. You grab the tool, walk in, and fire.
With a compressor, you set your PSI and the gun hits hard all day as long as the tank is full. With cordless, the motor builds pressure right before the shot. Pneumatics still win for long, fast runs. Cordless wins for small jobs, tight rooms, and homes where you don’t want hoses on the floor.
In lived-in homes across the U.S., hoses are a pain. They trip people. They catch on chairs and stairs. A cordless finish nailer makes life easy in bedrooms, condos, and remodels where folks still live in the space.
What is “18-gauge,” and when should you use brads?
An 18-gauge brad is a thin nail with a small head. A 16-gauge finish nail is thicker and stronger. A 23-gauge pin is very thin and often headless. So 18-gauge sits in the middle. That’s why I use it for most trim jobs.
Here’s where 18-gauge brads shine for me:
- Baseboard and door casing
- Crown on standard rooms
- Shoe molding and quarter round
- Face frames, shelves, and light built-ins
You get solid hold and tiny holes that fill fast. I step up to 16-gauge for thicker trim or a deep bite into studs. I step down to 23-gauge for small, fragile, or pre-finished work. But 18-gauge is my daily driver.
Who actually needs a cordless brad nailer in the U.S.?
In my view, anyone who installs trim more than once or twice a year can use a cordless brad nailer. Homeowners, handypeople, and trim pros all gain speed when they cut out the compressor and hose.
Is a cordless brad nailer worth it for DIY homeowners?
When friends ask if a cordless brad nailer is “too much,” I look at their project list. If you’re only hanging one frame, then no, you don’t need it. But most folks do more than that. I see the same jobs again and again:
- Trim in a bedroom or basement
- Shiplap or board-and-batten walls
- Shelves, small furniture, or built-ins
If you fix one room every few years, you can borrow or rent. But if you have a list of rooms to update, a cordless brad nailer saves time and stress. For light use, a budget model is fine. You don’t have to buy the most expensive one.
Why are pros switching from hoses to cordless?
More pros switch every year because cordless is fast between tasks. I can walk into a room, fire three brads, and walk out. No hose. No power cord. No noise from a compressor that kicks on in the next room.
It’s also safer. Hoses on the floor trip kids, pets, and clients. In tight homes, one bad outlet can turn your hose into a trap. A cordless finish nailer keeps the space clean and easy to move through.
Pneumatics still rule in big trim shops. But for remodels, repairs, and punch work, cordless is now the first tool I grab.
Which trades benefit most?
I see the same groups use cordless brad nailers all the time:
- Trim carpenters
- Remodel contractors
- Property and facility crews
- Cabinet and closet installers
If you work in finished spaces, cordless helps more than you think.
What should you look for in the best cordless brad nailer?
When I test a cordless brad nailer, I start with how it fires in real wood. I check how it feels in my hand. I check if it fits the batteries I already own. Specs matter, but feel matters more.
Which technical specs actually matter?
Spec sheets look long, but only a few things change daily use:
- Nail length: I want 5/8″ to at least 2″.
- Motor: Brushless runs smooth and long.
- Runtime: Shots per charge with a real battery, like 2.0Ah.
- Weight: Weight with the battery I’ll use, not bare weight.
- Magazine: Easy to load and a clear window.
These tell me more than any fancy claim.
Why do weight and ergonomics matter?
After a long day, I feel every ounce. A light, balanced tool helps with crown and tall casing. A nose-heavy gun makes my wrist drop and my lines drift. I check how the tool feels at arm’s length, how the grip sits in my hand, and how the trigger feels in both modes.
A few small changes make trim work much easier.
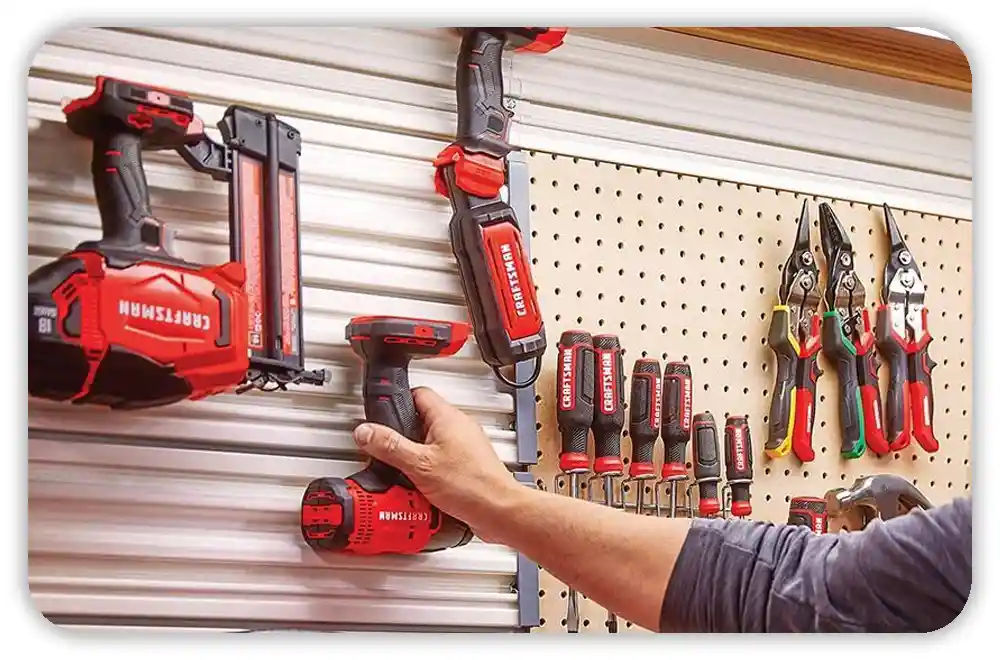
How important is platform and battery ecosystem?
This part matters a lot. If you own DeWalt 20V MAX, Milwaukee M18, Makita 18V LXT, Craftsman V20, or Ryobi ONE+, that plays a huge role. I try not to buy a battery system for one tool. Most brands now make a good 18-gauge brad nailer. So the best pick is often the best one on the system you already have.
What safety features should you check?
Even small brads move fast. I always look for:
- Dry-fire lockout
- Good nose safety
- Trigger lock
- LED light
- Belt hook
A quiet tool also helps when you work in lived-in homes.
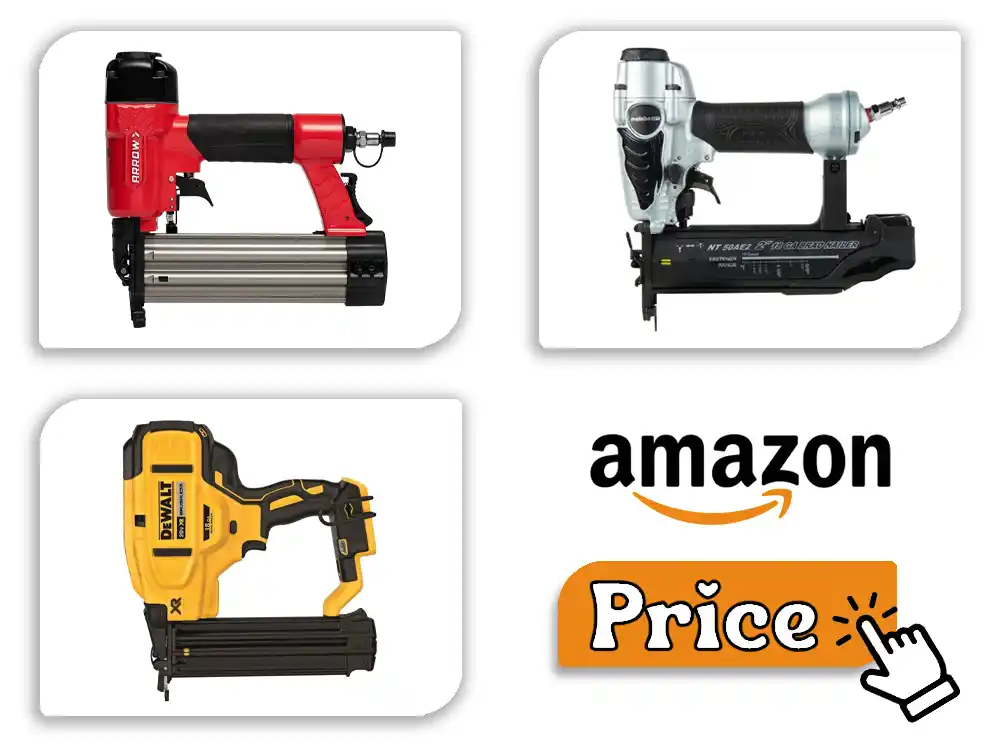
How do top cordless brad nail brands compare?
I’ve used most of the big names in the U.S. They all fire 18-gauge brads, but each has a “feel.”

DeWalt 20V MAX
DeWalt’s brad nailer is smooth, steady, and easy to trust. It sinks 2″ brads in trim and MDF with few proud nails. The micro-nose helps me place shots tight and clean. It feels light with a 2.0Ah or 4.0Ah pack. It’s not flashy, but it’s one of the most reliable tools I own.
Milwaukee M18 FUEL
Milwaukee hits hard and fires fast. There’s almost no delay. It feels close to a pneumatic in bump-fire mode. But that speed comes with more kick. It can be picky if your angle is off or if you rush a shot. When you use good form, it’s great. If you get sloppy, it jams more. Still a strong pick for M18 users.
Ryobi ONE+ AirStrike
Ryobi has surprised a lot of people, me included. The tool is a bit heavy and has a small delay, but it works on real trim. For baseboard, accent walls, and room-by-room jobs, it holds up. It’s perfect for folks with lots of ONE+ batteries already.
Craftsman, Ridgid, Makita, and others
Craftsman fits the mid-budget crowd. Ridgid feels solid and comes with strong support. Makita is smooth and quiet, and I like it in tight rooms that echo. Brands like Senco, Metabo HPT, and Paslode show up in pro trim shops where people care a lot about feel and drive style.
What is the best cordless brad nailer for your projects?
I’ve learned there is no single “best cordless brad nailer” for every job. The right tool depends on what you build, how often you work, and the batteries you own. My goal here is to match real tools with real work. That way you can pick a brad nailer that fits your world. The key idea is simple: the best cordless brad nailer is the one that meets your needs.
Best cordless brad nailer for trim pros and remodelers
When I do paid trim or remodel work, I want three things. I want steady power, low jams, and low fatigue. For this type of work, I trust solid 18-gauge tools from DeWalt, Makita, or Senco-style models. These tools fire well and keep up with long days. The key point is that pro jobs need clean power more than fancy features.
Service also matters to me. A great tool means nothing if I can’t fix it in a rush. So I stick with brands that U.S. shops can repair or support. That helps a lot during busy months. The main idea is that pros should weigh service and downtime right next to strength and weight.
I’m also in homes all day. A light, well balanced nailer helps my hands late in the afternoon. A brushless motor helps too. The key point here is that low fatigue is part of pro life, not a bonus.
Best cordless brad nailer for DIYers and weekend users
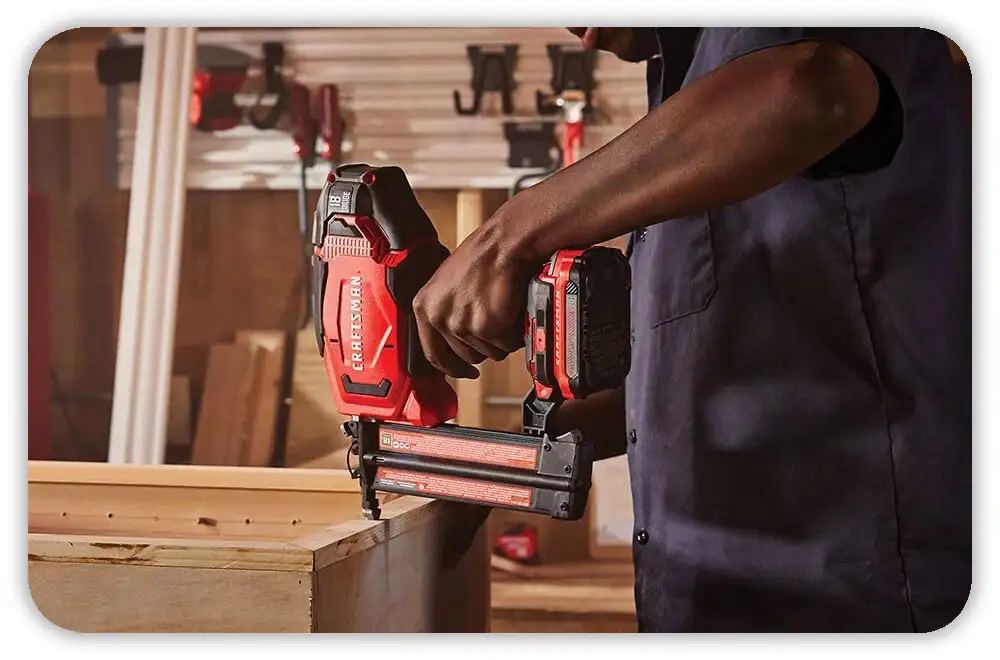
For DIY work, my advice shifts. You don’t need the top-tier gun. You need a tool that is simple, safe, and good for your budget. This is why I often suggest Ryobi ONE+, Craftsman V20, or basic Makita kits. These tools are easy to use and easy to store. The key point is that simple and steady wins for home use.
If you own a stack of batteries already, I tell you to start there. In most U.S. homes I see ONE+, V20, or DeWalt packs on shelves. Adding a brad nailer to that setup costs less than buying a new system. The main idea is that staying on your platform saves cash.
I also tell DIY friends it’s okay to start small. A budget nailer can finish a home and many projects. If you pick up bigger jobs one day, you can upgrade. The key point is that you can grow into better tools over time.
Best cordless brad nailer for shops and cabinetmakers
Shop life is different. At the bench, I still use air tools because they feel light and fast. But when I step out to install cabinets or trim, a cordless brad nailer is a gift. The main idea is that shops use cordless tools more for installs than for long bench days.
For cabinet installs, I want clean holes, smooth triggers, and good depth control. DeWalt, Makita, and Senco-style guns feel great for this. They also stay quiet in tight kitchens. The key point is that installs need a clean, soft shot.
I still keep at least one air nailer on the bench. Air tools win when the day runs long. So the best cordless brad nailer for small shops is the one that pairs well with your main air setup. The key idea is that cordless tools help air tools, not replace them.
Best cordless brad nailer for cold and hot U.S. climates
Climate matters more than people think. In cold states, batteries sag and seals feel stiff. I do better with 4.0Ah packs and brushless motors in cold weather. The key point is that cold work needs strong batteries and a warm-up.
In hot states, things shift. Glue on brads gets soft and dust sticks to the nose. That is why I use better nails and clean the gun more often. The main idea is that heat and humidity make nail quality extra important.
No matter where you live, keep batteries out of extreme heat and don’t leave the tool in a freezing truck. Light oil only if the manual says so. The key point is that climate care keeps your “best cordless brad nailer” feeling right for years.
How should you test a cordless brad nailer before you trust it?
Even the best cordless brad nailer needs a small test first. I run a short test on scrap to check drive depth, power, jams, and battery life. This quick test saves me from mistakes in a client’s home. The key idea is that a simple test can stop a big problem.
What materials should you test on?
I test on wood I use on real jobs. That means pine or poplar for trim, MDF for paint, and oak or maple for tough spots. I also shoot into plywood edges and scrap baseboard. The key point is that real materials show real results.
Most U.S. homes have pine or MDF trim. Older homes can have hardwood trim and thick paint layers. That’s why I mix my scrap and don’t rely on one sample. The main idea is that mixed scrap tells the truth.
How do you check depth control?
To test depth, I shoot a straight line of brads across a short board. Then I change the depth dial and shoot a second line. I look for proud nails or nails driven too deep. The key point is that a good nailer reacts fast when you change depth.
I also try light pressure and firm pressure. Some nailers want a hard press; others are soft and easy. If depth jumps around too much, I note it. The main idea is that a forgiving gun helps a lot when you’re tired.
How do you test jams and misfires?
I load a full strip of brads and fire at a normal pace. I watch how the magazine loads and how the follower slides. If a jam hits, I time how fast I can clear it. The key point is that you want a tool that jams less and recovers fast.
I also check the glue on the nails. Cheap brads shed glue and clog the nose. If I see that, I stop using that brand. The main idea is that many “tool issues” come from bad nails.
How do you test battery life?
I charge a pack, grab scrap wood, and count shots until the tool slows down. I do this with the pack I plan to use most. The key point is that real runtime matters more than the number on the box.
Some nailers run strong until they stop. Some fade late in the pack. Knowing this helps me plan my day. The main idea is that a quick runtime test helps you work smarter.
How do you use a cordless brad nailer safely and cleanly?
A cordless brad nailer feels easy, but it can cause real harm if you rush. I slow down, check my space, and follow a few simple habits. These habits keep me, my trim, and the home safe. The key idea is that small safety steps prevent big, expensive mistakes.
What PPE and setup do you need?
Before I fire a brad, I put on safety glasses. I keep ear protection close too. A brad nailer is quiet compared to a framing gun, but it still makes sharp noise. I also check my ladder and the floor for scraps. The key point is that safe footing and clear floors matter.
In old homes, I wear a dust mask if I sand or cut trim. Paint layers can hold things I don’t want to breathe. I also keep walkways clear so kids or pets don’t trip. The main idea is that a clean space makes a safe space.
How do you avoid trim damage?
To avoid damage, I watch my angle and my spacing. I tilt brads a bit so they grip well and don’t pop out. I stay back from edges to avoid splits. The key point is that small changes in angle save a lot of trim.
I also think about wires and pipes. Near sinks or switches, I slow down and check the wall. A cheap stud finder is cheaper than a repair. The main idea is that every wall can hide trouble.
How do you fill brad holes?
For painted trim, I use a light filler that sands smooth. For stained wood, I use a color-matched putty and test it on scrap. The key point is that good filler makes holes vanish.
My normal order is simple: fill, sand, caulk, then paint. On very fine jobs, I switch to 23-gauge pins to keep holes tiny. The main idea is that the final look matters as much as the shot.
How do you maintain and troubleshoot a cordless brad nailer?
From what I’ve seen, most “bad” nailers are just dirty, dry, or full of cheap nails. A little care keeps a cordless brad nailer smooth for years. In this part I’ll share the simple routine I use to keep my best cordless brad nailer firing clean and strong. The key idea is that small habits stop most big tool problems.
What’s a simple maintenance routine for most brands?
My basic rule is simple. A few minutes after a job saves an hour later. I give the tool a fast cleanup whenever I finish a trim day or a dusty project. This light care keeps dust, glue, and grit from turning into real damage. The key point is that steady light care beats rare deep fixes.
Here’s the routine I use on most cordless brad nailers:
- Blow out dust: I use a small blower or canned air to clear dust from the magazine, nose, and vents. Dust acts like sand if it sits too long. The key point is that a clean path helps nails feed smooth.
- Wipe rails and nose: If the brads have thick glue, I wipe the rails and nosepiece with a dry rag. At times I use a tiny bit of cleaner on the rag, not on the tool. The main idea is that clean rails stop brads from sticking.
- Use light lube only if the manual allows it: On tools that allow oil, I add one or two drops of 100% silicone oil in the nail path. I never use WD-40. A small touch of the right oil keeps the striker and seals from feeling stiff. The key point is that light lube in the right spot helps things move.
- Treat batteries with care: I don’t leave packs in a hot truck or a cold shed. I keep them in a dry spot with mild temps. If a pack sits for weeks, I top it off. The main idea is that good battery habits keep the tool strong.
This five-minute routine stops most jams, misfires, and odd noises. The key point is that light daily care keeps your best cordless brad nailer in good shape.
How do you clear jams and stalls safely?
Every nailer jams now and then. Even the good ones. The key is to slow down and follow the same steps each time. The key idea is that safe, calm steps matter more than speed when the tool is stuck.
Here’s how I clear a jam or stall:
- Lock it off and pull the battery: I flip the lock switch and remove the battery before I touch the nose. A live tool can fire by mistake. The key point is that a dead tool keeps you safe.
- Open the jam door or nosepiece: Most 18-gauge nailers have a small door at the front. I open it and look for bent brads or chunks of glue. The main idea is that you must see the problem before you pry.
- Remove bent nails with care: I use pliers to pull the bent brads out. I avoid scratching the driver blade. Scratches can cause more jams later. The key point is that gentle removal protects the tool.
- Check the magazine and rails: I look for cheap nails, bent strips, or packed dust. If a strip looks bad, I toss it. The main idea is that bad nails tend to jam again.
- Reload, test, and listen: Once the path is clear, I load a short strip and fire into scrap. I listen for odd clicks or weak hits. The key point is that a fast test confirms the fix.
Most jams take less than a minute to fix when I use this routine. The main idea is that calm steps keep both you and the tool safe.
What if your cordless brad nailer clicks but won’t fire?
The most common issue I hear is, “It clicks, but nothing fires.” I’ve run into this many times, and it almost always comes from a short list of causes. The key idea is that most “no fire” issues are simple.
Here’s the quick path I follow:
- Check the battery first: A weak battery can light the LEDs but still fail to drive a brad. I swap in a known good pack, often a 4.0Ah. The key point is that a low pack is the fastest thing to rule out.
- Confirm the right nails and load: I check that I’m using the correct 18-gauge brads within the right range. I make sure the strip sits flat in the magazine. The main idea is that wrong or crooked nails can block the feed.
- Look at the striker and nose: A nailer that sat for months may feel dry. On models that allow it, one drop of silicone oil wakes the path up. The key point is that a dry drive path can cause a click but no shot.
- Watch the contact tip: I check that the tip moves in and out with no bind. Dust here can stop the safety switch. The main idea is that a stuck safety stops the tool from firing at all.
- Know when it needs service: If a fresh battery, clean nails, and a clean nose do not fix it, I stop and look at service or warranty. The key point is that deep, repeat issues need pro work.
Most of my “click but no brad” problems came from low batteries, cheap nails, or a dry striker. The main idea is that simple checks fix most no-fire issues.
How much should you budget for the best cordless brad nailer?
When people ask what to spend, I ask how often they will pull the trigger. A light DIY user, a weekend remodeler, and a full-time trim pro work in different lanes. My goal is to match the tool to your work. The key idea is that your use should guide your budget.
What are the main price tiers in the U.S. market?
In U.S. stores I see three clear price tiers. Knowing your tier makes life easy. The key point is that each tier fits a different type of user.
Here’s how I break it down:
- Entry-level DIY kits — $150–$200: These come with a small battery and charger. They work well for light trim or one room. The main idea is that you get cordless freedom at a low cost.
- Mid-range prosumer tools — $200–$300: These fit serious DIYers, landlords, and weekend remodelers. They have better build and feel. The key point is that they mix good price with good power.
- Pro-grade tools — $350–$450+: These are for daily work. They have better triggers, better balance, and better support. The main idea is that pros pay more for less stress.
Bare tools cost less upfront but need packs and chargers. The key point is that total system cost matters more than the price tag on the tool.
How do you factor in batteries, chargers, and future tools?
The hidden cost is the battery platform. Packs and chargers cost real money. I remind folks to stick with the batteries they already own when they can. The key idea is that your platform drives your long-term cost.
Here’s how I plan it:
- Count your current packs: If you own DeWalt, Milwaukee, Makita, Ryobi, or Craftsman, a bare tool may be enough. The key point is that staying on your system saves cash.
- Plan for at least two packs: I like to have two good 2.0Ah or 4.0Ah packs. One in the tool, one on charge. The main idea is that one battery is not enough on a long day.
- Think about future tools: If you plan to add saws or lights, a strong platform pays off. The key point is that a good pack becomes cheap once it powers many tools.
When you add the tool, the packs, and the future plan, your budget feels clear. The main idea is that you’re buying a system, not just one nailer.
When is it smarter to rent or borrow?
At times the best move is to not buy at all. If your project list is tiny, renting makes more sense. The key idea is that you should buy only if you will use it.
Here are the times I suggest renting or borrowing:
- One-time jobs: If you plan to trim one room, a rental is fine. The key point is that short jobs don’t need long-term cost.
- Access to a friend’s setup: If a buddy has the same platform, you can borrow for a weekend. The main idea is that not every job needs a new tool.
- Tool libraries and rental shops: Some U.S. cities offer brad nailers by the day. You can test before you buy. The key point is that renting lets you try the feel with low risk.
I’ve used all three options at times when money was tight. The main idea is that you should spend based on long-term needs, not one fast project.
How do we test and recommend the best cordless brad nailers?
If I call a tool the best cordless brad nailer, I want you to know why. I do not guess from specs. I shoot real brads into real wood and take notes. The key idea is that my picks come from hands-on use.
What hands-on methods back these picks?
When I test a brad nailer, I try to mimic real work. I run tools through trim, scrap, and small builds until I see how they act. The key point is that real use shows the truth.
Here’s my test path
- Number of tools and hours: I use many nailers across brands. I track hours and jobs. Some stay in the shop. Some ride in the truck. The main idea is that long use shows weak spots.
- Wood and trim types: I test on pine, MDF, poplar, oak, and plywood edges. These are common in U.S. homes. The key point is that a real brad nailer must handle both soft and hard wood.
- Indoor and outdoor work: I test in cold garages and hot rooms. This helps me see battery sag and seal stiffness. The main idea is that climate changes how tools feel.
- Stress tests: I record jam rates, runtime, and trigger feel. I also check how fast I can clear stalls. The key point is that I push each tool enough to see where it gives.
My tests are not lab-perfect, but they match real life. The main idea is that my picks come from normal use, not a bench guess.
How do we stay honest about bias?
Trust is fragile when tools cost real money. If there are affiliate links, I state that up front. I still call out flaws. I have returned tools that failed. The key idea is that performance comes first.
Here are my rules:
- If I earn from a link, I say so.
- If a tool has a flaw, I name it.
- If no tool wins, I say that too.
I also listen to readers and pros. If many people see a problem I missed, I test again. The key point is that wide feedback helps refine my picks.
The main idea is that trust matters more than any sale.
Who is the author?
I’ve spent years with brad nailers at real job sites. I’ve hung trim, built small built-ins, and worked in lived-in homes full of kids and pets. The key point is that my advice comes from real trim work.
I’ve used many platforms, bought tools at full price, and tested loaner units. I’ve seen what works for pros and for DIY users. The main idea is that I’ve stood in the same place you stand now.
I write these guides to save you time and cash. I aim to stay clear, honest, and calm. The key point is that I want you to feel confident when you buy.
What are the key takeaways when choosing the best cordless brad nailer?
The best cordless brad nailer is not one tool for all users. It’s the tool that fits your work, budget, and batteries. I want to end with a short list you can keep in your head. The key idea is that a clear list makes your choice easy.
Quick decision checklist
Here are the questions I ask when helping someone pick a nailer. The key point is that honest answers lead to the right tool.
What battery platform do you own now?
Staying on that system saves money.
How often will you use the nailer?
Light, often, or daily? Your use level guides your spend.
What work do you do most?
Light trim, heavy remodels, or pro work? Pick the build for your load.
What climate do you work in?
Cold, hot, or mild? Climate shapes battery care and tool feel.
What is your real budget?
Think about packs and chargers too.