If you’ve ever tried to change your own brake pads, you know it’s not always as simple as it looks in videos. I remember the first time I did it myself. I got stuck right at the moment when I needed to compress the caliper piston.
The brake pads wouldn’t fit back in! That’s when I learned about the brake caliper tool. Since then, I’ve used it every time I do brake work. In this article, I’ll walk you through how to use a brake caliper tool, step by step, based on my own hands-on experience.
I’ll also share some tips and mistakes I made, so you can avoid them. Let’s get started and make sure your next brake job goes smoothly.
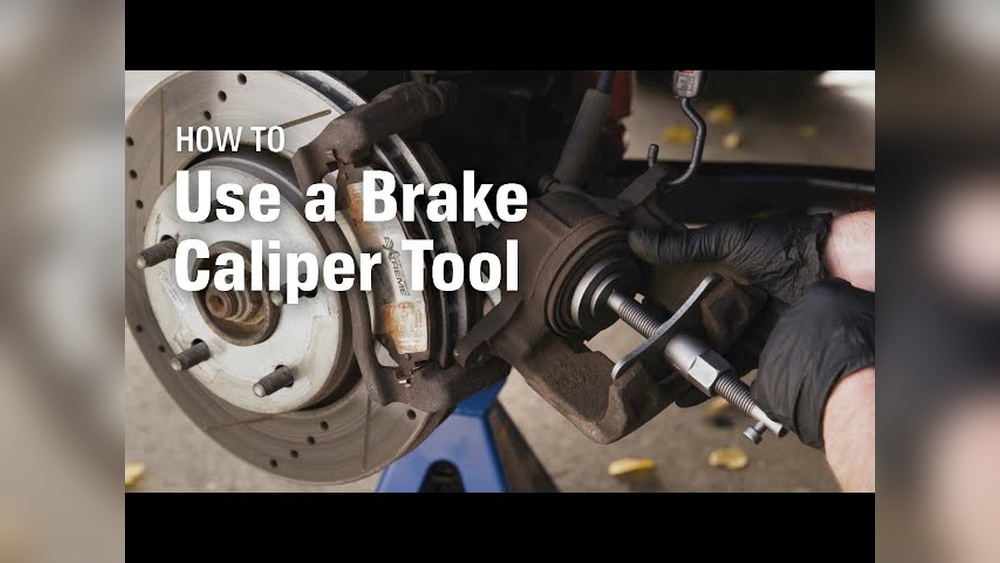
What Is A Brake Caliper Tool And Why Do You Need It?
A brake caliper tool is a small device that helps push the piston back into the brake caliper. When you replace your brake pads, the new pads are thicker than the old worn ones. To fit them in, you need to make space by compressing the piston. Some people try to do this with a big C-clamp or even a screwdriver, but that’s risky. I’ve seen people break seals or damage the piston. The right tool makes the job faster, safer, and less stressful.
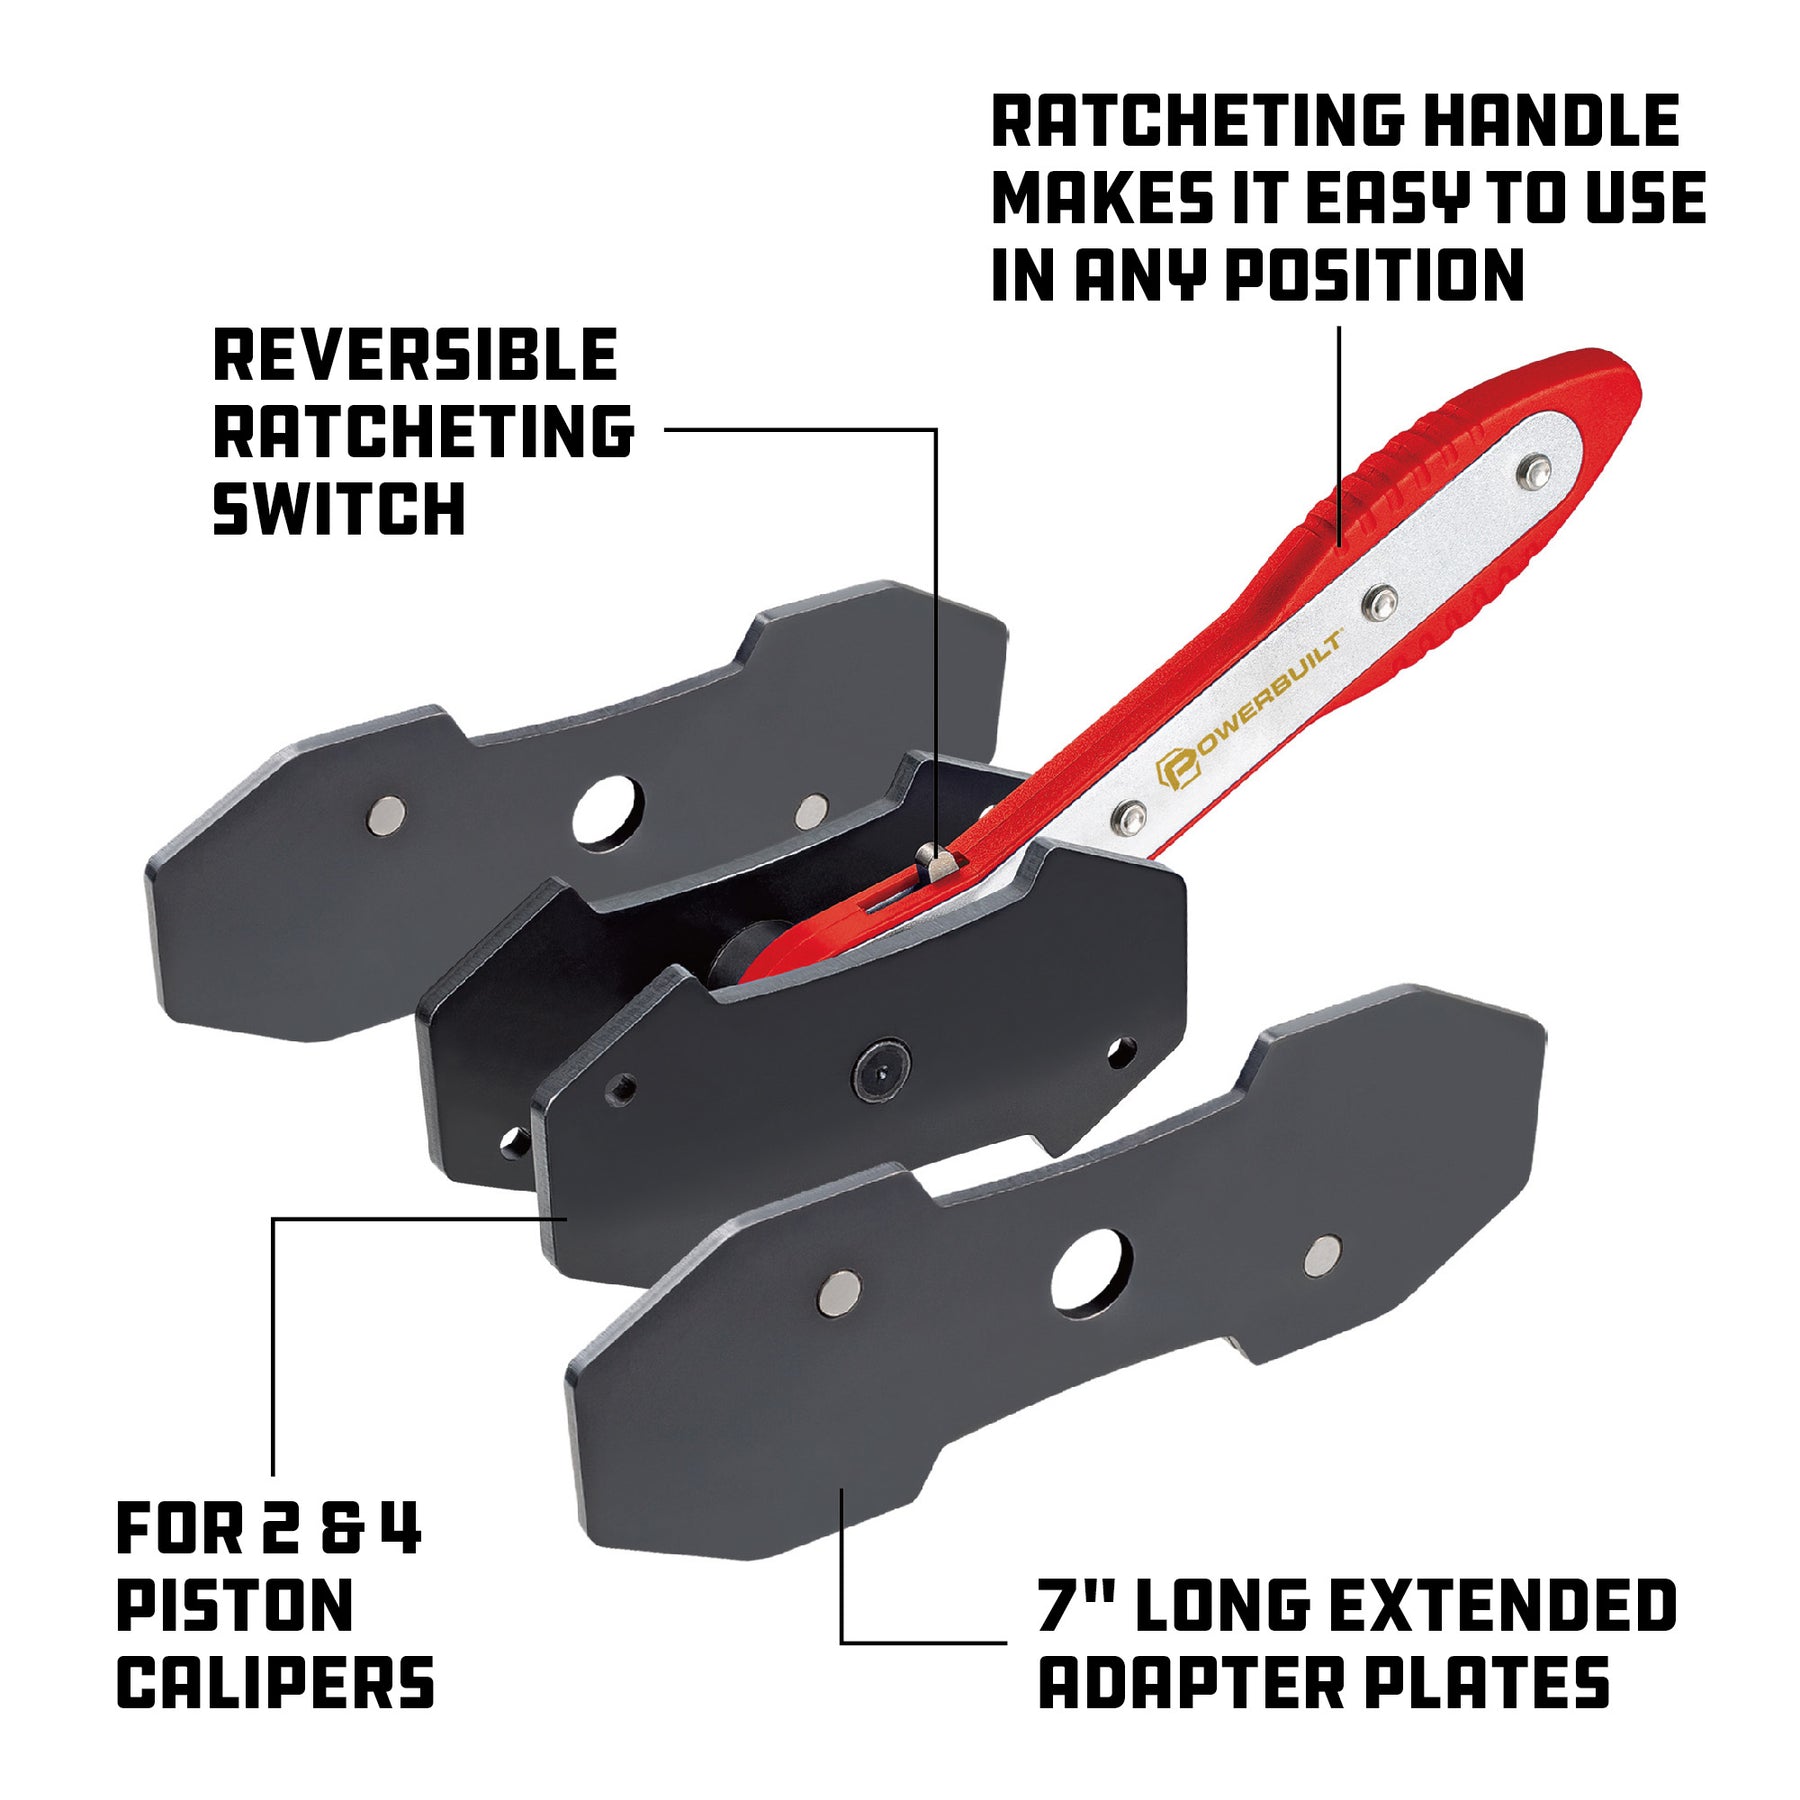
There are two main types I’ve come across:
- Single piston compressor: Great for most cars with single piston calipers. It’s simple and cheap.
- Wind-back tool: Needed for some cars, especially rear brakes. These pistons need to be twisted as they are pushed back.
Using the right caliper tool not only saves your knuckles, but also protects your brake system. That can save you money on repairs.
The Tools And Supplies You’ll Need
Before you start, gather all your tools and supplies. I’ve learned that having everything ready before you begin makes the job much smoother. Here’s what I always have on hand:
- Brake caliper tool (right type for your car)
- Jack and jack stands
- Lug wrench
- Socket set
- Flathead screwdriver
- New brake pads
- Brake cleaner spray
- Shop rags or old towels
- Mechanic gloves
- Eye protection
If you’re not sure which type of caliper tool you need, check your car’s manual or ask at an auto parts store. I made that mistake once and had to run out mid-job to buy the right tool.

Step-by-step: How To Use A Brake Caliper Tool
Let me break down the steps the way I wish someone had done for me the first time. I’ll keep it simple and clear.
1. Park Safely And Loosen The Lug Nuts
First, park your car on a flat, solid surface. Pull the parking brake. Put on gloves and safety glasses. Loosen the lug nuts on your wheel slightly while the car is on the ground. You don’t want the wheel to spin while you’re loosening.
2. Lift The Vehicle And Remove The Wheel
Use a jack to lift the car. Place jack stands under the car for safety. Never rely on the jack alone. Remove the lug nuts and take the wheel off. Now you can see the brake caliper.
3. Remove The Caliper
Locate the bolts holding the caliper. There are usually two—one at the top and one at the bottom. Use a socket wrench to remove them. Carefully slide the caliper off the rotor. I rest the caliper on an old towel or hang it with a bungee cord so the brake hose is not stretched.
4. Remove The Old Brake Pads
Take out the old brake pads. Sometimes they stick, so a gentle tap with a screwdriver can help. Check the pads for uneven wear. If you see anything strange, like one pad much thinner than the other, you might have a sticky caliper pin.
5. Inspect The Caliper And Clean
Before you push the piston back, take a look at the caliper. Wipe away any dirt or dust. Spray a bit of brake cleaner if needed. You want a clean working area.
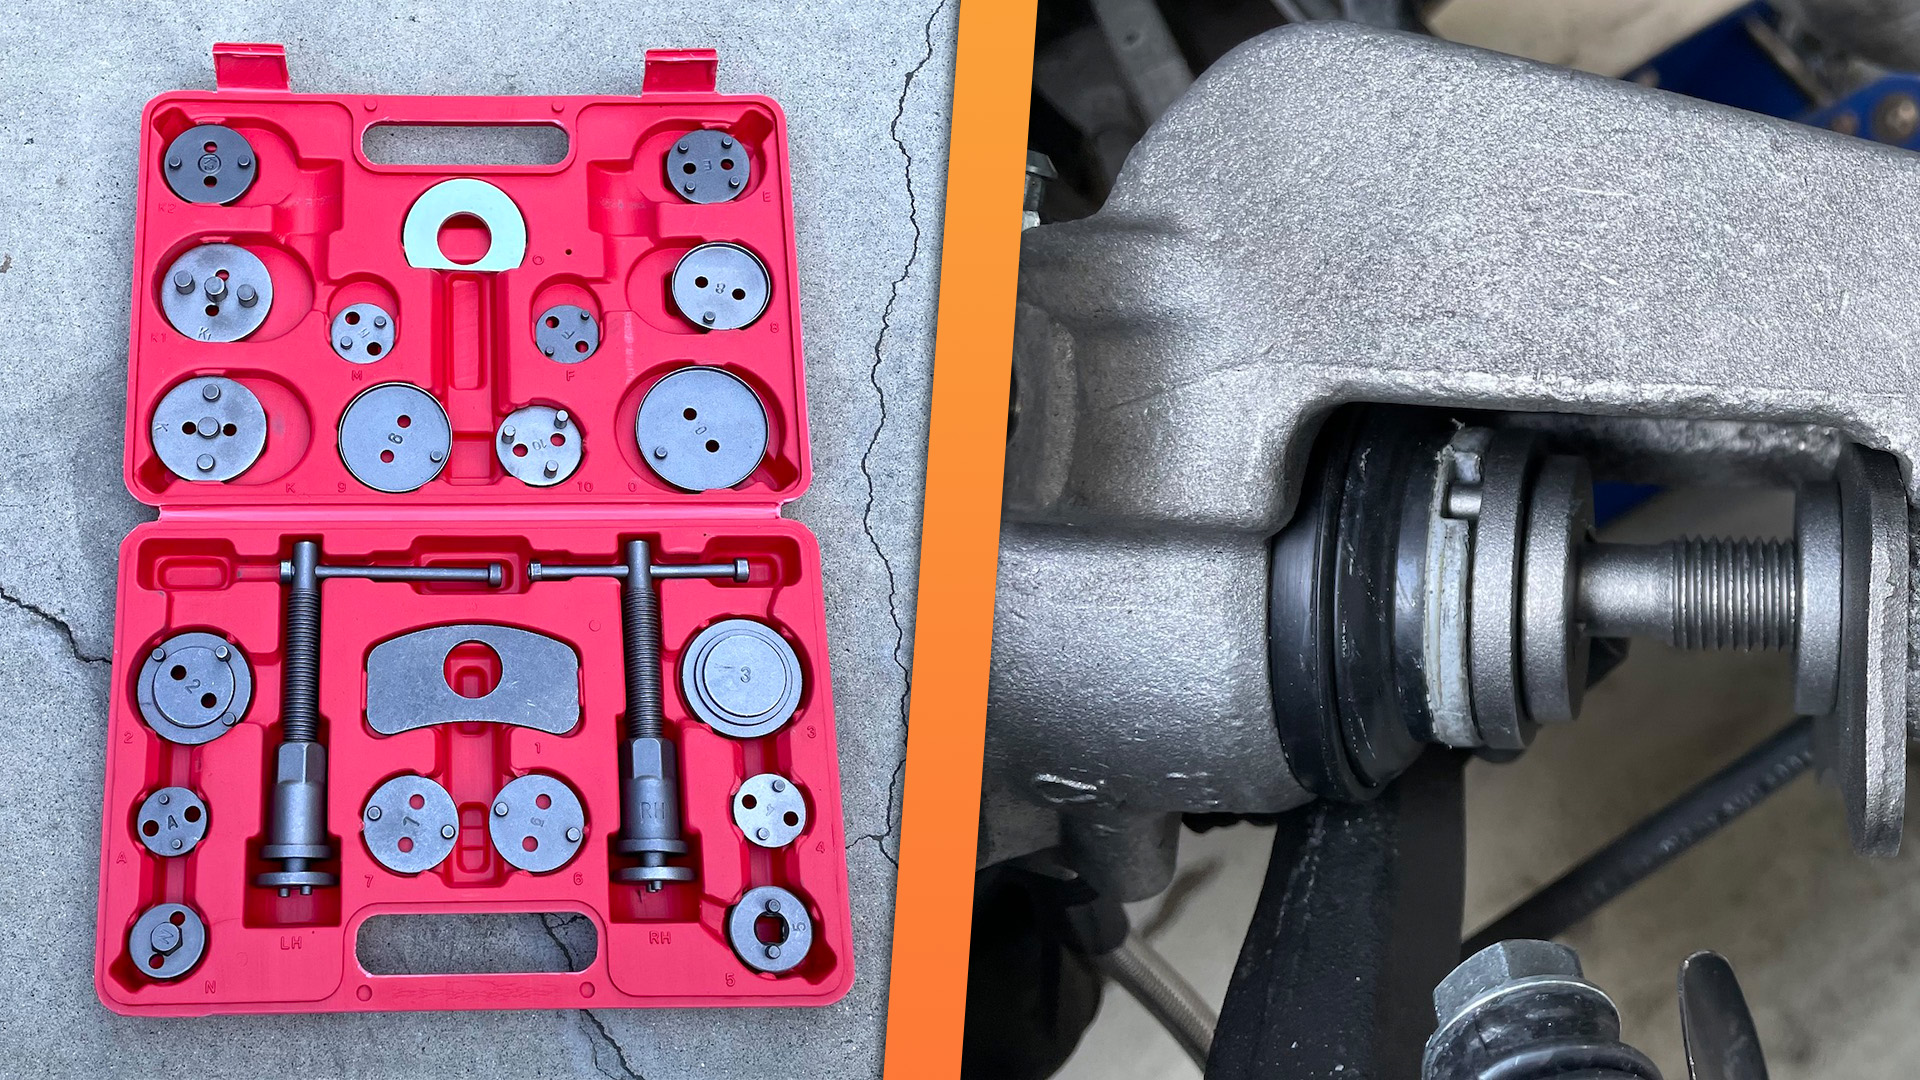
6. Fit The Brake Caliper Tool
Here’s the key step. Place the caliper tool so the plate rests against the caliper body and the push piece is centered on the piston. For a single piston tool, just turn the handle to start moving the piston back.
If your car uses a wind-back piston, choose the correct adapter from the tool kit. Fit it to the piston. As you turn the handle, the piston will rotate and push back at the same time.
Example Of Caliper Tools By Type
Here’s a quick look at the main types I’ve used:
| Tool Type | Best For | How It Works |
|---|---|---|
| Single Piston Compressor | Most front brakes | Turns handle to push piston back |
| Wind-Back Tool | Rear brakes with twist-in pistons | Turns handle to push and rotate piston |
| C-Clamp (alternative) | Emergency use | Compresses piston by squeezing |
7. Compress The Piston
Turn the handle slowly and watch the piston go back into the caliper. Don’t rush. If you feel strong resistance, stop and check if the tool is aligned. If you push too hard, you can damage the piston or seals.
Pro tip: Open the brake fluid reservoir under the hood before you compress the piston. This lets fluid flow back easily. Place a rag around the reservoir—sometimes fluid can overflow.
8. Check The Piston Position
Once the piston is fully compressed, check that it’s flush with the caliper housing. If it’s not fully in, your new brake pads won’t fit.
9. Fit The New Brake Pads
Insert the new brake pads. They should slide in smoothly. If not, double-check that the piston is fully compressed.
10. Reinstall The Caliper
Slide the caliper back over the rotor and new pads. Reinstall the caliper bolts and tighten them securely.
11. Refit The Wheel And Lower The Car
Put the wheel back on. Hand-tighten the lug nuts. Lower the car off the jack stands. Tighten the lug nuts in a star pattern.
12. Pump The Brake Pedal
Before you drive, pump the brake pedal a few times. The pedal will feel soft at first, then firm up. This pushes the piston back against the new pads.
13. Check Brake Fluid Level
Check the brake fluid reservoir. Top up if needed.
14. Test Drive
Take a slow test drive. Listen for strange sounds. If everything feels normal, you’re good to go.
Common Mistakes And How To Avoid Them
I’ve made a few mistakes along the way, so let me save you some trouble:
- Forgetting to open the brake fluid reservoir: If you don’t, compressing the piston can be much harder. I once had fluid overflow all over my engine bay.
- Using the wrong tool: Not all calipers are the same. Double-check if your rear brakes need a wind-back tool.
- Damaging the piston boot: Always keep the tool centered. If it slips, it can tear the rubber dust boot.
- Letting the caliper hang by the hose: This puts stress on the brake line. Always support the caliper.
- Not cleaning the caliper: Dirt can get inside the seals when you push the piston back, causing leaks later.
Why Not Just Use A C-clamp?
You might hear people say, “Just use a C-clamp!” I tried this before I bought a real tool. Sometimes it works, but it’s much easier to slip and damage something. The caliper tool gives you better control and fits more securely.
For wind-back pistons, a C-clamp just won’t work at all.
Here’s a quick comparison:
| Method | Cost | Risk of Damage | Suitable for Wind-Back Pistons |
|---|---|---|---|
| Caliper Tool | Low to medium | Very low | Yes |
| C-Clamp | Low | Medium to high | No |
| Screwdriver/Other | Very low | High | No |
The Little Details That Make A Big Difference
Here are two things I didn’t realize at first:
- Brake fluid can overflow: If your fluid was topped up when the pads were worn, pushing in the piston may cause it to spill.
- Pistons can stick: If the piston is rusty or stuck, don’t force it. You may need to rebuild or replace the caliper.
Also, always check your brake hardware (like pad shims and caliper pins). A little grease on these moving parts can prevent squeaks and sticking.
How Often Should You Use A Brake Caliper Tool?
Any time you change brake pads, you should use a caliper tool. Even if you’re just checking pads, it’s a good habit. It’s a small investment that saves you time and headaches every brake job.
For most cars, brake pads last 30,000 to 70,000 miles. But it depends on how you drive. If you notice a squealing sound or the brake warning light, it’s time to check.
Choosing The Right Brake Caliper Tool
If you’re buying a tool, look for one that fits your car. Some kits include adapters for many vehicles. I recommend getting a kit with both single piston and wind-back options. The extra adapters are worth it if you plan to work on more than one car.
Check reviews and make sure the handle is comfortable.
Here’s a quick comparison of features I look for:
| Feature | Why It Matters |
|---|---|
| Adapter Variety | Fits more vehicles |
| Build Quality | Lasts longer, safer to use |
| Handle Comfort | Easier on your hands |
| Clear Instructions | Helps avoid mistakes |
Safety Tips From My Own Experience
- Always wear gloves and safety glasses. Even a little brake fluid can irritate your skin or eyes.
- Use jack stands, not just a hydraulic jack. Jacks can fail.
- Double-check that the caliper tool is seated properly. If it slips, stop and reposition.
- Don’t over-tighten bolts. Use a torque wrench if you have one.
- Dispose of old brake pads safely. They may contain materials that are bad for the environment.
When To Ask For Help
If you ever feel unsure, it’s better to ask a friend or a mechanic for advice. I once had a piston that just wouldn’t go back in, no matter what. It turned out the caliper was seized. It’s okay to admit when you need help—better that than risking your safety.
If you want to read more about how brake systems work, the Wikipedia Disc Brake page has a lot of technical info.
Frequently Asked Questions
What Is A Brake Caliper Tool Used For?
A brake caliper tool is used to push the piston back into the brake caliper. This creates enough space to fit new, thicker brake pads.
Can I Use A C-clamp Instead Of A Brake Caliper Tool?
You can, but it’s not recommended. A caliper tool is safer, fits better, and works for twist-in pistons. A C-clamp can slip and cause damage.
Do I Need A Special Tool For Rear Brakes?
Many cars have rear calipers with twist-in pistons. For these, you’ll need a wind-back tool with the right adapter.
How Do I Know If My Caliper Piston Is Stuck?
If the piston doesn’t move easily with the tool, or if one brake pad wears out much faster than the other, the piston may be stuck. You might need to repair or replace the caliper.
Should I Open The Brake Fluid Reservoir Before Compressing The Piston?
Yes, open the reservoir cap and cover the area with a rag. This lets fluid flow back as you compress the piston and helps prevent overflow.
Changing your own brake pads can feel intimidating, but with the right tools and a little patience, it’s absolutely doable. The brake caliper tool is one of those things I wish I’d bought sooner. It makes the job easier, safer, and just plain better.
If you take your time, follow the steps, and watch for the little details, you’ll save money and learn a valuable skill. Trust me, nothing beats the feeling of knowing you fixed your brakes yourself.
As an Amazon Associate, We earn from qualifying purchases