I still remember the first time I used a pipe wrench on a shiny new pipe. I felt confident. But when I finished, I saw deep scratches and dents. I was upset because the job looked rough, even though the plumbing was fine. That day, I learned that using a pipe wrench without scratching takes more than just brute force. It needs care, the right tools, and a few tricks. If you want to protect your pipes and do clean work, let me share what I’ve learned from many jobs and mistakes.
Why Scratching Matters More Than You Think
Most people think a scratch is just a small mark. But for pipes, it’s much more. A scratch can look ugly, but it can also lead to bigger problems. For example, a scratched pipe may rust faster, especially if it’s steel or iron.
Even copper pipes can get weak spots from deep scratches. If you ever need to take apart your work, a scratched pipe is harder to turn and reuse. If you work for a client, they’ll notice the finish. Scratches can make even good work look cheap or careless.
I once fixed a leaky joint for a friend. I was proud of my repair, but he asked, “Why does the pipe look so rough? ” That was a wake-up call. I realized that protecting the pipe’s surface is just as important as making a leak-proof seal.
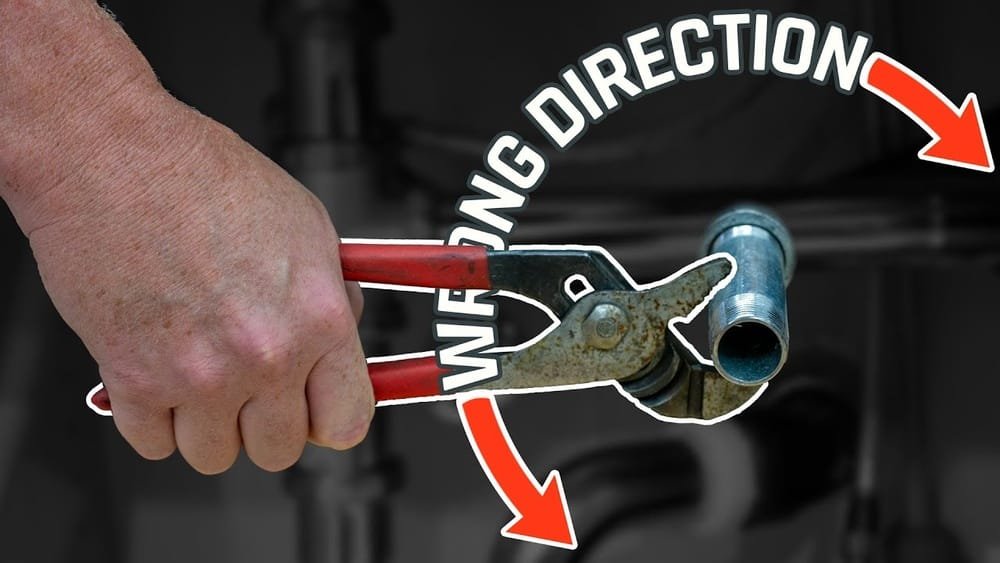
Understanding The Pipe Wrench And Its Jaws
The pipe wrench is a strong, adjustable tool. Its jaws have sharp teeth to grip pipes tight. That’s great for turning, but those teeth can bite into the metal. If you turn hard or slip, the teeth leave marks or deep grooves.
Different pipe wrenches have different jaw shapes and sizes. Some are straight, some are offset, and some have extra-long handles for leverage. The bigger the wrench, the more force on the pipe. But the risk of scratching also goes up.
Here’s a simple comparison of pipe wrench types and their risk for scratching:
| Wrench Type | Jaw Design | Scratch Risk |
|---|---|---|
| Standard Pipe Wrench | Serrated steel jaws | High |
| Aluminum Pipe Wrench | Serrated steel jaws | High |
| Strap Wrench | Rubber or nylon strap | Very Low |
| Chain Wrench | Steel chain | Medium |
I learned that knowing your tool makes a big difference. When I used the wrong wrench, scratches were almost guaranteed.
Simple Tricks I Use To Stop Scratching
After many scraped pipes, I found some easy tricks that work. Most are cheap and quick. These steps can save you time and money:
1. Wrap The Pipe
The best way to stop scratches is to put a barrier between the pipe and the wrench. I often use an old piece of cloth, a rag, or even a strip of leather. You can also use thick paper, rubber, or plastic.
Just wrap it around the spot where the jaws will grip. This soft layer cushions the pipe and spreads out the force. I found that leather belts cut into strips work great for extra protection.
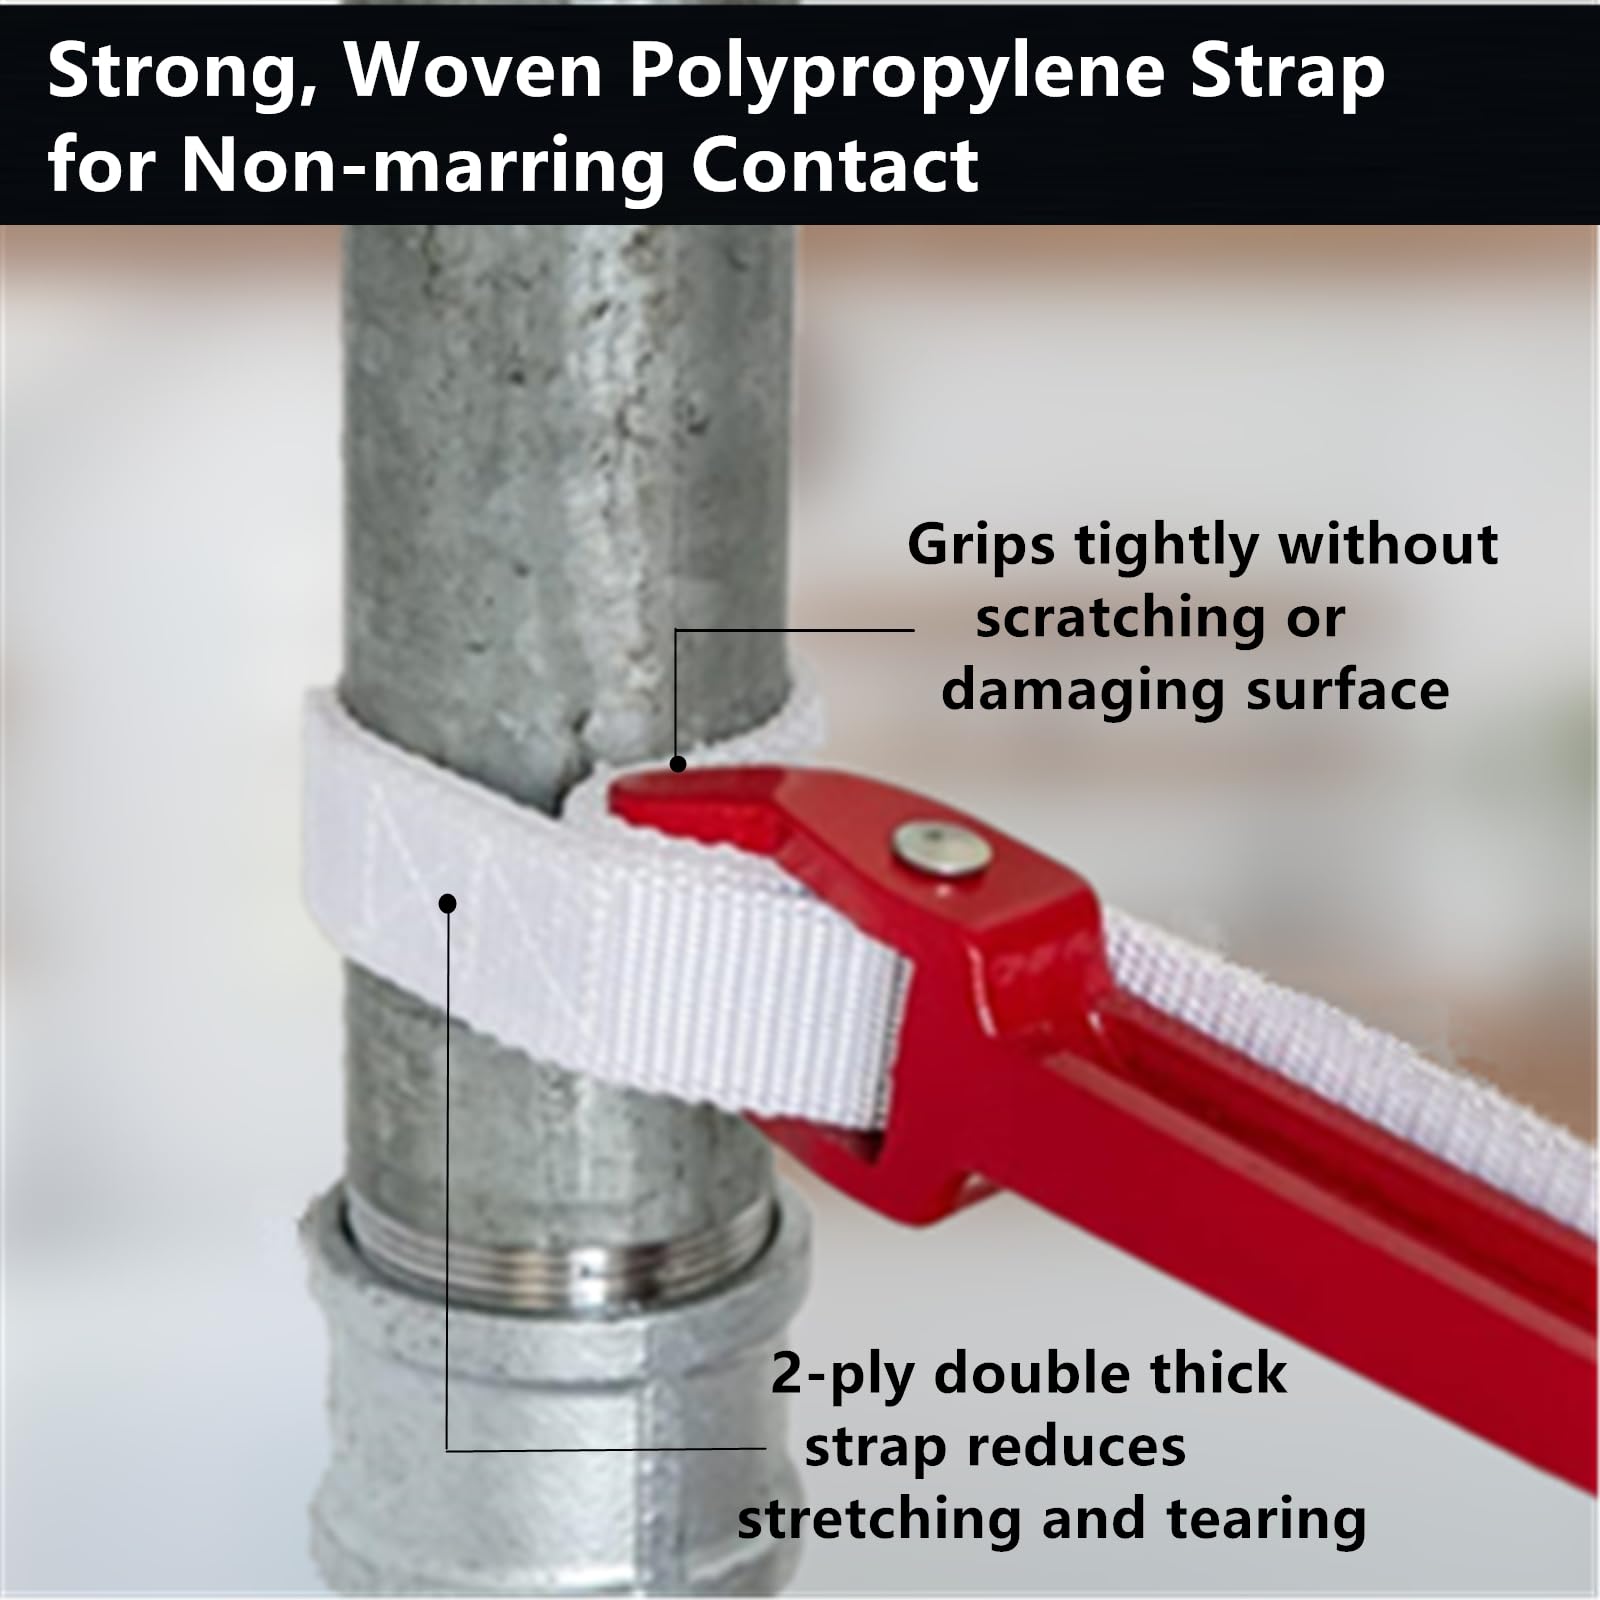
2. Use A Strap Wrench When Possible
If you’re working on a polished or painted pipe, use a strap wrench instead of a pipe wrench. It uses a strong rubber or fabric strap to grip the pipe. No teeth, no scratches. For shower arms or chrome pipes, a strap wrench is my first choice.
3. Don’t Over-tighten
It’s tempting to crank down hard. But more force means deeper teeth marks. I learned to turn the wrench only as much as needed to grip and turn the pipe. If it’s slipping, I check my wrap or try a bigger wrench—not just more muscle.
4. Keep Wrench Jaws Clean
Dirt or metal shavings on the jaws can grind into the pipe. I make it a habit to wipe the jaws with a rag before each use. Clean jaws grip better and scratch less.
5. Choose The Right Size Wrench
Too small or too big can both cause trouble. The right size means better control. I like to use a wrench that’s just big enough for the job. If it feels awkward, I switch to another size.
6. Check The Pipe Material
Soft metals like copper or aluminum scratch much easier than steel. For these, I double up on padding or use only a strap wrench. For painted pipes, I’m extra careful, as paint can chip off fast.
How I Wrap Pipes For Maximum Protection
This is the step that changed everything for me. The first time I wrapped a pipe with a piece of bicycle inner tube, I was amazed. No scratches, no marks, even after a tough turn.
Here’s how I do it:
- Cut a strip of rubber, leather, or thick cloth about 6 inches long.
- Wrap it tightly around the pipe, right where you want to grip.
- Overlap the ends so the whole area is covered.
- Place the wrench jaws over the wrap, then adjust as usual.
- If I need more grip, I use two layers.
I always keep a few strips in my toolbox now. Sometimes, I use duct tape as a last resort, but it can leave sticky residue.
Real-life Example: Saving A Chrome Pipe
One job stands out. I was installing a new shower arm for a client. The chrome finish was shiny and perfect. I knew a scratch would ruin the look. I wrapped the pipe with a thick microfiber cloth and used a strap wrench.
The arm turned smoothly, and there wasn’t a single mark. The client checked my work with a flashlight and smiled. That was a good day.
On another job, I forgot to wrap the pipe. The wrench slipped and left a deep scratch. I had to replace the pipe at my own cost. That lesson stuck with me.
Tools And Materials That Really Help
Over time, I’ve found a few tools and materials that make scratch-free work much easier. Here’s a comparison of common wraps I’ve tried:
| Material | Protection Level | Grip Quality | Reusable? |
|---|---|---|---|
| Leather Strip | Excellent | High | Yes |
| Bicycle Inner Tube | Very Good | Good | Yes |
| Cloth Rag | Good | Medium | Yes |
| Duct Tape | Fair | High | No |
| Paper Towel | Poor | Low | No |
If you want to invest, some companies sell wrench jaw covers made of soft plastic or rubber. These are shaped to fit over the jaws and can be reused many times. I use these for delicate jobs.

Common Mistakes I Made (so You Don’t Have To)
I’ve made all the mistakes in the book. Here are some that cost me time, money, or both:
- Using the pipe wrench directly on chrome or copper pipes without a wrap. The scratches are almost impossible to fix.
- Over-tightening the wrench, thinking tighter means better. It just means deeper marks.
- Using a dirty or rusty wrench. Grit and rust can gouge the pipe even with a wrap.
- Ignoring the pipe’s finish. Painted pipes need extra care, or the paint flakes off.
- Forgetting to check if the pipe is really stuck. Sometimes, a gentle tap or a drop of oil will loosen it, so less force is needed.
When To Use A Pipe Wrench And When To Avoid It
Sometimes, using a pipe wrench is not the best choice. For delicate or decorative pipes, I use a strap wrench or even my hands if possible. For old, rusty pipes that I plan to replace, I don’t worry about scratches. But for visible or expensive pipes, I always protect them.
Here’s a quick guide on when to use each tool:
| Situation | Best Tool | Scratch Risk |
|---|---|---|
| Old steel pipe, hidden | Pipe wrench | Acceptable |
| Chrome shower arm | Strap wrench | Very Low |
| Copper pipe, visible | Padded pipe wrench or strap wrench | Low |
| Painted iron pipe | Padded pipe wrench | Medium |

My Step-by-step Process For Scratch-free Pipe Work
When I need to remove or tighten a pipe and want to avoid scratches, here’s exactly what I do:
- Inspect the pipe for dirt, oil, or paint. Wipe it clean.
- Pick the right wrench for the job. For delicate pipes, I go for a strap wrench first.
- If using a pipe wrench, I grab a leather strip or thick rag for padding.
- Wrap the pipe at the grip point, making sure it doesn’t slip.
- Place the wrench jaws over the wrap and adjust for a snug fit—not too tight.
- Turn slowly and check as I go. If I see the wrap tearing, I stop and add another layer.
- When done, I unwrap and check for marks. If there are any, I know to adjust next time.
Advanced Tips Most Beginners Miss
Most DIY guides stop at “wrap the pipe.” But here’s what I’ve learned with more experience:
- Double wrapping: On soft metals, I use two layers of wrap—leather first, then cloth over it. This spreads the grip even more.
- Jaw covers: You can buy or make rubber covers for your wrench jaws. They snap on and off and work well for frequent jobs.
- Rotate the grip point: If you need to turn the pipe more than once, move the wrap and wrench to a new spot each time. This spreads out any pressure and avoids deep dents in one spot.
- Check for slippage: If the wrench slips, stop and reset. Don’t just grip tighter. Slipping causes more scratches than anything else.
- Test on scrap: If you have a spare piece of pipe, practice with your wraps and wrench to see how much pressure leaves a mark.
Final Thoughts: Why Care Makes You A Better Pro
I’ve learned that using a pipe wrench without scratching is about more than looks. It’s about pride in your work and respect for your tools and clients. Even if you’re working at home, a scratch-free job feels better. Over the years, these habits have helped me get repeat work and good reviews.
If you’re just starting, try these tricks on your next project. You’ll save yourself headaches and maybe even some money. If you want to dive deeper into tool care and pipe work, you can find more details at Wikipedia.
Frequently Asked Questions
How Do I Avoid Scratching Soft Copper Pipes With A Pipe Wrench?
Wrap the pipe with a thick layer of cloth or leather before using the wrench. For best results, use a strap wrench, which has no teeth and won’t bite into the metal.
Can I Use Duct Tape To Protect Pipes From Scratches?
Yes, you can use duct tape as a quick barrier, but it may leave sticky residue. For better protection, use a leather strip or rubber instead.
What Should I Do If My Pipe Wrench Keeps Slipping?
Check if your wrap is too thin or too loose. Add another layer, or switch to a better gripping material. Make sure the wrench is the right size for the pipe.
Are There Special Tools For Scratch-free Pipe Work?
Yes, strap wrenches and wrench jaw covers are made for this purpose. Strap wrenches are perfect for delicate finishes and are easy to find at most hardware stores.
Is It Okay To Use A Pipe Wrench On Painted Pipes?
It’s possible, but you should always use padding and avoid over-tightening. Painted surfaces chip easily, so check your wrap and be gentle with force.
Taking a bit more care with your tools and methods can make a big difference in your finished work. If you want your pipes to look as good as they work, these habits really pay off.
As an Amazon Associate, We earn from qualifying purchases