Tightening a pipe wrench seems simple, but my first time was a mess. I remember standing in my friend’s garage, ready to help fix a leaky pipe. I grabbed the wrench, twisted the handle, and—nothing happened. The wrench slipped and I scraped my knuckles.
That day, I learned the hard way that tightening a pipe wrench is more than just twisting a knob. If you’re new to this, or if you’ve had a few slip-ups like me, I want to share my experience, so you can use a pipe wrench safely, effectively, and without injury.
What Is A Pipe Wrench And Why Does It Matter?
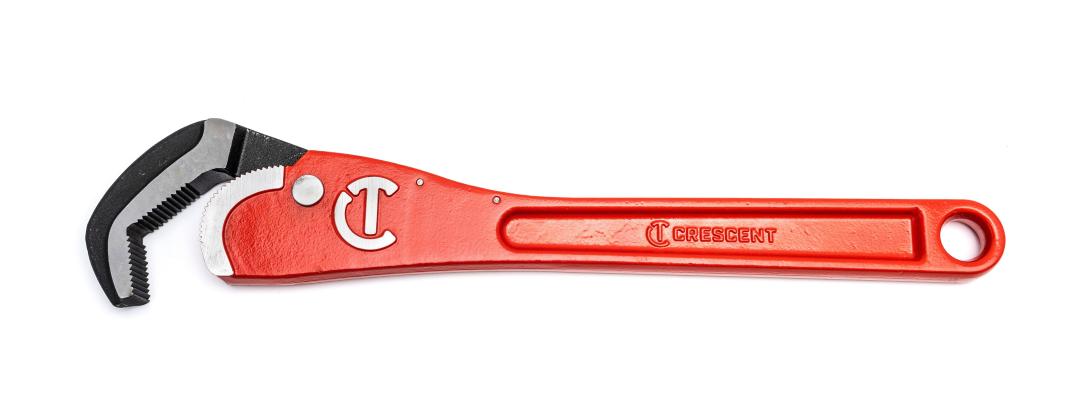
Before I got my hands dirty, I thought a pipe wrench was just a big, heavy tool. But it’s not just any wrench. The pipe wrench is designed for gripping and turning pipes. It has serrated jaws and a movable head. This tool is perfect for working with round pipes, especially when they’re stuck or need strong force.
I learned pretty fast that using the right tool saves time and avoids damage. A pipe wrench applies pressure without crushing the pipe. The jaws grip tight when you turn, making it a favorite for plumbers and DIY fans. But if you don’t know how to tighten it right, you can damage the pipe or hurt yourself.
My First Mistakes Using A Pipe Wrench
When I first tried, I made two big mistakes. First, I didn’t adjust the jaw size to fit the pipe. Second, I gripped the wrench too tightly, thinking “more force means better grip. ” Both were wrong. The wrench slipped, scratched the pipe, and my knuckles took the hit.
Here are the things I wish someone had told me:
- Fit matters: The wrench should fit the pipe snug, but not too tight.
- Let the wrench do the work: Don’t over-tighten with your hand. The wrench’s jaws grip as you turn.
These small details changed how I worked with pipes forever.
How A Pipe Wrench Works
Understanding how a pipe wrench works made everything easier. The wrench has two jaws: one fixed and one adjustable. The adjustable jaw moves up and down when you twist the nut or knurled ring. As you turn the wrench on the pipe, the angled jaws dig into the metal. This grip is what lets you turn or loosen pipes without slipping.
Over-tightening the jaws can damage the pipe or make the wrench stick. Under-tightening means the wrench won’t hold and will slip. You need a “just right” fit—snug, but not forced.
Choosing The Right Pipe Wrench For The Job
I once tried to use a small wrench on a thick pipe. It was a bad choice. Pipe wrenches come in different sizes. Picking the right one makes a big difference.
Here’s a handy comparison from my toolbox:
| Wrench Size | Best For Pipe Diameter | Common Use |
|---|---|---|
| 10-inch | Up to 1 inch | Home sinks, light jobs |
| 14-inch | 1/2 to 1-1/2 inches | General plumbing |
| 18-inch | 1 to 2-1/2 inches | Large pipes, outdoor jobs |
| 24-inch+ | 2 inches and above | Heavy pipes, commercial work |
If you’re unsure, start with a 14-inch wrench. It covers most home tasks. Never use a wrench that’s too small for the pipe. It won’t grip well and can break.
Step-by-step: How I Tighten A Pipe Wrench The Right Way
After my knuckle disaster, I learned a step-by-step way to tighten a pipe wrench safely and get a solid grip. Here’s what I do every time now:
1. Inspect The Wrench
I check the jaws for dirt, rust, or worn teeth. Clean jaws grip better. If the teeth look worn, I swap for a better wrench. A damaged wrench slips, and I don’t want that.
2. Adjust The Jaw Size
I open the jaws wide enough to fit around the pipe. Then, I twist the adjustment nut until the jaws are snug—just touching the pipe. They shouldn’t squeeze it. I test by moving the wrench back and forth. If it wiggles, I tighten a bit more.
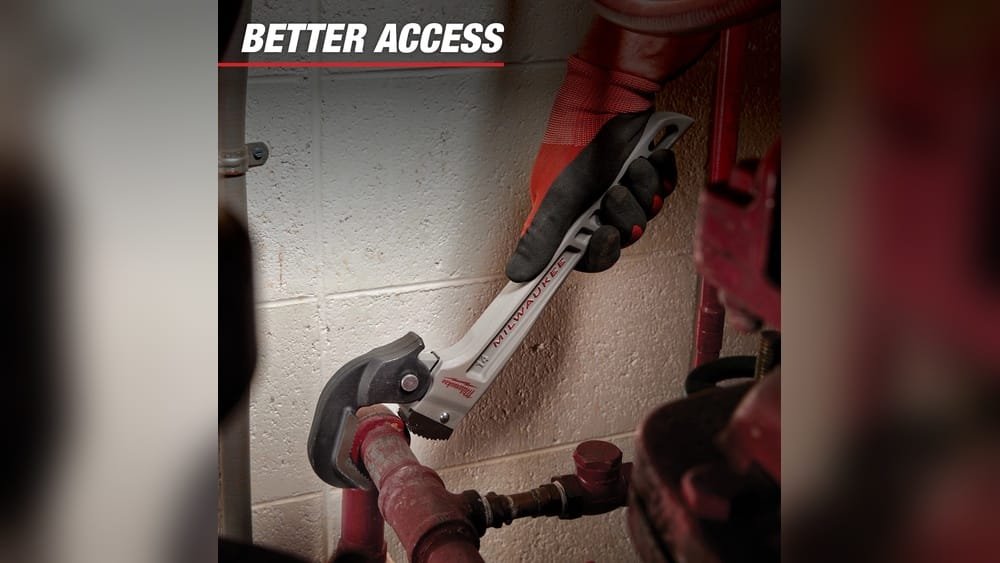
3. Place The Wrench Correctly
I set the wrench on the pipe with the fixed jaw on top. The adjustable jaw goes underneath. The handle should point in the direction I want to turn. This setup uses the wrench’s strength and my force together.
4. Test The Grip
I push the handle gently. If the wrench bites into the pipe and doesn’t slip, it’s tight enough. If it slips, I tighten the jaws a little more.
5. Turn With Steady Pressure
I use slow, steady pressure. No jerking or yanking. Quick moves can make the wrench slip or damage the pipe. If it feels tough, I check the fit again.
6. Release And Check
After I’m done, I loosen the wrench, clean it, and store it dry. This keeps it working well for next time.
Key Tips For A Perfect Pipe Wrench Grip
Over time, I picked up some tips that make tightening a pipe wrench easier and safer:
- Don’t over-tighten: The jaws should grip the pipe, not crush it. Too much force can flatten or damage pipes.
- Use the right angle: Place the wrench at a 90-degree angle to the pipe. This gives maximum grip and control.
- Keep the wrench clean: Oil or dirt on the jaws means less grip. I wipe my wrench before and after using it.
- Use both hands: For large pipes, I use both hands for better control.
- Wear gloves: I learned this after scraping my hands on sharp metal. Gloves give better grip and protect skin.
- Check for pipe material: Some pipes are soft (like copper). I use less force and check often to avoid dents.
Common Problems And How I Fixed Them
I’ve run into a few issues, and here’s how I solved them:
Slipping Wrench
If the wrench slips, the jaws are too loose or the teeth are worn. I tighten the jaw or swap for a newer wrench. Sometimes, pipes are greasy. A quick wipe with a rag helps a lot.
Damaged Pipe
If the pipe has dents or flat spots, I know I over-tightened. For softer pipes, like aluminum or copper, I use less force. Sometimes I wrap a thin rag around the pipe before using the wrench.
Stuck Wrench
If I can’t remove the wrench after turning, I’ve probably over-tightened. I tap the handle gently with a rubber mallet to loosen it. For very stubborn wrenches, I use a bit of oil on the jaws.
Pipe Wrench Types And When I Use Each
Over the years, I’ve used different types of pipe wrenches. Each has a special use. Here’s a quick overview from my experience:
| Type | Main Use | My Experience |
|---|---|---|
| Straight Pipe Wrench | Standard pipes | My go-to for most jobs |
| Offset Pipe Wrench | Hard-to-reach places | Great when pipes are close to walls |
| End Pipe Wrench | Near corners or edges | Helps in tight spaces |
| Chain Pipe Wrench | Large or irregular pipes | Works when standard jaws can’t fit |
If you’re just starting, the straight pipe wrench is best. But if you often work in small spaces, an offset wrench can save time and effort.
Safety Lessons I Learned Firsthand
Tightening a pipe wrench isn’t just about getting a strong grip. It’s about safety, too. Here’s what I always remember:
- Check the wrench before use: Old, rusty tools are risky.
- Watch your hands and fingers: Keep them away from the pipe and jaws when tightening.
- Use the right size tool: Never force a small wrench on a big pipe.
- Stand firm: If the wrench slips, you don’t want to lose balance and fall.
- Don’t use extensions: I once tried using a pipe to get more leverage. It damaged the wrench and nearly hurt me.
The Hidden Tricks Most Beginners Miss
There are a few things I didn’t learn until I made mistakes:
- Jaw direction matters: The wrench should always face the direction you want to turn. This makes the jaws grip harder as you push or pull.
- Shorter handle, more control: For delicate work, a shorter handle means less chance of over-tightening. I switch to a bigger wrench only when needed.
- Jaw alignment: Make sure both jaws are touching the pipe. If only one jaw grips, the wrench will slip.
These small tricks made my work smoother and less stressful.

Comparing Pipe Wrench To Other Tools
When I started, I wondered: can I use an adjustable wrench or locking pliers instead of a pipe wrench? Sometimes yes, but often no. Here’s what I learned after a few tough jobs:
| Tool | Best For | Drawbacks |
|---|---|---|
| Pipe Wrench | Round pipes, plumbing work | Heavy, needs proper handling |
| Adjustable Wrench | Nuts, bolts, flat sides | Slips on round pipes |
| Locking Pliers | Small pipes, quick fixes | Not strong enough for big jobs |
For anything with a round surface, the pipe wrench wins every time.
Pipe Wrench Maintenance: My Routine
Keeping a pipe wrench in good shape is key. My first wrench got rusty because I left it wet. Now, I do these steps after every job:
- Clean the jaws: I brush off dirt and wipe with a rag.
- Dry the wrench: Moisture causes rust.
- Oil the moving parts: A drop or two keeps the adjustment nut smooth.
- Store in a dry place: No more leaving it outside or in damp spots.
A well-cared-for wrench lasts for years and works better every time.
Real-life Example: Fixing My Kitchen Leak
One rainy evening, my kitchen sink started leaking. I grabbed my pipe wrench, checked the jaws, and adjusted it to fit the pipe under the sink. The space was tight, so I used an offset wrench for better reach. I placed the wrench, made sure it was snug, and turned slowly.
The leak stopped after a few turns. I didn’t scratch the pipe or hurt my hands, all because I followed these steps.
This small win boosted my confidence. Now, whenever friends ask for help, I’m ready—and I always share these tips.
When To Replace Your Pipe Wrench
Even the best tools wear out. Here’s how I know when to get a new pipe wrench:
- Worn-out teeth: If the jaws look smooth or don’t grip, it’s time to replace.
- Cracked handle: Any crack means danger. I don’t risk it.
- Loose adjustment nut: If it won’t stay tight, I swap for a new one.
A good wrench isn’t expensive, but avoiding accidents and damage is priceless.

Where I Learned More
If you want to dive deeper into the world of pipe wrenches, check out the Wikipedia page on pipe wrenches. It has technical details and history, but for most of us, the basics I shared are enough for safe, effective work.
Frequently Asked Questions
How Tight Should A Pipe Wrench Be?
The wrench should be snug, not crushing. The jaws must grip the pipe without flattening it. If you can turn the pipe without slipping, it’s tight enough.
Can I Use A Pipe Wrench On Plastic Pipes?
It’s not recommended. Pipe wrenches can crush or damage plastic. Use a strap wrench or your hands for plastic pipes.
Why Does My Pipe Wrench Keep Slipping?
Usually, the jaws are too loose or worn out, or the pipe is oily. Clean the pipe and jaws, adjust for a snug fit, and check the teeth.
Is It Safe To Use A Pipe Wrench On Chrome Pipes?
I avoid it if I can. The wrench’s teeth can scratch or dent chrome. If you must use it, wrap a cloth around the pipe for protection.
How Do I Maintain My Pipe Wrench?
Clean after use, dry it, oil the moving parts, and store in a dry place. This keeps it working well and prevents rust.
Using a pipe wrench right took me from bruised knuckles to fixing leaks with confidence. If you follow these steps, you’ll work safer, faster, and keep your pipes and hands in good shape. Try these tips and see the difference next time you grab that heavy wrench!
As an Amazon Associate, We earn from qualifying purchases