I once tried replacing drum brake springs with normal pliers. Big mistake. The spring slipped, my knuckles bled, and I learned a hard lesson.
When I finally bought real brake spring pliers, the job became easy. No pain, no slips, no wasted time. These tools make drum brake work faster and safer. Here’s how I use them step by step.
Table of Contents
What Are Brake Spring Pliers and Why You Need Them
When I first saw brake spring pliers, I thought they looked odd. But once I tried them, I understood why every garage in the U.S. uses them.
They remove and install brake return springs without a fight. No more forcing metal with regular pliers or worrying about flying springs.
The Role of Brake Spring Pliers in Drum Brakes
Drum brakes use tight springs to pull the shoes back after braking. Those springs hold strong tension. If you try to pry them off by hand, they can snap and hurt you.
Brake spring pliers let you grab, twist, and release those springs with control. I’ve done this many times, and once you feel the clean snap-free motion, you’ll never go back.
How They’re Designed
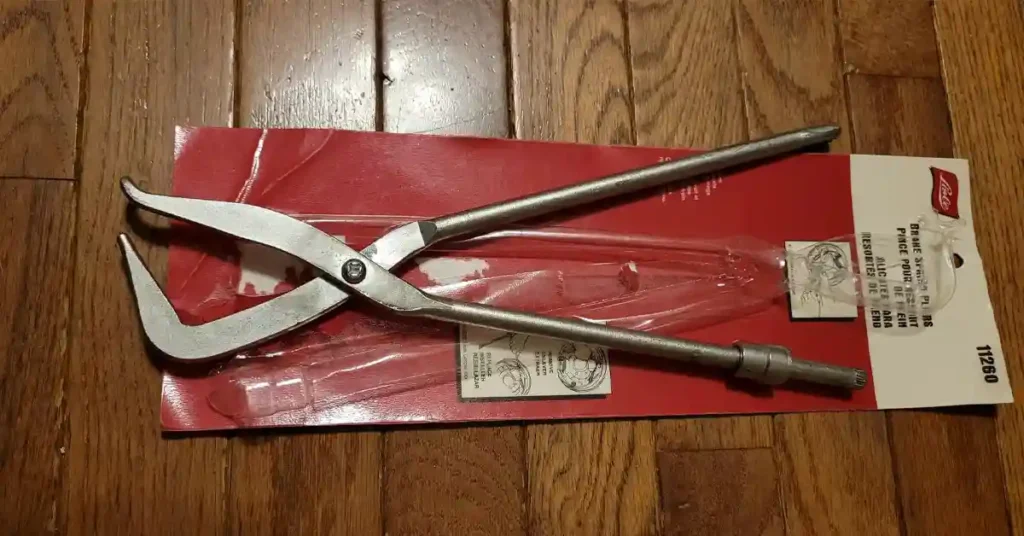
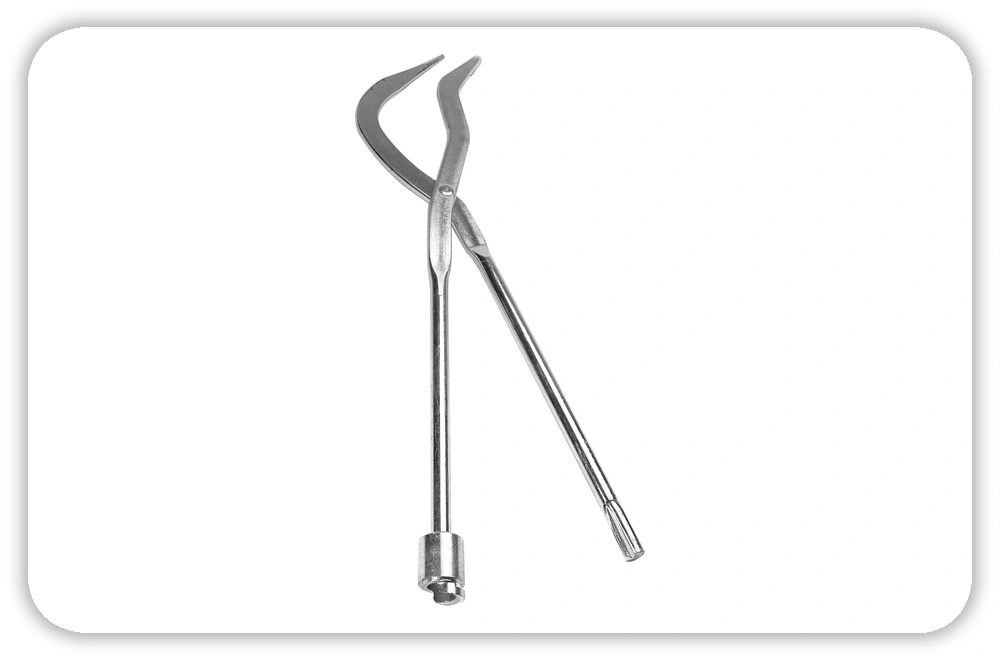
Each pair has two ends. The hooked end removes springs. The cup end installs them. Both are shaped to give you leverage in tight spots.
They also have curved handles for better grip. I’ve used Lisle, Craftsman, and Milwaukee — all solid picks found at U.S. stores like AutoZone or Harbor Freight.
Related Terms and Tools
When working on drum brakes, you’ll see parts like shoe hold-down springs, brake adjusters, wheel cylinders, and retaining clips. They all connect in one system.

Following OSHA safety basics helps too. It means clean tools, steady lighting, and eye protection every time.
Tools You’ll Need Before You Start
Before you start, set up your tools. This saves time and keeps you safe.
My quick list:
- Brake spring pliers
- Flathead screwdriver
- Brake shoe spring tool (optional)
- Safety gloves and glasses
- Jack and jack stands
- Brake cleaner and rags
I always use jack stands, not just a jack. OSHA warns against that mistake, and I’ve seen people regret it.
Step-by-Step: How to Use Brake Spring Pliers
I still remember my first clean brake job using these pliers. Everything clicked into place — literally.
Step 1 – Lift and Secure the Vehicle
Park on level ground. Set the parking brake. Lift the car with a jack. Secure it on jack stands before removing the wheel and drum.
Check stability twice. I never crawl under a car that rocks or wobbles.
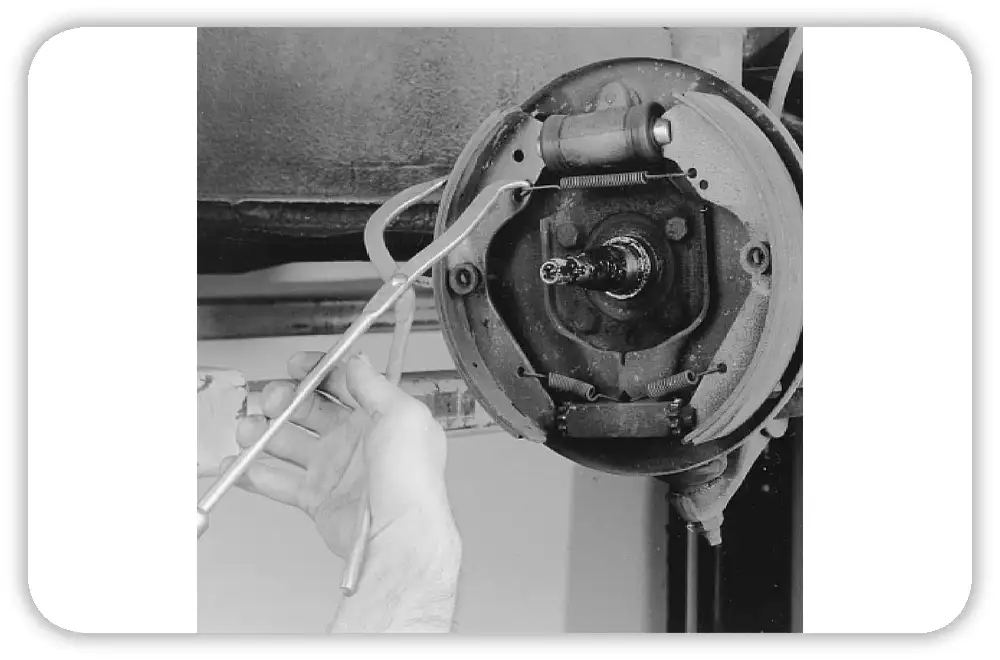
Step 2 – Remove the Return Springs
Use the hooked end of the pliers. Hook it through the spring loop. Pull or twist outward to release tension from the anchor post.
Keep your face and hands clear — springs can snap fast. When it comes loose, you’ll feel it.
Step 3 – Clean the Brake Assembly
Spray brake cleaner on the drum area. Wipe off dust, grease, and rust with rags.
Check the shoes, adjuster, and hardware kit for wear. If you see cracks, rust, or stretched parts, replace them now.
Step 4 – Reinstall the Springs
Flip the pliers around. Use the cup-shaped end to push new springs into place. Press smoothly and don’t force it.
I often add a dab of Permatex or 3M high-temp grease to the pivot points. It keeps things moving quietly.
Step 5 – Check Your Work
Once reassembled, make sure the springs sit flat. Spin the drum by hand to check smooth motion.
If it feels tight or uneven, recheck before installing the wheel. It’s better to fix now than later on the road.
Safety Tips When Using Brake Spring Pliers
Over the years, I’ve learned safety saves both time and pain.
- Wear gloves and safety glasses.
- Never use regular pliers.
- Keep your hands behind the leverage point.
- Work in bright light.
- Follow your car’s repair manual for torque specs.
OSHA 29 CFR 1910.242(a) covers hand tool safety — a rule I take seriously.
Common Mistakes to Avoid
I’ve seen many DIYers, and even made some of these errors myself:
- Using the wrong end of the pliers.
- Pulling at an angle and bending springs.
- Forgetting to check the hardware kit.
- Mixing up primary and secondary brake shoes.
Once, I saw a friend use needle-nose pliers instead. One slip and his knuckle met metal. Lesson learned — the right tool saves pain and parts.
Final Thoughts — Make Brake Jobs Safer and Simpler
Brake spring pliers aren’t fancy tools — they’re smart tools. They turn a tough, risky job into a calm, easy process.
After using them on several drum brake jobs, I can’t imagine working without them. Whether you use a Milwaukee, Lisle, or Craftsman set, they all do the same thing: make your work safer and faster.
FAQs: How to Use Brake Spring Pliers
What is the best way to remove a brake spring?
Use the hooked end of the pliers to grab and lift the spring loop. Keep steady control and clear your face from the area.
Can I use regular pliers instead of brake spring pliers?
No. Regular pliers can slip and hurt you. Brake spring pliers are built for leverage and safety.
How do I know if my brake springs need replacing?
Look for rust, stretching, or uneven shape. In the U.S., most mechanics replace springs with each new set of brake shoes.
As an Amazon Associate, We earn from qualifying purchases