Ever tried fixing a tool that just won’t start? Everything looks fine, but it still won’t turn on. That’s when I grab my multimeter and check the capacitor. Learning how to test a capacitor with a multimeter has saved me hours in the garage.
Here in humid Florida, moisture can mess with electronics fast. The same goes for cold Midwest shops or dry Arizona job sites. Whether you’re using Milwaukee or DeWalt gear, the right way to test matters.

In this post, I’ll show you safe and simple ways to test capacitors. I’ll also share what I found after trying each method side by side.
Table of Contents
What Is a Capacitor and Why It’s Important to Test It
Before I learned how to test a capacitor with a multimeter, I thought most electrical issues came from bad switches or wiring. But I was wrong. Over time, I found that weak or blown capacitors cause more trouble than anything else — especially in tools and appliances.
A capacitor stores and releases electrical energy. You’ll find them everywhere — in your AC, your DeWalt drill, and even your microwave. When they fail, things act strange. Motors hum but don’t spin. Relays click but never start. Tools lose their power. Testing early saves time and stress.
In short, knowing what a capacitor does — and checking it often — keeps your gear safe and running longer.
The Role of Capacitors in Power Tools and Appliances
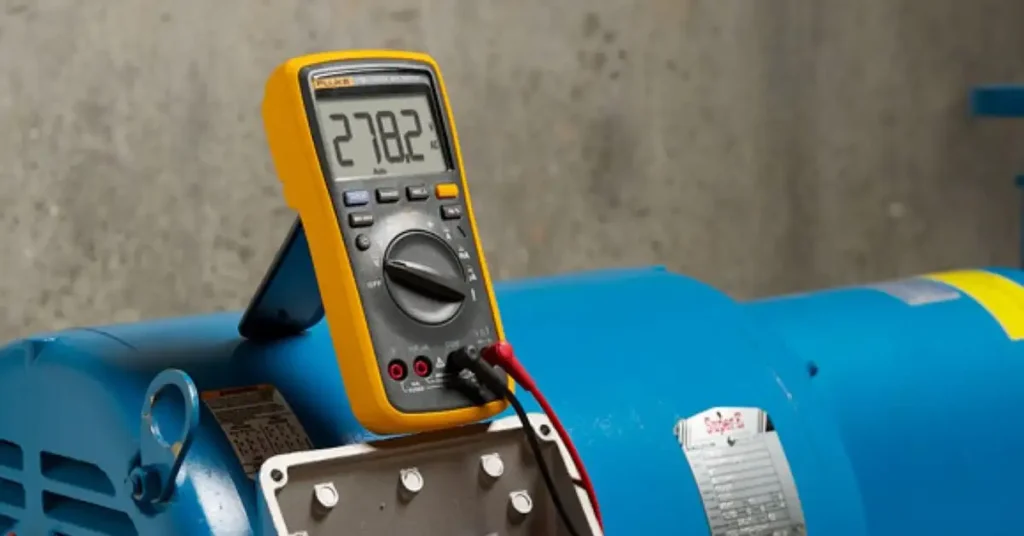
If you’ve worked in a garage or job site, you already know how important capacitors are. They help motors start fast and keep power steady. In tools like Milwaukee grinders or DeWalt drills, that small start capacitor can mean smooth power or sluggish torque.
In appliances like air conditioners or fridges, capacitors help compressors kick on. When they go bad, you’ll hear clicks or hums, or see tools that just won’t start. I’ve revived many “dead” tools just by replacing a worn capacitor.
So, when something acts up, testing the capacitor is one of my first steps. It’s quick, easy, and often the fix you didn’t expect.
What Happens When a Capacitor Fails
Capacitors can fail in a few ways. Sometimes they short out, creating a direct path for current. That’s dangerous and can trip breakers or start fires. Other times, they go open — breaking the circuit so nothing happens. The sneakiest failure is a “leaky” capacitor. It still works, but only halfway.
I’ve seen all three. Once, a shorted capacitor blew the control board on an HVAC unit I was fixing. Another time, a leaky one made my table saw stall mid-cut. Each case taught me that testing isn’t just smart — it’s safe.
Testing before failure keeps your tools alive and your work safer. Plus, it’s cheaper to swap a $5 capacitor than a $200 motor.
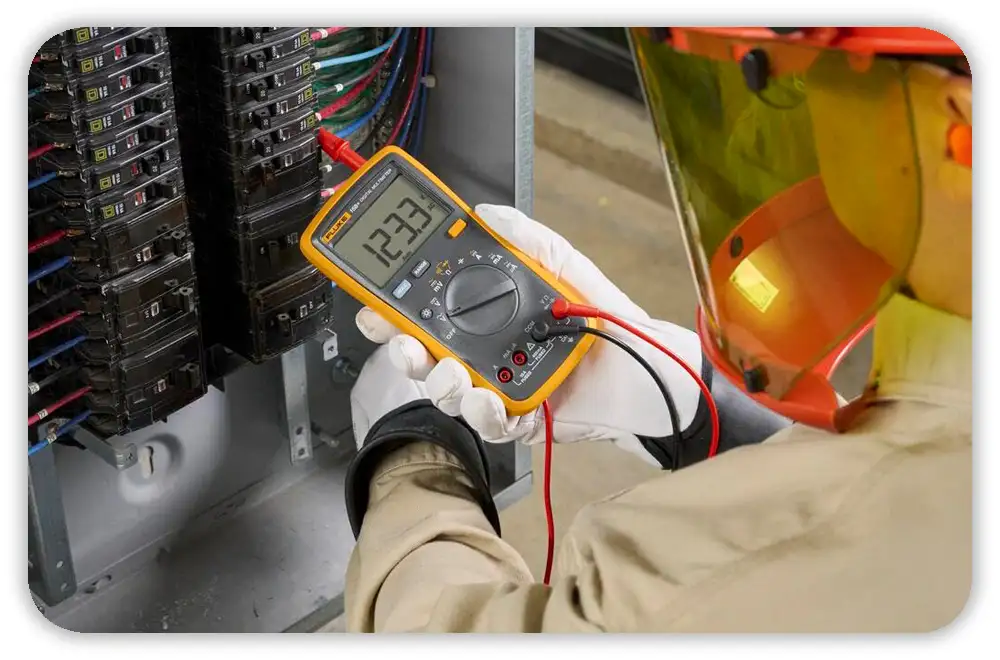
What Tools Do You Need to Test a Capacitor Safely
When I first learned how to test a capacitor with a multimeter, I realized the right tools make all the difference. Testing isn’t hard, but a little prep keeps you safe and accurate.
Here’s my go-to setup before any test:
Essential Tools & PPE Checklist
- Digital multimeter with capacitance mode — I use Fluke, but Klein Tools or Milwaukee work great too.
- 10k–100kΩ resistor for safe discharging. Never short the leads directly.
- Insulated gloves and safety glasses — electricity doesn’t forgive mistakes.
- Insulated screwdriver or discharge tool for extra safety.
- Notebook or app to record readings and specs.
In humid places like Florida, I keep silica packs nearby to reduce moisture. In cold areas, let the capacitor warm to room temp first for accurate readings.
Safety First — The Lockout/Tagout Rule
One rule I never skip: never assume a circuit is off. Always disconnect power and lock it out first. Then check for zero voltage with your meter — twice if needed.
OSHA and NFPA 70E stress this for a reason. One mistake can mean a serious injury. I’ve seen people skip this step to save time. It’s never worth it. Even in your home garage, treat every capacitor like it’s still charged.
Before each test, I always:
- Unplug or shut off power.
- Check for voltage with my meter.
- Discharge the capacitor safely.
That habit has kept me shock-free for years.
Step-by-Step — How Can I Test a Capacitor With a Multimeter
Now for the hands-on part — testing the capacitor. After years of fixing tools and appliances, this method is my favorite. It’s fast, safe, and works for all sizes.
Step 1 — Disconnect Power and Discharge the Capacitor
Always start with power off. Even small capacitors can shock you. I use a 10kΩ resistor across the leads to discharge safely. You can also use a proper discharge tool.
Then switch your meter to voltage mode. Check across the terminals. If you see zero volts, you’re good to go.
Step 2 — Isolate the Capacitor
Disconnect at least one lead from the circuit. That prevents other parts from affecting your reading. Sometimes I desolder one end; other times I pull a quick-connect terminal.
If it’s an electrolytic capacitor, note the polarity before removing it. For non-polarized types, probe direction doesn’t matter.
Step 3 — Set Your Multimeter to Capacitance Mode
Find the capacitance symbol on your meter — it looks like this: “–|(–”. Set your dial there.
Connect the red probe to the positive terminal and the black to the negative. Hold steady a few seconds until the meter stabilizes. Some models take a moment to auto-range.
Step 4 — Compare the Reading to the Rated Value
Look at the capacitor label — it might say something like “35µF ±10%.” That means readings between 31.5 and 38.5µF are okay. Anything 20% below means it’s weak or dead.
I record every reading in my notebook. If a tool keeps failing, that data helps spot patterns.
How to Test a Capacitor Without a Capacitance Setting
Not every multimeter has a capacitance mode. I’ve run into that plenty of times — especially with older Klein or Milwaukee meters on quick jobs. But don’t worry. You can still test a capacitor using the ohms or continuity settings. These old-school tricks have saved me more than once in the field.

Method 1 — The Resistance (Ohms) Test
If your meter doesn’t measure microfarads, switch it to the ohms (Ω) setting. Touch the red probe to the positive terminal and the black probe to the negative.
You’ll notice something interesting. The reading starts low, then slowly climbs toward “OL.” That climb means the capacitor is charging through your meter.
Here’s what the readings mean:
- Good capacitor: resistance rises slowly, then shows “OL.”
- Shorted capacitor: stays at 0 Ω — no movement.
- Open capacitor: jumps straight to “OL” and never moves.
I’ve used this trick many times in my Florida garage when my old analog Fluke didn’t have a capacitance range. It works like a charm. Just make sure the capacitor is fully discharged first — humid air can hold a charge longer.
Method 2 — The Continuity (Beep) Test
If your multimeter has a beep test, you can use that too. Set it to continuity mode, then touch the probes to the terminals.
You may hear a short beep at first — that’s normal. It’s just the meter sending a small charge. The beep should stop after a second.
If it keeps beeping, that means the capacitor is shorted inside. It’s unsafe and should be replaced right away.
This simple test once helped me find a bad start capacitor on a friend’s air compressor one cold morning in Michigan. No fancy tools — just a basic meter and a bit of patience.
Pro Tip — Using an Analog Multimeter for a Visual Test
If you have an analog multimeter — maybe an old Simpson or Craftsman — it’s great for testing capacitors. Sometimes that swinging needle tells the story better than a digital screen.
When I first learned how to test a capacitor with a multimeter, my mentor showed me this trick. I still use it today.
How to Read the Needle Motion
Here’s what each motion means:
- Quick swing to zero, then slow rise to infinity → Good capacitor
- Needle stuck at zero → Shorted
- No movement → Open capacitor
- Stops halfway and won’t rise → Leaky capacitor
That little swing shows if the capacitor is charging correctly. I keep an old analog meter on my bench in Arizona. It’s great for spotting leaky capacitors fast — even in dry air where static can mess with digital meters.
How to Read and Interpret Your Test Results

Once you’ve done your tests, the readings — or the needle motion — tell the story.
This is where experience helps most. I keep a simple chart near my workbench so I can check results fast.
| Condition | DMM Reading | Resistance / Continuity | Action |
| Healthy | Within ±10% of rating | Rising to OL | Keep using |
| Shorted | “OL” or 0 µF | 0 Ω / continuous beep | Replace |
| Open | 0 µF or infinite | OL instantly | Replace |
| Leaky | 15–40% below rating | Rises partway | Replace soon |
If I see a capacitor reading 20% below its rating, I replace it right away. That small test once saved my table saw motor before it burned out. Keeping notes helps you spot patterns — especially if you fix lots of tools or HVAC systems.
Advanced Testing — ESR and Leakage Checks
Even if a capacitor passes your multimeter test, it might still fail under real load. I learned that the hard way with a DeWalt sander that kept tripping breakers. The readings looked fine — but the problem was hidden inside. That’s when I started checking ESR and leakage, and it changed everything.
What Is ESR (Equivalent Series Resistance)?
ESR stands for Equivalent Series Resistance. It measures the small internal resistance inside a capacitor during use. Over time, that resistance increases — especially in hot or humid places like my Florida garage.
When ESR gets high, the capacitor heats up, power drops, and motors lose torque. Even if the microfarad reading looks okay, high ESR means it’s struggling.
I use an ESR meter or an LCR meter for this test. Both show resistance in ohms and tell how healthy the capacitor really is under real conditions.
I’ve seen high ESR many times — in HVAC run capacitors, air compressors, and old Craftsman tools. The motor runs rough, draws more current, and the case feels warm. One quick ESR test always confirms the issue.
Simple Voltage Hold (Leakage) Test
Another sneaky issue is dielectric leakage — when a capacitor loses charge too fast. You can test it easily with a 9V battery and your multimeter.
Here’s how I do it:
- Charge the capacitor with a 9V battery for a few seconds.
- Remove the battery.
- Switch your meter to DC voltage mode.
- Watch the voltage for one to two minutes.
A good capacitor holds most of the charge. A bad or leaky one drops fast — sometimes within seconds. That means the internal dielectric is wearing out.
I use this test often on HVAC start capacitors and old refrigerator compressors. It’s fast, simple, and has saved me many callbacks.
Common Mistakes to Avoid When Testing Capacitors
I’ve made plenty of mistakes while learning how to test capacitors. Most were harmless — a few could’ve been serious. Here are the top things to avoid if you want safe, accurate results.
Forgetting to Discharge First
Never test a charged capacitor. I skipped this once and got a nasty shock. Always use a 10kΩ resistor or a proper discharge tool. Never short it with a screwdriver. That one habit keeps you safe every time.
Testing in-Circuit
Testing a capacitor while it’s still connected can give false readings. Other components, like resistors or coils, can throw off your results. Always lift one leg off the circuit before testing.
Mixing Up Polarity
Electrolytic capacitors have a clear positive and negative side. Reverse them, and they’ll fail — sometimes with a pop. I always mark the positive side with tape before removing it, especially when multitasking in the shop.
Ignoring PPE
I’ve seen people test bare-handed because “it’s just a small cap.” Don’t do that. Wear insulated gloves and ANSI-rated glasses. Electricity doesn’t forgive mistakes.
Using Cheap or Uncalibrated Meters
A cheap $10 meter might be fine for checking batteries — not for capacitor tests. Stick with reliable brands like Fluke, Klein Tools, or Milwaukee. I calibrate mine once a year. It keeps readings accurate and saves money long-term.
Real-World Examples and Troubleshooting Tips
These examples come straight from my repair work. Each one taught me something about testing capacitors with a multimeter. Whether you’re fixing an HVAC unit or a power tool, these quick stories might help you spot problems faster.
Example 1 — Air Conditioner Not Cooling
Last summer, my neighbor’s AC stopped cooling during a brutal Florida heat wave.
I checked the 35µF run capacitor with my Milwaukee meter — it read 28µF, about 20% low. That drop explained the weak compressor start.
I swapped in a new one, and within minutes the unit kicked on strong again. The whole job took five minutes and saved him a service call.
Example 2 — Power Tool Motor Hums but Won’t Start
My DeWalt table saw once hummed every time I hit the switch. The blade wouldn’t move. The capacitor label said 250µF, but my meter showed 190µF. Way too low.
I replaced it, and the saw fired up instantly. That one part saved a $400 tool.
Example 3 — Refrigerator Compressor Keeps Clicking
A friend in Michigan called me about a fridge that clicked every few seconds. That click was the relay trying to start the compressor.
The capacitor looked fine, but its ESR was sky-high. After replacing both the relay and capacitor, the compressor ran smooth again. Cold air returned in minutes.
Safety Wrap-Up — Don’t Skip These Final Checks
After every capacitor test, I always take a moment for safety checks. Many people skip this step, but that’s when accidents happen. Early in my HVAC days, I thought a capacitor was fully discharged. It wasn’t — and that small shock taught me a big lesson.
First, I check for zero volts across the terminals with my multimeter. Even after discharge, some capacitors can hold a bit of charge. This is common in big units, like air conditioners or microwaves. A quick test takes seconds and helps avoid nasty surprises.
Next, I label bad capacitors before tossing them aside. I write “FAULTY” or “DO NOT USE” right on the case. That habit once stopped a coworker from reinstalling a bad capacitor during a rush job.
Then, I store discharged capacitors safely. I short the leads with a resistor or clip wire. This keeps them from recharging from static or stray voltage. In humid Florida, moisture can trigger this. In dry areas like Arizona, static buildup can do the same.
Finally, I follow local e-waste rules. Many hardware stores and recycling centers accept old capacitors. They dispose of them safely and keep waste out of landfills. It’s a small step that protects both your shop and the planet.
These simple habits may seem like extra work, but they close the loop on every test. Safety doesn’t end when your meter beeps — it ends when every part is safe, labeled, and stored right.
Conclusion — Build Confidence With Every Test
Learning how to test a capacitor with a multimeter has been one of my most valuable skills. At first, it felt tricky. Now, it’s second nature — and it’s saved me from many repair headaches.
When you take a few minutes to test safely, you protect yourself and your tools. Whether it’s a DeWalt drill, an HVAC compressor, or a kitchen microwave, the same rules apply. Disconnect power, discharge properly, and trust your readings.
With good PPE, a reliable meter, and steady focus, you’ll spot bad capacitors before they cause issues. Each test builds confidence until troubleshooting feels easy and natural.
In short, once you know the process, testing capacitors becomes more than a skill — it’s a habit that keeps your tools running strong for years.
FAQs: How Can I Test a Capacitor With a Multimeter Safely
How can I test a capacitor with a multimeter?
Turn off the power first. Discharge the capacitor safely. Set your multimeter to the capacitance mode. Touch the probes to the capacitor leads and read the value. Then, compare it to the number printed on the part.
What if my multimeter doesn’t have a capacitance setting?
No problem. You can use the ohms or continuity mode. In ohms mode, a good capacitor shows the resistance rising slowly. If it stays at zero, the part is shorted and bad.
How do I know if a capacitor is bad?
Check the reading. If it’s 20% lower than the rated value, it’s weak. If the meter shows zero or infinite resistance, it’s bad and needs replacing.
Why should I discharge a capacitor before testing?
Because capacitors can still hold power even when they’re off. Discharging it first keeps you safe and protects your multimeter from damage.
Can I test a capacitor without removing it from the circuit?
It’s better not to. Other parts in the circuit can change your reading. Always lift one lead before testing to get a true result.
As an Amazon Associate, We earn from qualifying purchases