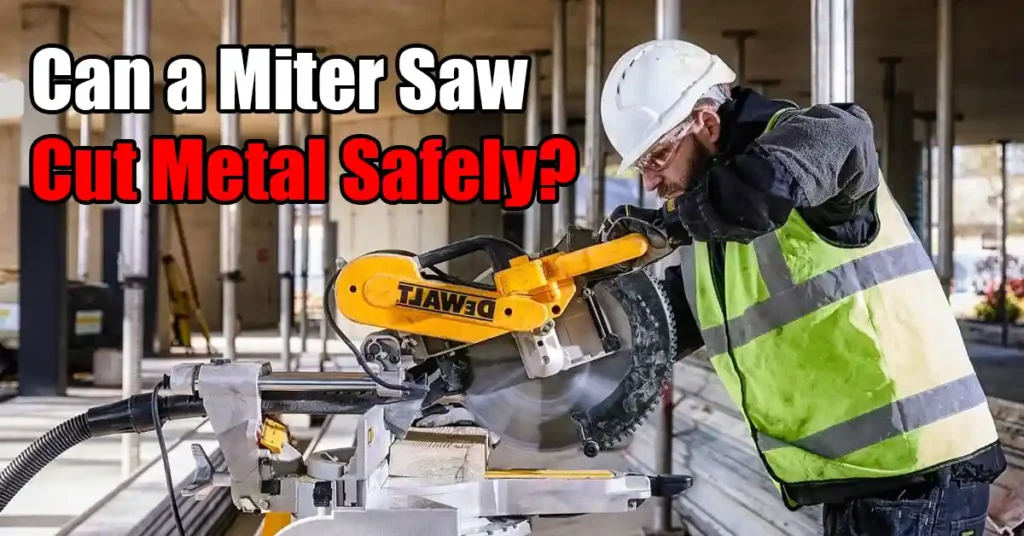
Ever wondered if a miter saw can cut metal without ruining your blade or motor? I’ve asked that question many times while cutting trim in my cold Midwest garage, then switching to aluminum rails in Florida’s heat.
After testing blades from DeWalt, Diablo, and Milwaukee, I finally found what works—and what doesn’t. In this guide, I’ll share how miter saws handle different metals, which blades matter most, and how to stay safe without losing power. Here’s what I learned after real tests and a few flying sparks.
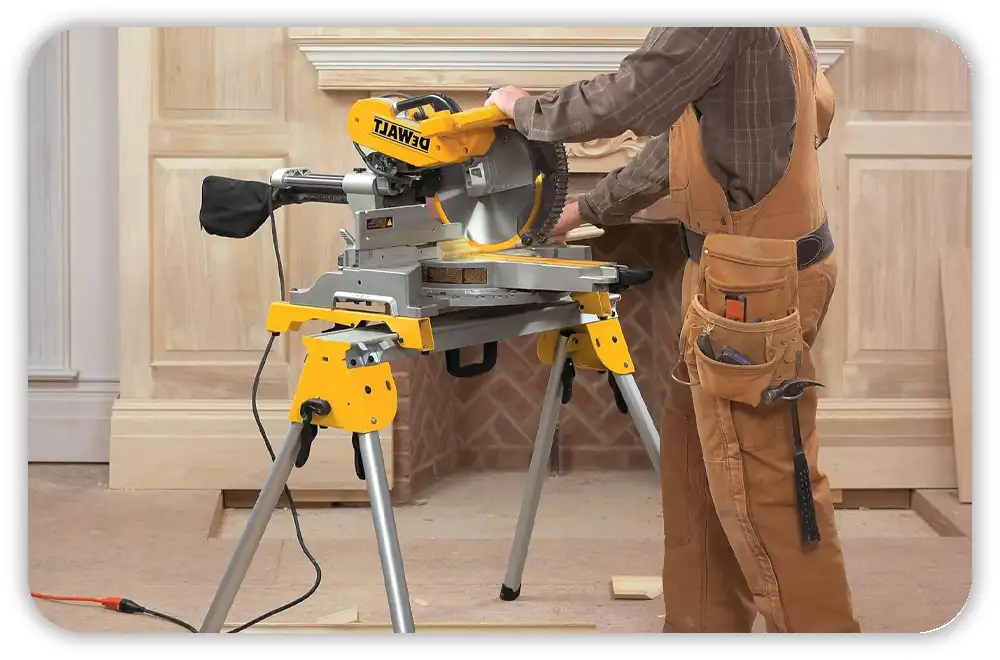
Understanding the Basics — What a Miter Saw Is Designed For
When I first used a miter saw, I thought it could cut almost anything. But with time, I learned it’s really built for one thing — precision. It’s made to give clean, accurate cuts in wood and composite boards. Whether I was trimming baseboards in my cold Michigan garage or framing a deck in Florida’s heat, my miter saw always made smooth, fast cuts.
Most of us use brands like DeWalt, Milwaukee, Bosch, Makita, or Craftsman. They all share one key trait — speed. Most miter saws spin between 3,000 and 5,000 RPM. That speed is perfect for soft woods like pine, MDF, or laminate. It slices through fibers without tearing, leaving that glass-smooth edge we love for trim or furniture work.
But here’s what I learned the hard way — that same speed becomes a problem with metal. Metal doesn’t act like wood. It’s harder, denser, and creates intense heat when cut. I remember cutting a thin aluminum rail once. The blade screamed, sparks flew, and I could feel the saw strain. That’s when I realized: a miter saw is made for wood, not metal.
So, before cutting any metal, know your saw’s limits. Its RPM, blade shape, and motor torque are tuned for wood fibers, not metal. Pushing it too far can dull the blade, warp edges, or even cause kickback. In short, a miter saw is great for woodwork and only safe for metal in special cases.
A miter saw is built for speed and clean cuts in soft materials. Using it on metal adds heat, hardness, and chip problems that it’s not made to handle.
The Science Behind Cutting Metal vs. Wood
Once I started testing different materials, the difference was clear. Wood fibers get sliced, but metal grains must be sheared — and that’s a big change. When you cut wood, the blade moves fast and clean. When you cut metal, that same speed causes friction, sparks, and heat.
Why Metal Is Harder to Cut
Metal doesn’t flex or “give” like wood. It takes more torque and less speed to cut. I learned this when I tried cutting mild steel tubing. The saw whined, the blade dulled fast, and the motor ran hotter than ever.
Wood lets the blade glide. Metal fights back. The friction between the blade and metal surface makes heat and sparks, especially with steel. It’s not just noisy — it can chip the blade’s carbide tips or even fling them off mid-cut.
In simple terms: wood cuts fast and easy, metal needs slow, steady power. Using a regular miter saw for metal pushes it far past its comfort zone.
Heat and Chip Formation
Cutting metal doesn’t make sawdust — it makes swarf, those tiny, sharp metal chips that fly everywhere. I once cut aluminum angle stock, and those hot chips stuck to my sleeves and even melted small marks on my gloves. Unlike sawdust, swarf can clog the blade, cause kickback, or short out your motor.
Metal also spreads heat fast. That means your saw’s motor, bearings, and blade heat up quickly. This is even worse in hot or humid shops, like in the South or Southwest, where cooling is tough.
To cut metal safely, you must control the heat and chips. But miter saws aren’t built to do that. Without the right blade and slower speed, you’ll wear out the saw fast.
Cutting metal builds heat and throws sharp chips that normal miter saws can’t handle. Knowing how metal reacts helps you protect your saw — and yourself.
What Type of Metal Can a Miter Saw Cut?
When I first tried cutting metal with my miter saw, I was shocked by how different each type behaved. Some metals cut like butter, while others nearly wrecked my blade. Not all metals act the same, and knowing which ones your saw can handle makes all the difference — for safety and for clean results.
Non-Ferrous Metals (Best Choices)
If you plan to cut metal, start with non-ferrous metals like aluminum, brass, and copper. These are softer and easier to cut. I’ve had the best luck cutting aluminum angles and window trims using a non-ferrous-rated blade — usually 60 to 100 teeth with a slight negative hook angle. The cut feels smooth and steady with very little vibration.
In my garage, I often work on aluminum trim for small frames or brackets. A carbide-tipped blade from Diablo or DeWalt gives clean edges without burrs, as long as you move the saw slowly and don’t force it. The noise stays low too, which helps during cold Midwest winters when I’m working indoors.
Non-ferrous metals are the safest and easiest to cut with a miter saw. With the right blade and a slow feed, you can make smooth, accurate cuts for small DIY jobs without overheating your saw.
Ferrous Metals (Use with Care)
Cutting ferrous metals like mild steel or rebar is a whole different game. I’ve tried it a few times, and it’s not easy. Even with a ferrous-rated blade, the saw works harder. You’ll hear louder noise, see more sparks, and smell the friction as the blade heats up.
You can reduce stress by cutting slowly and letting the blade do the work. Still, the wear is fast. After just a few cuts on mild steel tubing, my blade tips turned dark from the heat. In my Florida shop, the buildup was worse — the air was hot, and the saw struggled to stay cool.
If you plan to cut steel often, use a dedicated metal-cutting saw or a TCT dry cut saw. They’re safer, faster, and won’t damage your miter saw’s bearings.
You can cut mild steel with a miter saw, but it’s rough on both the tool and the blade. Save it for quick, one-off cuts — not daily work.
Metals to Avoid
Some metals should never go near your miter saw — like hardened steel, stainless steel, and tool steel. I learned this after trying to cut a stainless rod once. Within seconds, the blade screamed, overheated, and left a blue burn mark. That’s pure heat damage.
These metals are too tough for a saw that spins so fast. Cutting them can chip or even shatter the blade, which is a serious danger. It’s not worth the risk.
For these jobs, use a cold saw or metal bandsaw. They run slower, have more torque, and are made to handle dense metals safely.
Avoid hard steels completely. They’re far beyond what a miter saw can handle and can cause blade failure in seconds.
In short: A miter saw can cut metal — but only soft, non-ferrous types like aluminum or brass. With the right blade and slow feed, you’ll get smooth, clean results. Once you move to steel or harder alloys, it’s time to use a real metal-cutting saw.
Choosing the Right Metal-Cutting Blade
When I first tried cutting metal with my miter saw, I grabbed the first “metal” blade I saw at the store. Big mistake. Within minutes, the blade overheated, dulled, and sprayed hot chips across my bench. That’s when I learned — the blade you choose makes all the difference. It’s not just about power; it’s about the right match between blade speed, material, and design.
Blade Materials
After testing a few types, I found that carbide-tipped blades work best for light metals like aluminum and thin steel. I use ones from Diablo and DeWalt, both easy to find at Home Depot or Lowe’s. They stay sharp for short projects and give smooth edges if you feed slowly. But thicker or harder metals will still wear them down faster.
If you often cut steel, try a cermet-tipped blade instead. These mix ceramic and metal, so they handle heat better and last longer. My Evolution blade with cermet tips has outlasted every carbide blade I’ve owned — even during Florida’s hot, humid summers. They cost more upfront but save money over time since they don’t wear out as fast.
And one more rule — never use an abrasive wheel on a miter saw. Those are made for slow chop saws, not high-speed miter saws. I tried one years ago just to see what would happen. The wheel burned down fast, shot sparks everywhere, and even melted the saw’s plastic guard. Unsafe and not worth it.
In short: use carbide for light metals, cermet for tough jobs, and skip abrasive discs altogether. The right blade keeps your cuts clean and your saw safe.
Tooth Geometry and Blade Design
Once I learned that not all blades are equal, I started looking closer at tooth geometry. That’s when things clicked. The best blades for metal use a Triple Chip Grind (TCG) design. One tooth flattens the metal, and the next smooths it out. Together, they leave clean, burr-free cuts that need no sanding.
Tooth count also matters. A high tooth count (80–100 teeth on a 10-inch blade) gives smoother cuts in thin metals like aluminum or brass. A lower tooth count (40–60 teeth) is better for thick tubing since it clears chips faster. I learned that after clogging a fine-tooth blade with hot metal shavings — not fun to clean.
Then there’s the hook angle, which changes how the blade meets the metal. Wood blades use a positive hook that pulls in fast — but that’s dangerous for metal. You want a zero or negative hook angle, so the blade scrapes instead of grabs. It gives more control and helps prevent kickback, especially on short aluminum cuts.
Choose a TCG blade with the right tooth count for your metal and a negative hook angle for safety. That combo makes cutting metal feel smooth and steady, not scary.
RPM Compatibility — The Rule You Can’t Ignore
Here’s the one rule I’ll never break again: always check your blade’s maximum RPM rating before using it. Every miter saw lists a “no-load RPM” on its label — usually between 3,000 and 5,000. Your blade must meet or exceed that number. Anything lower is unsafe.
I once used a cheap blade rated for 3,800 RPM on my 12-inch saw that spins at 4,200. It seemed fine at first, but halfway through a cut, the blade started to wobble. The sound it made was terrifying. Luckily, it didn’t shatter — but it could have. OSHA even lists that mismatch as a serious safety hazard.
Most U.S. hardware stores list the RPM rating clearly on the package, but always check the blade itself too. If you can’t find the number, don’t risk it.
Always match your saw’s speed with the blade’s rating. It’s the simplest step that keeps you safe — and keeps your saw running strong.
Safety First — How to Cut Metal Without Risks
Cutting metal with a miter saw might look simple — until sparks fly and the smell of hot metal fills the air. I learned early on that small mistakes can turn a quick job into a real hazard. The right setup, gear, and habits make all the difference. Here’s what’s worked for me and what every DIYer or pro should know before that first cut.
Essential PPE (Per OSHA/ANSI Standards)
When I first started cutting aluminum trim in my garage, I thought safety glasses were enough. Then one day, a hot chip bounced off the wall and hit my cheek. That was my wake-up call. Since then, I never cut metal without full personal protective equipment (PPE).
Here’s my go-to setup:
- Full face shield and safety glasses (ANSI Z87.1 rated): Glasses protect your eyes, but a face shield blocks sparks and flying chips.
- Hearing protection: Cutting metal is much louder than wood. I use over-ear muffs in the garage and foam plugs on job sites.
- Flame-resistant gloves and long sleeves: Sparks burn fast. FR gloves protect your hands better than thin synthetic ones.
- Avoid synthetics: Polyester melts when hit by sparks. Stick with cotton or canvas clothing.
Wearing full PPE might feel like overkill, but one small spark in the wrong place is all it takes. OSHA and ANSI call this gear “minimum protection” for a reason. It keeps you focused on your work, not on avoiding burns or flying debris.
Always protect your eyes, ears, and skin. Sparks and metal chips travel fast — safety gear keeps you safe and steady.
Preparing the Work Area
Before I make a single cut, I prep my workspace. I learned the hard way that a messy area can turn dangerous. The first time I cut steel tubing, sparks lit some sawdust under my bench. Luckily, it went out fast — but it was a close call.
Here’s what I do now before cutting:
- Clear all sawdust: Sparks can ignite it in seconds.
- Move flammables away: Keep solvents, rags, and fuel cans at least six feet from the saw.
- Ventilate well: Cutting metal makes fine dust and fumes. I keep a fan near an open door or window.
- Cover the motor vents: I use a light, breathable cloth to block chips while keeping airflow.
In small U.S. garages and workshops, sparks can reach shelves or stored wood fast. Taking a few minutes to clean up and prepare can prevent fires — and a lot of stress.
A clean, ventilated workspace keeps sparks from turning into flames. Treat prep as part of the job, not an extra step.
Secure Clamping and Technique
When I first started, I once held the metal by hand “just for a quick cut.” Bad idea. It kicked back, rattled, and left a deep gouge in the fence. That moment taught me how important proper clamping really is.
Here’s what I do now every time:
- Clamp the metal tight against the fence or base. Even tiny movements can make the blade grab or bind.
- Let the saw reach full RPM before touching the metal. Starting too soon can chip teeth or stall the motor.
- Feed the blade slowly and evenly. Don’t force it — let the blade do the work. It cuts cooler and smoother.
- Hold the saw head down until the blade stops spinning. If you lift early, loose pieces can catch and fly.
Cutting metal has a slower rhythm than cutting wood. It’s more about control than speed. Once I learned that, my cuts got cleaner, and I felt much safer behind the saw.
Clamp every piece, cut slow, and keep control until the blade stops. Smooth, steady motion means safer, cleaner cuts.
Real-World Testing — What Happens When You Try It
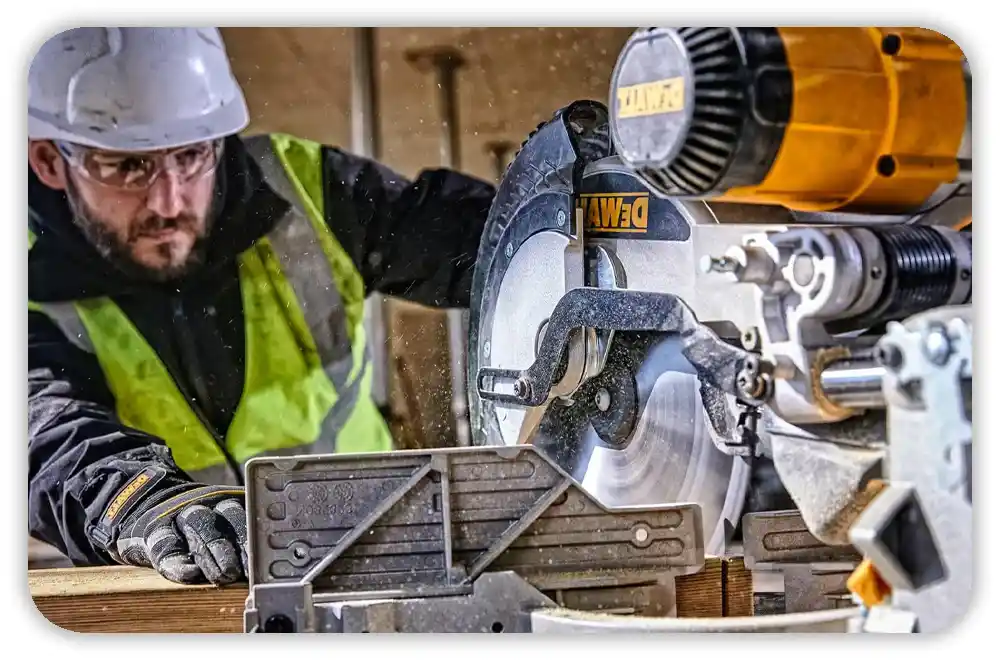
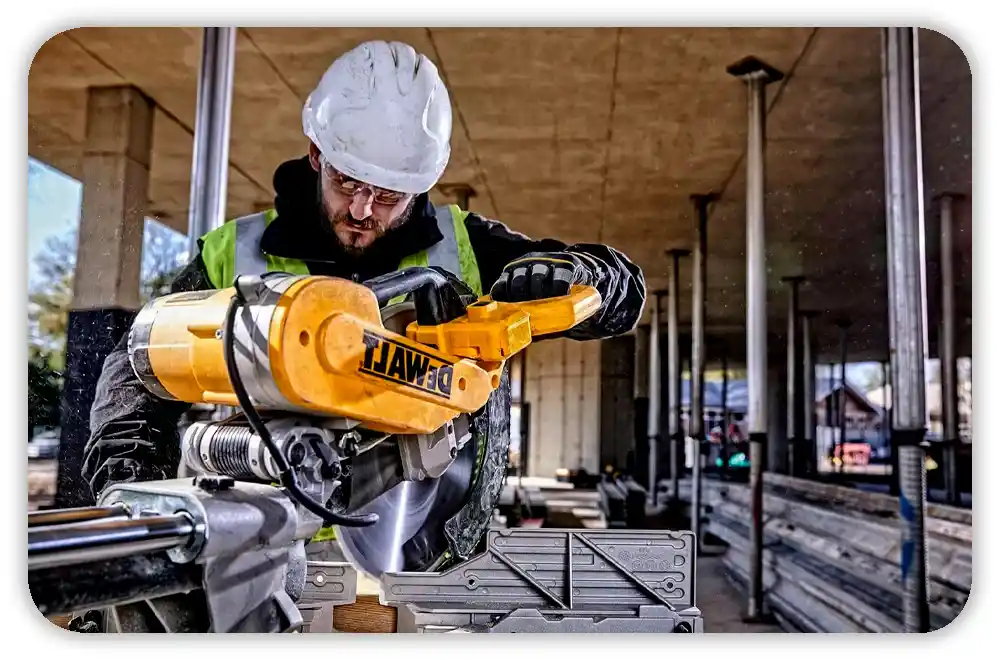
When I first read that a miter saw could cut metal, I didn’t just want to believe it. I wanted to see it for myself. So, I set up a few quick tests in my own workshop. I used my 12-inch DeWalt miter saw, swapped in different blades, and tried a few metals. My goal was simple — find out how much metal cutting a regular saw could really handle. Here’s what I found.
Test 1 — Aluminum Extrusion
I started with aluminum. It’s soft, light, and great for small projects. I used a Diablo blade made for non-ferrous metal and kept my setup clean and secure. The first cut went smooth — no rough edges, no chatter, and only a few hot chips. It felt easy, almost like cutting hardwood.
After a few more passes, I checked the blade. It stayed cool, with no dull spots or heat marks. I did notice that rushing the cut made aluminum gum up a bit, so a slow feed worked best.
In my U.S. garage, I always keep a small fan near an open door. It helps blow away metal dust and keeps the saw motor cool. That tiny step makes a big difference, especially on warm days.
A miter saw can cut aluminum cleanly with the right non-ferrous blade. It stays cool, runs smooth, and works well for small home projects.
Test 2 — Mild Steel Tubing
Next, I tested mild steel — the type used in light frames and hobby work. Right away, I noticed the change. Sparks flew, the saw slowed down, and the sound turned harsh. Even with a ferrous-rated blade, the motor worked harder than usual.
I fed the blade slowly and let it do the work. The cut was straight, but the finish was rougher than aluminum. After just a few cuts, I saw heat marks and dull tips on the blade. It still worked, but it was wearing fast.
The sound was loud — much louder than cutting wood. I wore both earplugs and earmuffs. If you live in a U.S. neighborhood with close houses, you’ll want to do this outdoors.
A miter saw can cut mild steel, but it’s tough on the blade and loud. Use it only for short jobs, not for daily work.
Test 3 — Thick Steel Bar
Last, I pushed it to the limit with a one-inch solid steel bar. The result? The saw barely made a dent. Within seconds, the blade heated up, turned blue, and started to smoke. The motor strained hard, and I stopped right away.
Even a slow feed didn’t help. The blade didn’t cut — it just rubbed and sparked. After that, the blade was dull and useless, even for wood. I’ve seen people force their saws through steel online, but from my tests, it’s not worth the risk.
Don’t cut thick steel with a regular miter saw. The friction, heat, and strain can ruin your saw and blade in minutes.
Final Thoughts from Testing
These real-world tests confirmed what I already guessed — a miter saw works fine for soft metals like aluminum, struggles with steel, and fails with harder stuff. With the right blade and slow feed, it’s great for light jobs. But for real metal cutting, a dry-cut or cold saw is the better choice — safer, cleaner, and faster.
Comparing Tools — What’s Better Than a Miter Saw for Metal?
After cutting metal on my miter saw, I wanted to find out which tools could do it better. Over the years, I’ve tried almost everything — from budget chop saws to pro-level cold saws. Each one has its strengths, and knowing which tool fits your project can save time, blades, and frustration. Here’s what I’ve learned from real-world use in shops and job sites.
Modified Miter Saw
A miter saw with a proper non-ferrous blade works fine for soft metals like aluminum or brass. I’ve used mine for small brackets and window trims, and the results are solid when I go slow.
Still, there’s some risk. Sparks, heat, and fast RPMs mean full PPE is a must. The cuts look clean but not perfect. It’s great for small DIY jobs when you don’t have a true metal saw nearby.
Good for light metals, decent cut quality, but not made for frequent metalwork.
Abrasive Chop Saw
I’ve used abrasive chop saws for steel and rebar, mostly outdoors. They’re fast and cheap — but loud, really loud. Sparks fly, the metal burns, and cleanup takes longer than the cut.
The edges come out rough, but when you just need to slice through heavy steel fast, they get the job done. You’ll see these on U.S. construction sites all the time.
Rough cuts, lots of sparks and noise — but great for quick, tough work.
TCT “Dry Cut” Saw
This one is a big step up. My first TCT (tungsten carbide-tipped) dry cut saw changed how I work with metal. It slices through aluminum and mild steel fast, cool, and clean — almost no sparks, no heat, and no burrs.
I use an Evolution model in my Florida shop. It runs slower than a miter saw, which means less friction and smoother cuts. It costs more, but the speed, safety, and clean finish make it worth it.
Excellent cut quality, fewer sparks, and ideal for regular metal cutting.
Cold Saw
Cold saws are top of the line. When I used one in a fab shop, I was amazed. The first cut came out perfect — cool, silent, and smooth with zero sparks or burrs. These saws use coolant to keep the blade cold and sharp, even through thick steel.
They’re heavy and expensive, so they fit best in pro shops or production work. But if you cut metal daily, nothing beats a cold saw for quality and safety.
Best cut quality and safest use, but costly and not ideal for small workshops.
Bandsaw (Horizontal)
When I want quiet, clean cuts — especially on thick metal — I go for my horizontal bandsaw. It’s slower than a chop saw but smooth, quiet, and spark-free.
I use it for steel bars and pipe when I want control without the noise. Many U.S. home shops love it for safety and precision. The only drawback is speed — it takes patience.
Very safe, smooth cuts, but slow compared to other saws.
My Takeaway
After trying them all, here’s what I’ve learned:
A miter saw can cut metal, but it’s a compromise. It’s fine for soft aluminum now and then, but not for heavy use. A TCT dry cut saw or cold saw is far better for frequent or precise metalwork.
Abrasive chop saws are fast and cheap but messy, while bandsaws offer clean, quiet cuts if you don’t mind waiting. Each tool has its place — the key is knowing which one matches your job.
Pro Tips from Experts
Over the years, I’ve learned that small habits make the biggest difference when cutting metal with a miter saw. Most of these tips came from seasoned pros I met on job sites — people who’ve seen every mistake possible. The rest came from my own trial and error. These simple habits keep your cuts cleaner, your blades sharper, and your workspace safer.
Use a Wax Lubricant Stick
When I first started cutting aluminum, it kept sticking to the blade and left tiny burrs that took forever to file off. A fabricator friend told me to use a wax stick — like Boelube, which you can find in most U.S. hardware stores.
I rubbed it on the blade before each cut, and the difference was huge. The aluminum stopped clogging the teeth, the blade stayed cool, and every cut looked smooth.
A little wax goes a long way — it keeps aluminum from sticking and gives cleaner cuts with less effort.
Keep a Fire Extinguisher Close
One rule I never skip: keeping a fire extinguisher within ten feet of my saw. When cutting steel, sparks can bounce farther than you think. I once saw one land in a pile of rags — close call. Now, I keep an ABC-rated extinguisher mounted near the garage door. It’s a cheap safety step that could save your whole workspace.
Always keep a fire extinguisher nearby when cutting steel — sparks and heat are unpredictable.
Inspect the Blade After Every Session
After every session, I check the blade under good light. Early on, I ignored a chipped tooth — and it almost cost me. The next cut screeched and threw a metal chip across the wall. Now I check for chips or blue spots from heat. If I see either, the blade comes off right away. A new blade costs far less than a hospital visit or a damaged saw.
A quick blade check keeps you safe and helps your saw last longer.
Store Blades Separately
I used to toss all my blades into one drawer — wood, metal, dull, and new. Soon, my metal blades dulled faster than expected. They had been rubbing against others and picking up wood resin. Now I store them separately in sleeves or on hooks. Most U.S. tool stores sell simple blade racks that make this easy.
Store your metal blades apart from wood blades to prevent dulling and cross-contamination.
These simple steps may sound basic, but they’re what separate a smooth, safe cut from a risky one. Whether you work in a garage or a full shop, these habits protect your tools and improve your results.
In short: Take five extra minutes for setup and maintenance — it’s the easiest way to cut metal safely and professionally with a miter saw.
When a Miter Saw Makes Sense — and When It Doesn’t
After using my miter saw for years — from baseboards to aluminum trim — I’ve learned where it shines and where it struggles. I’ve tested it on soft aluminum, mild steel, and even tougher pieces. Some cuts came out great, others taught me lessons. Here’s how I now decide when to use my miter saw, and when to skip it.
Occasional DIY Use — When It Makes Sense
If you only cut metal once in a while, a miter saw works fine. Small aluminum trims, light brackets, or short DIY frames are easy jobs for it. I often use mine in my garage for quick home projects, and with a non-ferrous blade, the cuts come out smooth.
The trick is control. Go slow. Clamp your work tight. Keep your area clean. For hobby jobs or small repairs, it saves time because you don’t need another saw. Just let the blade do the work — no forcing.
In short: For light or occasional jobs, a miter saw is safe, simple, and fast when used with care.
Frequent Fabrication or Jobsite Work — When It Doesn’t
When I started cutting metal more often — steel tubing, frames, and parts — the miter saw began to show limits. Heat built up fast. Sparks flew farther than expected. Even with a good metal-rated blade, the saw struggled, and the cuts turned rough.
If you cut metal daily, switch to a TCT dry cut or cold saw. These spin slower, stay cooler, and are made for metal. That’s why most pros on U.S. job sites rely on them. They cut faster, safer, and don’t wear out blades as quickly.
In short: For frequent metal cutting, use a saw built for the job. It will last longer and protect you from risk.
Key Takeaway
A miter saw is a woodworking tool first. It can cut metal — but only now and then, not every day. With the right blade and setup, it’s great for light DIY use. But if metal work is your main task, invest in a true metal-cutting saw. You’ll get smoother cuts, longer blade life, and a safer shop.
FAQs — Can a Miter Saw Cut Metal Safely?
Can a miter saw cut metal safely?
Yes, if you use the right blade. A miter saw can cut soft metals like aluminum or brass with care. But it’s not built for thick or hard metals such as steel.
What kind of blade should I use for metal?
Use a carbide or cermet-tipped blade made for non-ferrous metals. Always check the blade’s RPM rating. It must match or exceed your saw’s speed for safe use.
Can a miter saw cut steel or iron?
It can, but it’s risky. Even mild steel dulls blades fast and throws sparks. For steel cutting, a TCT dry cut or cold saw is much safer and cleaner.
Is cutting metal bad for a miter saw?
If you do it often, yes. Metal cutting makes heat and chips that can wear out the motor. For small jobs, it’s fine — just cut slow and clean your saw afterward.
What metals work best with a miter saw?Stick with soft, non-ferrous metals like aluminum, brass, or copper. They cut smooth, stay cool, and won’t strain your saw like harder metals do.
As an Amazon Associate, We earn from qualifying purchases