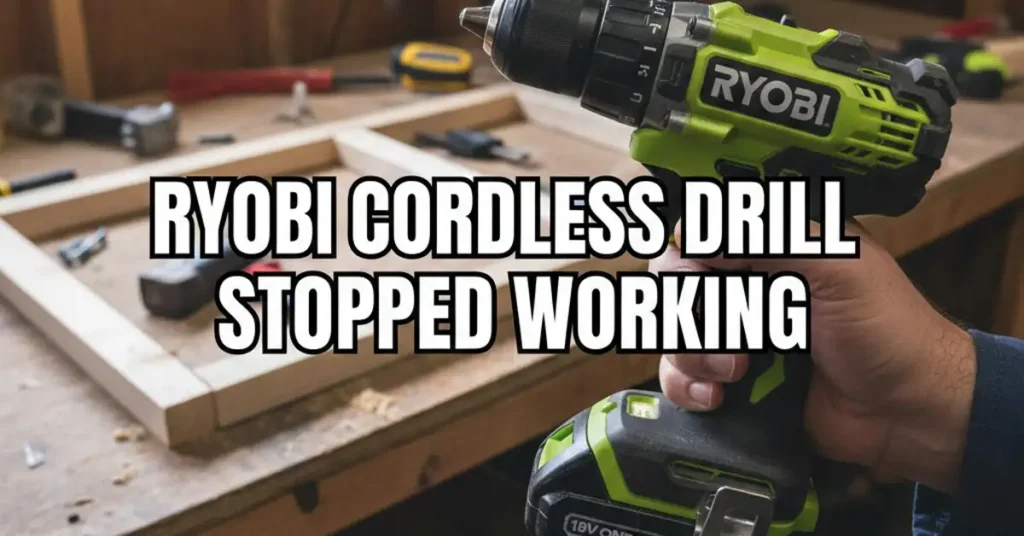
I was in the middle of a hot Saturday project in my garage. I was building a new workbench for my tools. I lined up a long screw, squeezed the trigger, and nothing happened. My Ryobi cordless drill stopped working right when I had three boards left to go.
It is a sinking feeling when a tool dies mid-job. You start to wonder if you need to spend money on a new one. But before you run to the store, take a deep breath. I have fixed many of these over the years. Most of the time, the fix is free and takes very little time.
The Quick Fix Checklist
When a tool stops, I always start with the easy stuff. Most issues are just bad luck or a simple mistake. I use this table to rule out basic problems before I grab my heavy tools.
Common Reasons Your Drill Won’t Spin
| Problem | What I See or Feel | The Easy Fix |
| Lock Mode | The trigger feels stiff or stuck | Push the side switch all the way in |
| Loose Battery | A small gap in the plastic | Pull it out and slam it back in hard |
| Dirty Tabs | Gray or black dust on metal | Wipe them with a dry cloth |
| Overheat | The handle feels warm to touch | Let it sit in the shade for a bit |
The Mystery of the Middle Button
The first thing I check is the direction switch. This is the gray button right above your trigger. It lets you switch between forward and reverse. If that button is pushed halfway, the drill goes into a safety lock.
It will not move or make a sound in this mode. I once spent ten minutes getting mad at a battery. Then I found out my thumb had bumped the switch into the middle. Push it hard to one side until you hear a click.
Is Your Battery Actually Alive?
I love the Ryobi ONE+ system and have many green tools. But the batteries can be very picky sometimes. Sometimes the battery looks like it is in, but it is not. It must make a solid connection with the metal parts inside.
When I put a battery in, I listen for two clicks. There is one click for each side of the clip. If I only hear one, it might vibrate loose while I work. I always give the bottom of the battery a firm smack with my hand.
Cleaning the Metal Contacts
If the drill still won’t move, I pull the battery out. I look at the metal tabs on the battery and the drill. If they look dull or have sawdust on them, they cannot pass power. This is a very common reason why a Ryobi cordless drill stopped working.
I take a clean rag or a small cotton swab. I put a tiny bit of rubbing alcohol on it. I wipe those metal blades until they shine like new. It is a small detail, but it makes a huge difference for your tool.
Dealing with a Sleepy Battery
Have you ever left a battery in a cold shed all winter? I did that last year and it was a mistake. When I tried to charge it, the lights on the charger flashed red and green. The charger thought the battery was broken or dead.
This is what I call a deep sleep for the battery. To fix this, I “bump” the battery on the charger. I put it on for five seconds and then pull it off. I do this about twenty times to add a tiny bit of juice.
Checking the LED Light Clues
Most Ryobi drills have a small light at the bottom. This light is like a doctor for your power tool. It tells you exactly where the problem might be. Use the light to save yourself a lot of time and stress.
If the light is off, the tool has no power at all. This means the battery is dead or a wire is loose. If the light is on but there is no spin, the motor is likely stuck. If the light flashes, the battery is just too low to turn the gears.
When the Motor Smells Funny
If your drill stopped and you smelled something burnt, that is a sign of heat. Old drills have small parts called carbon brushes. They rub against the motor to make it spin around. Over time, these parts wear down and start to smell.
If you have a brushless model, you do not have this part. But even the best motors can fail if they get too hot. If the drill feels hot to your hand, give it a rest. I usually go grab a drink and let the tool cool for a while.
Testing with a Second Tool
The best way to know what is wrong is to test the battery. I usually grab my Ryobi light or my leaf blower. If the battery works in the light but not the drill, the drill is the problem. This helps you narrow down the issue fast.
If the battery won’t power anything, then you just need a new battery. It is much cheaper to buy a battery than a whole new drill kit. Always test your gear before you decide to throw it in the trash.
Inside the Case: A DIY Fix
If you are like me, you want to fix things yourself. Since I know how to use a soldering iron, I often open the case. Sometimes the shaking of the drill can vibrate a wire loose. There is a wire that goes from the battery to the trigger.
If that wire snaps off, the tool will die instantly. If you have a screwdriver, you can look inside to check. You just unscrew the case and look for a loose wire. It feels great to save a tool from the junk pile with a simple fix.
My Final Troubleshooting Steps
I always follow these steps in the same order. It saves me time and keeps me from getting mad at my tools. Most of the time, the fix is just a quick clean or a better click.
First, check the lock switch and the battery clicks. Second, clean the metal tabs and check the LED light. Third, test the battery on a different tool to be sure. I hope these tips help you get back to your project today.
FAQs:
Why is my Ryobi drill trigger stuck and won’t move?
Your drill is likely in the safety lock mode. This happens when the direction switch sits in the middle. Push the gray button firmly to the left or right to start drilling again.
What does it mean when the Ryobi charger flashes red and green?
This light pattern often means your battery is too hot or too cold. It can also mean the battery voltage is too low to charge. Try to move it to a room with a steady temperature.
Can I use a larger Ryobi ONE+ battery to get more power?
A bigger battery will not make the drill spin faster. It will let you work much longer on one charge. This is great for big projects like building a deck or a fence.
As an Amazon Associate, We earn from qualifying purchases