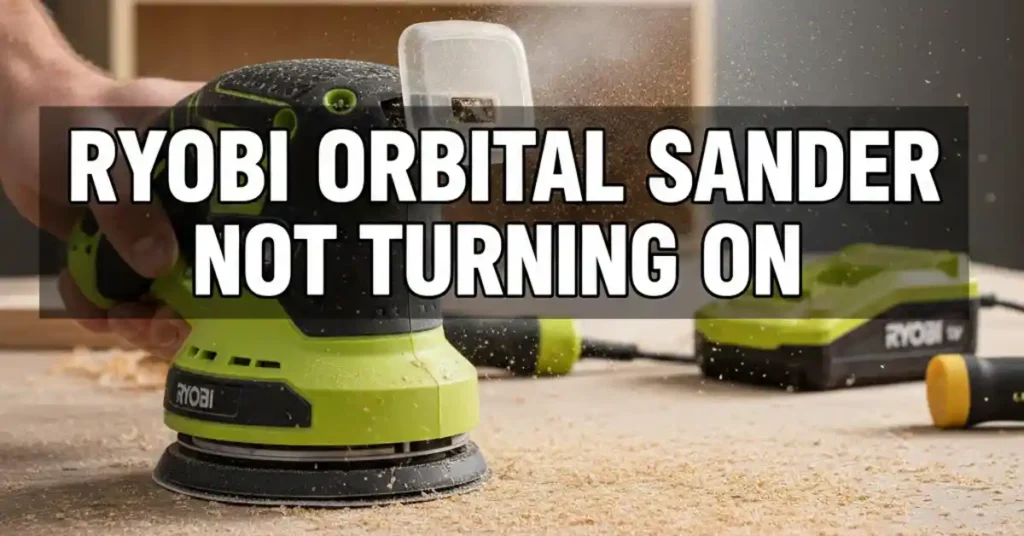
I was right in the middle of finishing a pine bookshelf last Saturday. The sun was out, my coffee was hot, and I was ready for that final smooth pass. I grabbed my green Ryobi sander, clicked the switch, and met dead silence. No vibration and no hum. I just stood there in a dusty garage with a piece of wood that was still rough to the touch.
It is a sinking feeling when a tool quits. You start to think about the cost of a new one or the time lost on your work. But after years of DIY tasks, I have learned that a Ryobi orbital sander not turning on is rarely a death sentence. Most of the time, it is just a small protest from a tool that lives in a very harsh, dusty world.

I spent the next hour taking mine apart and finding the culprit. Here is exactly what I found and how I fixed it. You can save your weekend project too. Most of these steps take less than ten minutes to check.
Start With the Simple Stuff
Before you grab a screwdriver, check the basics. I cannot tell you how many times I have felt foolish because I missed a simple power issue. We often jump to the worst-case scenario when the fix is right in front of us. Take a deep breath and look at the source of the energy first.
| Power Source Type | What to Check First | Common Sign of Failure |
| Corded (AC) | Wall Outlet | No spark or sound at all |
| Cordless (18V) | Battery Seating | One green light or flashing red |
| Extension Cord | Plugs and Prongs | Intermittent power when moved |
Testing Your Power Source
If you have a corded model, the outlet is your first stop. I like to keep a small desk lamp in my shop just for testing. If the lamp lights up, the outlet is fine. If not, go check your breaker box. It is easy to trip a circuit when running a sander and a vacuum at the same time.
For those of us using the 18V One+ cordless system, the battery is the star. I noticed that on hot days, my batteries can overheat. If the lights on the battery flash, it just needs to sit in the shade. I always keep a spare battery on the charger to swap out when one gets tired.
The Dust Factor
Sawdust is like sand in a car engine. It gets everywhere and ruins the flow of power. On my sander, I noticed a thick layer of fine pine dust caked around the battery terminals. This dust acts like a blanket that blocks the flow of electricity.
I took an old toothbrush and gave those metal tabs a good scrub. Once the metal was shiny again, I popped the battery back in. I heard that satisfying click and the tool roared back to life. Keeping your contact points clean is the best way to avoid a dead tool.
The Most Likely Culprit: The Power Switch
If your power source is perfect but your Ryobi orbital sander is not turning on, the switch is likely the problem. This is the most common failure point I see. Think about it: you are constantly pushing dust right toward the one button you need to press.
Cleaning the Grime
Ryobi uses a clear rubber boot over most switches to keep them safe. This helps, but fine dust still sneaks past the edges over time. Last year, my switch felt mushy and did not have that crisp snap. It felt like pushing into a bowl of oatmeal.
I did not even have to open the tool to fix this issue. I used a can of compressed air to clear it. I aimed the straw right at the edges of the switch and blew out a cloud of gray dust. After a few sprays, the contact cleared up and worked again.
When the Switch Dies
Sometimes, the internal metal parts of the switch just wear out. If you hear a faint pop or smell something like burnt plastic, the switch is toasted. Do not panic because this is a very cheap part to replace on your own.
Replacing a switch is a great way to build your tool repair skills. You just need to remove the screws from the plastic housing to see inside. Take a photo of the wires before you move anything. This ensures you put the new ones back in the right spot later.
Checking the Motor and Carbon Brushes
If the switch feels fine but the tool is silent, we need to look deeper. Most corded Ryobi sanders use small carbon blocks called brushes. These brushes rub against the spinning part of the motor to provide power. They are designed to wear out over time like a pencil eraser.
Finding the Brushes
You can usually find the brushes by opening the main plastic shell of the sander. On my old corded model, they were tucked near the top of the motor. If they look shorter than a quarter of an inch, they are too small to reach the motor. This breaks the circuit and stops the tool from spinning.
New brushes only cost a few dollars online or at a local shop. I keep a spare pair in my toolbox just in case. Swapping them out feels like giving your sander a brand new heart. It is a very satisfying fix for any DIY fan.
Inspecting the Power Cord
Vibration is the main job of an orbital sander. Sadly, that same vibration can kill the power cord over a few years of use. I found a break in my cord right where it enters the base of the handle. The constant shaking eventually snapped the copper wire inside the rubber sleeve.
If you have to wiggle the cord to make the sander start, you have a short. This can be dangerous as it might cause sparks or a shock. I cut the bad section of the cord off and wired it back into the switch. Now the cord is two inches shorter, but the tool works perfectly.
| Component | Signs of Wear | Quick Fix |
| Carbon Brushes | Sparks or low power | Replace with new blocks |
| Power Cord | Frayed rubber or heat | Trim and reconnect wires |
| Motor Bearings | Screeching or grinding | Apply light oil or replace |
Dealing With a Seized Bearing
Sometimes the electrical path is fine, but the tool is stuck. This happens when a bearing gets clogged with dust or rust. If your Ryobi orbital sander is not turning on but makes a humming sound, this is the cause. The motor wants to turn, but something is holding it back.
I fixed this by taking the sanding pad off and looking at the spindle. I found a stray piece of wood wedged in the cooling fan. Once I cleared the debris, the pad could spin freely by hand again. If it still feels stiff, a drop of light tool oil on the bearing can work wonders.
Why I Trust Ryobi Despite These Issues
You might think these problems mean the tools are bad. In my experience, it is quite the opposite. I love that Ryobi tools are easy to open and fix with basic tools. Most high-end brands are sealed shut and require a pro to fix them.
Being able to repair my own gear makes me feel more capable in the shop. I have had the same sander for five years now. With a little cleaning and one switch swap, it still runs like new. It has survived floors, tables, and many small crafts.
How to Prevent Future Failures
The best fix is the one you never have to do. I have started a new habit to keep my sander running longer. After every big project, I use my shop vac to suck the dust out of the vents. This keeps the motor cool and the switch clean.
I also make sure to use a high-quality dust bag or a vacuum hose. The less dust that stays on the tool, the less chance it has to cause a clog. It only takes a minute of cleaning to save an hour of repair work later. Your tools will thank you with a much longer life.
Final Thoughts on Your Repair
If you have gone through this list and the sander is still dead, it might be a blown capacitor. At that point, the cost of the part and your time might be more than a new tool. But in nine out of ten cases, one of these simple steps will fix the issue.
Do not be afraid to open the tool and look inside. You will learn so much about how your gear works. It turns a frustrating moment into a chance to learn a new skill. Plus, you get to finish that project you started.
FAQs: Ryobi Orbital Sander Is Not Turning On
Why is my Ryobi orbital sander not turning on after a drop?
A hard fall can knock a wire loose inside the handle. Check the internal connections or see if the battery housing is cracked. A loose wire is an easy fix with a bit of solder.
Can a dusty switch really stop my sander from starting?
Yes, fine wood dust blocks the electrical path inside the switch. This is a very common issue for most Ryobi tools. Blow it out with air to get the power flowing again fast.
How do I know if my Ryobi battery is dead or just hot?
If the red light flashes, the battery is too hot to run. Let it cool down in a shady spot for ten minutes. It should work fine once it reaches a normal temperature again.
Why does my sander hum but the pad does not spin?
This usually means a small wood chip is stuck in the fan. It can also mean the bearing has seized up from too much heat. Clean the fan area to let the motor move freely once more.
Will cold garage storage ruin my Ryobi sander motor?
The motor can handle the cold, but the grease might get thick. Let the tool warm up inside before you start your project. This protects the moving parts and keeps the tool smooth.
As an Amazon Associate, We earn from qualifying purchases