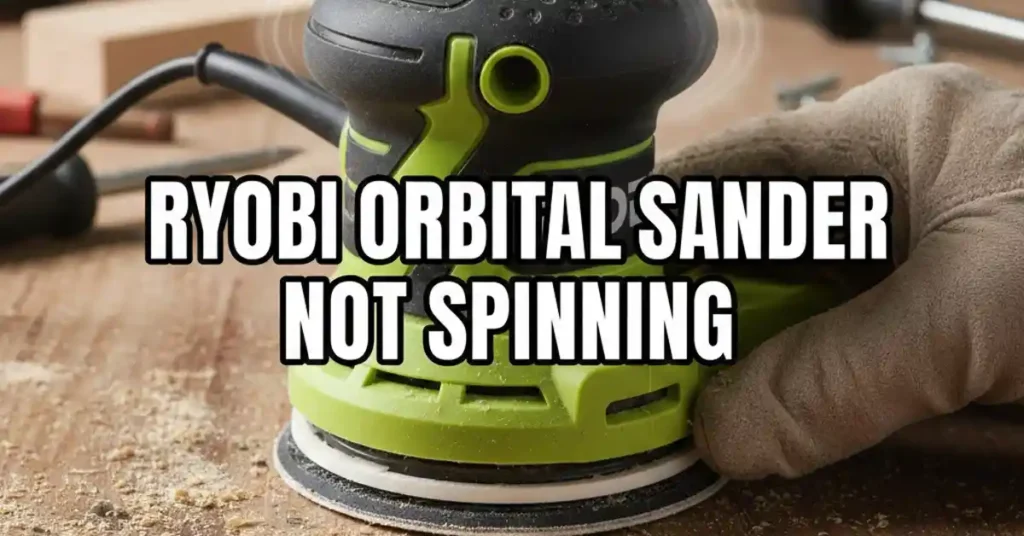
Last Tuesday, I was in my dusty garage finishing a cedar birdhouse. I had my coffee in one hand and my trusty green sander in the other. Everything was fine until I hit a thick knot in the wood. Suddenly, the motor was humming, but the pad just sat there. It felt like my tool had given up on me. My Ryobi orbital sander not spinning turned a quick task into a long afternoon.

If you are facing this, do not panic. You do not need a new tool yet. I took mine apart on my workbench to see what went wrong. Here is what I found. I want to share my fix so you can get back to your project fast.
The Day My Sander Quit Spinning
I noticed the issue when the sander started to vibrate my arm off. The wood was not getting any smoother at all. I looked down and saw the pad was barely moving. I could hear the motor spinning fast inside the plastic case. It smelled a bit like hot rubber and old wood dust. It was clear the power was not reaching the base.

Woodworking is usually very peaceful for me. But when a Ryobi orbital sander stops spinning, it is just loud and annoying. I felt very frustrated. I had a deadline for a gift and a tool that would not work. I decided to dig into the guts of the machine right then.
Common Reasons for the Ryobi Orbital Sander Not Spinning
I spent an hour checking every single part. I found three main things that cause this problem. Usually, it is a small part that costs very little. Most of the time, you can fix it with basic tools you already own.

| Part Name | Role in the Sander | What Happens if Broken |
| Friction Ring | Controls pad speed | Pad stops spinning under load |
| Sanding Pad | Holds the sandpaper | Screws can vibrate loose |
| Drive Belt | Connects motor to pad | Motor runs but pad is dead |
The Broken Friction Ring
The most likely cause is the friction ring. This is a tiny rubber loop. It sits between the pad and the motor body. When I pulled my pad off, I saw the ring was snapped. It looked like a dry, cracked rubber band. Without it, the pad does not have the right tension to spin.
Dust in the Bearings
I also noticed a lot of fine dust. It was everywhere. It felt like white flour. This dust gets into the metal bearings. If the bearings get clogged, they seize up and stop moving. I tried to turn the spindle with my thumb. It felt gritty and hard to move. A healthy sander should spin freely when it is off.
Using Too Much Force
I am guilty of this one quite often. I was pressing down hard to finish the wood faster. These tools are made to be light and fast. If you push too hard, you stop the rotation. The “random” part of the motion needs space to work. If you lean on it, the Ryobi orbital sander stops spinning because of pure friction.
How I Fixed My Ryobi Sander in 10 Minutes
I did not want to wait for a repair shop. I went to my local hardware store. I bought a new friction ring and a can of compressed air. I also grabbed a fresh pack of sanding discs for the new start.
Step 1: Remove the Sanding Pad
I used a Phillips head screwdriver for this. There are four screws on the bottom. I made sure to keep them in a small tray. This way, I would not lose them in the sawdust on my floor. The pad popped right off once the screws were out.
Step 2: Clean the Guts
I used the compressed air to blow out every hole. A huge cloud of grey dust flew out. I had to wear my mask for this part. It was messy but it felt very good. I could see the clean metal parts again.
Step 3: Replace the Ring
I slipped the new rubber ring into the groove. It was a very tight fit. I checked the bearing one more time. After the air blast, it moved much better. I added one tiny drop of oil to the center of the bearing.
Step 4: Reassemble and Test
I put the pad back on and tightened the screws. I plugged it in and held it up in the air. It purred like a happy kitten. I touched it to the cedar wood, and it spun perfectly. I finished the birdhouse in just ten more minutes.
Tips to Keep Your Sander Spinning
I learned my lesson that day. Tools need care just like cars or bikes. Here is how I plan to keep mine running from now on. These steps will save you money and time in the long run.
| Tool Maintenance Task | How Often to Do It | Tools Needed |
| Blow out dust | After every project | Air compressor or canned air |
| Check screws | Once a month | Screwdriver |
| Inspect cord | Every use | Your eyes |
First, I will stop pressing so hard. I will let the sander float on the wood. Second, I will change the sandpaper more often. Dull paper makes you want to press harder. Third, I will hook up a vacuum. Using the dust bag is not enough. A real vacuum keeps the bearings clean and cool.
I hope this helps you fix your tool. It is a great feeling to fix something yourself. Now, get back to your workshop and finish that project!
FAQs: Ryobi Orbital Sander Stopped Spinning
Why is my Ryobi orbital sander humming but the pad is not moving?
A hum means the motor has power but the drive belt or friction ring is stuck. Check for wood dust or a snapped rubber ring. Clean the tool to fix it.
Can I fix a Ryobi orbital sander not spinning by using oil?
You can add one drop of light oil to the metal bearing. This helps it turn smoothly. Do not use too much or it will attract more dust and dirt.
Does a Ryobi orbital sander stop spinning if I press too hard?
Yes, these tools use a random motion that needs a light touch. If you push down with your body weight, the pad will stop. Let the grit do the work.
As an Amazon Associate, We earn from qualifying purchases