I still remember the first time I had to replace the chain on a Husqvarna chainsaw. It was a freezing Saturday morning in my backyard. I had a pile of oak logs waiting, and my saw was cutting dust instead of chips. I was in a rush. I didn’t check the manual.
Ten minutes later, I was sweating. The side cover was jammed. I was ready to throw the saw in my truck.
I learned the hard way that there is a trick to it. It does not have to be a fight. Since that day, I have swapped dozens of chains. I want to show you the easy way to do it so you don’t make my mistakes.
The Big Mistake: The Chain Brake
Before you pick up a tool, I need to tell you about the trap I fell into.
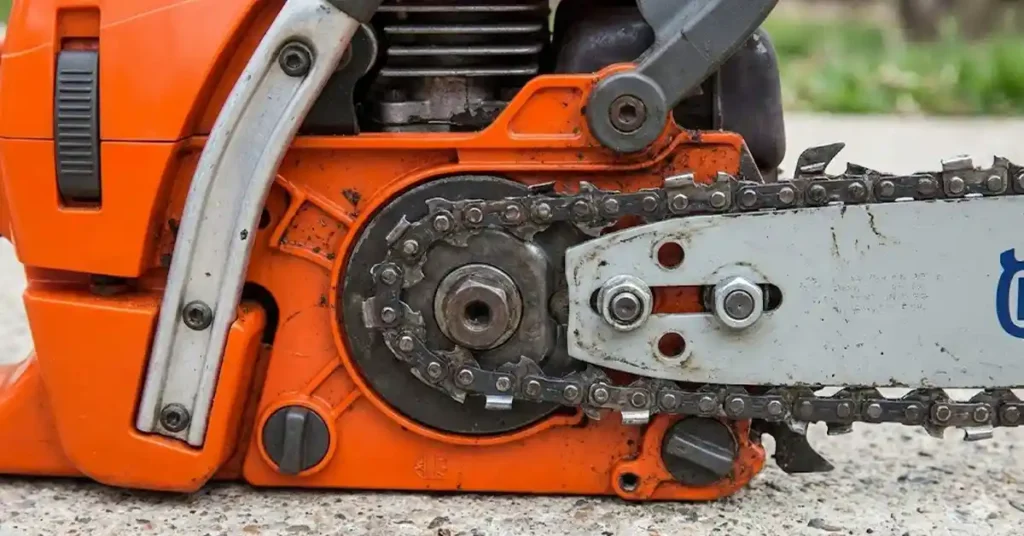
I took the cover off while the chain brake was on. On a Husqvarna, the brake band is often inside the cover. If you pull it off while it is locked, the band shrinks. It is a nightmare to get back on.
My Rule: Always pull the front hand guard back toward the front handle. Listen for a loud “click.” That sound tells you the brake is off. Now you are safe to start.
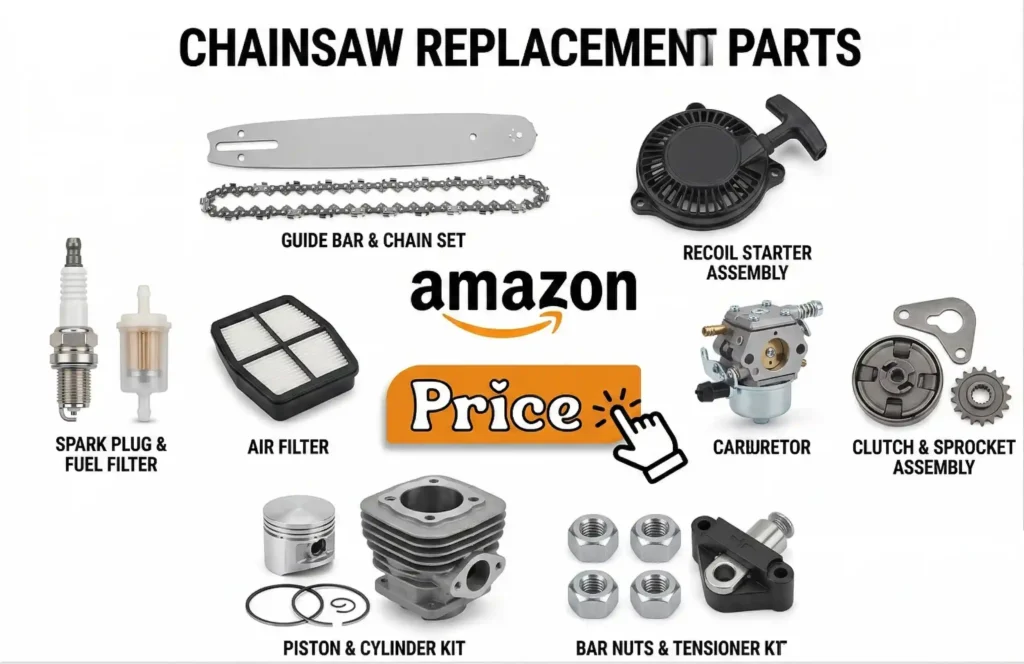
What You Need
You do not need a big toolbox. I just grab these three things:
- The Scrench: This is the T-shaped tool that came with your saw.
- Gloves: Even a dull chain can cut your skin.
- New Chain: Make sure it is the right size for your bar.
Step 1: Loosen the Tension First
Grab your scrench. Find the two nuts on the side cover. Break them loose, but do not take them off yet.
Here is a tip that saves me time: Loosen the tension screw now.
Find the screw. It is usually between the two nuts or on the front of the saw. Turn it to the left (counter-clockwise). You will feel the chain hang loose. This makes it easy to take the bar off later.
Now, spin the nuts off and pull the cover free.
Step 2: Swap the Chain
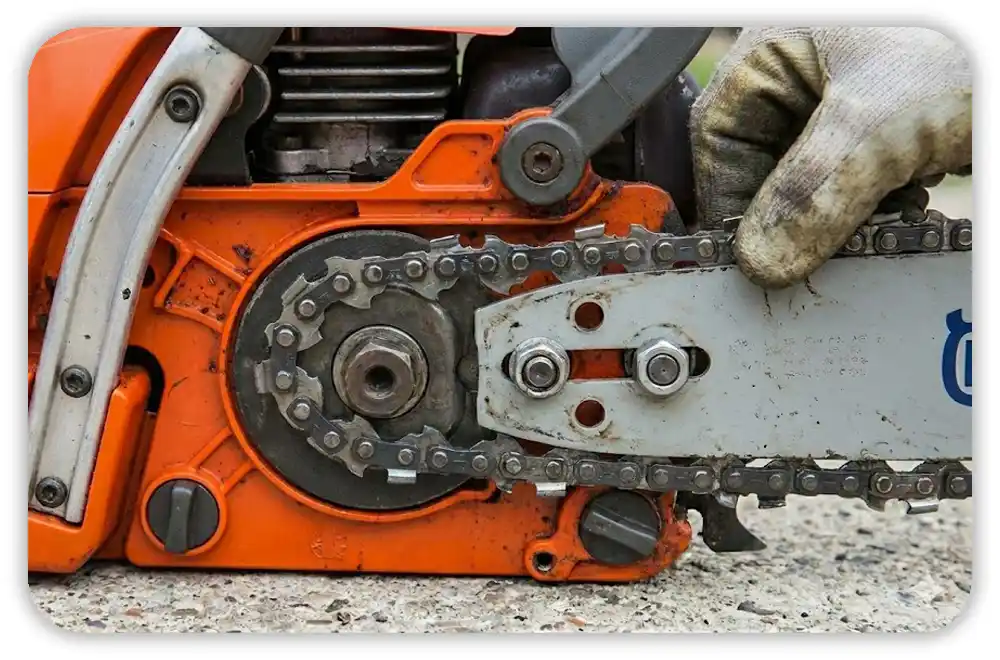
Push the guide bar back toward the engine. The old chain will hang down. Lift it off the drum behind the cover. Then, pull it off the nose of the bar.
Now, grab your new chain. This is where most people get stuck.
Check the Direction
Look at the sharp teeth on the top of the chain. The sharp point must face away from the engine. It points toward the nose of the bar.
I use this memory trick: “Point the sharp end away from me.”
- Loop the chain over the drive sprocket (the drum) first.
- Fit the little drive links into the groove of the bar.
- Pull the bar forward to hold the chain in place.
Step 3: The Alignment Pin
Put the cover back on. Stop! Do not tighten the nuts yet.
There is a small metal pin inside the cover. It moves when you turn the tension screw. That pin must fit into a small hole on the bar.
If it does not line up, the cover will not sit flat. I use my tool to turn the screw until the pin slides right into the hole. It should feel smooth.
Step 4: The “Nose Up” Trick
Put the nuts on finger-tight. Now, lift the nose of the bar up with one hand.
Why do I do this?
If I don’t hold the nose up, the chain gets loose as soon as I start cutting wood. Gravity pulls the bar down. Holding it up sets it right.
Keep holding the nose up. Turn the tension screw to the right (clockwise).
The Snap Test
Tighten it until the chain touches the bar. Then, I pull the chain down about half an inch and let go. It should snap back against the bar. It should not hang loose.
Step 5: Lock It Down
Once the tension feels good, tighten the nuts hard with your scrench.
Give the chain a spin by hand (wear your gloves!). If it spins freely, you are ready to cut.
Quick Chain Data
I used to guess which chain to buy. That was a waste of money. I made this chart to keep track of the specs for common Husqvarna saws.
| Saw Type | Pitch | Gauge | File Size |
| Homeowner (e.g., 120 Mark II) | 3/8″ Low Profile | .050″ | 5/32″ (4.0 mm) |
| Rancher (e.g., 455) | .325″ | .050″ | 3/16″ (4.8 mm) |
| Pro (e.g., 372 XP) | 3/8″ Standard | .050″ | 7/32″ (5.5 mm) |
Note: Always check the numbers stamped on the tail of your bar.
Final Thoughts
Replacing the chain does not have to be a chore. The first time I did this right, I couldn’t believe the difference. The saw cut straight. It didn’t rattle. I felt safe.
Take your time. Listen for the “click” of the brake. Watch the direction of the teeth. You will be back to cutting wood in no time.
FAQs – How to Replace a Chain on a Husqvarna Chainsaw
How do I know if my chain is on backwards?
Look at the top of the bar. The sharp edges must point away from the engine. If they point at you, it is backwards. It will not cut wood.
Why does my new chainsaw chain get loose?
New chains stretch when they get hot. This is normal. Stop the saw after 20 minutes. Let it cool down. Then tighten the chain again.
How tight should my Husqvarna chain be?
Pull the chain down a little bit. It should snap back up. It should touch the bar but still turn by hand. If it is stuck, it is too tight.
Can I reuse my old chainsaw chain?
Yes, if the teeth are still long enough. Use a file to sharpen them. If the teeth are broken or too short, you must buy a new one.
What size file do I need for my Husqvarna?
Check the side of your bar. It lists the size. Small saws usually use a 5/32″ file. Big saws use a 7/32″ file. Using the wrong size ruins the chain.
As an Amazon Associate, We earn from qualifying purchases