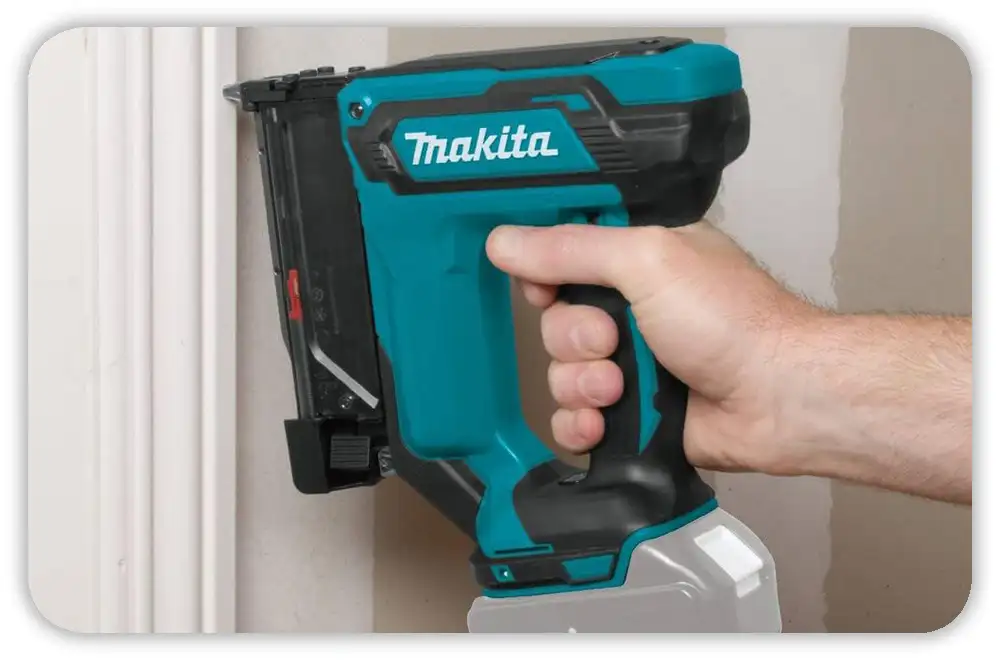
I’ve used my Makita brad nailer on many small jobs over the years, so I trust it a lot. But one morning, it stopped firing out of nowhere. It clicked and felt ready, yet no nail came out. The tool felt dead in my hand, and that threw off my whole rhythm. That moment pushed me to understand why these “not firing” issues are so common.
When a nailer fails in the middle of a project, it can catch you off guard. It may stop with a soft click or stay quiet like it needs a break. I’ve had both happen, and each time I felt the same confusion. That’s why I want to share what I learned so you can fix yours fast. These are real steps based on real moments in my work.
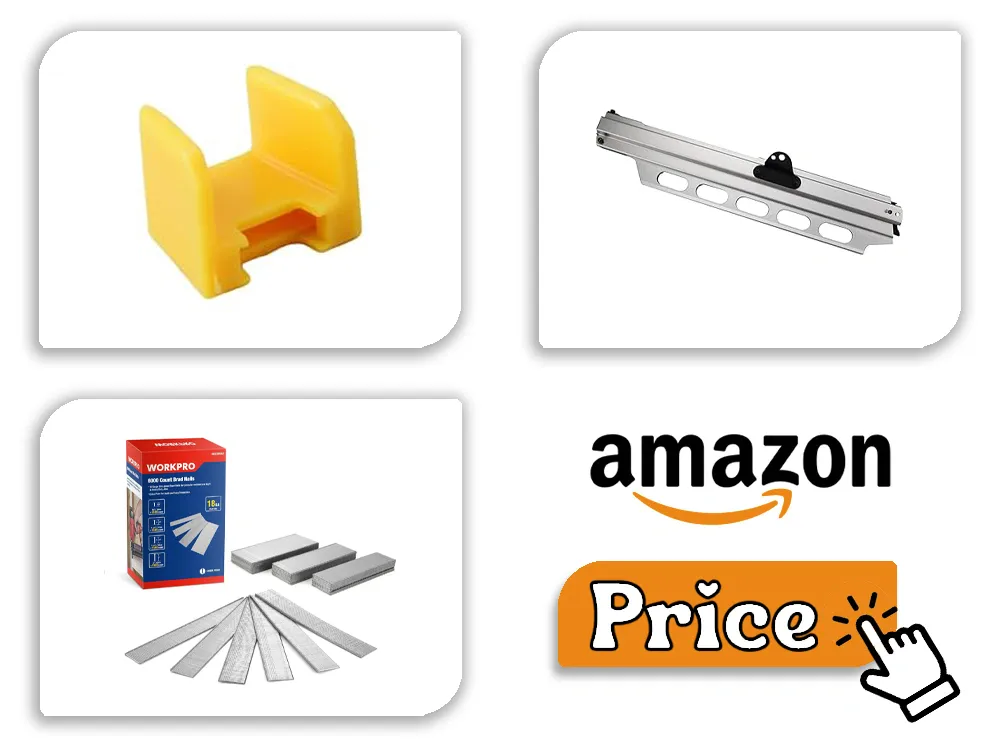
Table of Contents
Safety First Before Fixing Anything
Before I even touched the nailer, I made sure it was safe. It sounds obvious, but when you’re annoyed, you can skip steps without noticing. I pulled the battery out of my cordless model and set it aside. If you use a pneumatic version, you can disconnect the air hose instead.
I also emptied the magazine so there was no loose brad inside. A stuck nail can jump when you open the nose, so I kept my safety glasses on. It takes just a few seconds, and those seconds matter. One thing I learned is most firing issues start small, not from big internal failures.
This simple routine helps keep my hands safe. It also sets my mind in the right place. I slow down. I look close. I stop guessing. That alone makes troubleshooting easier.
Checking the Power Source
When my Makita brad nailer was not firing, the first thing I checked was the power. A low battery can make the tool click with no drive. It feels like a real misfire, but the tool is just weak. I pulled the battery out and saw the light was low. A quick charge brought it back to life.
Dust on the battery pins can also stop the flow. I’ve had days where I worked in a dusty garage here in the USA, and that fine powder builds up fast. A clean cloth was all I needed to clear the pins. Once the contact was clean, the tool felt sharper and more responsive.
Heat can shut a cordless Makita down too. I once pushed mine hard on a long trim job. It got warm, then stopped with no warning tone. I set it down for ten minutes near a window, and it came back like new. Makita does this to protect the electronics, and it’s normal.
If you use a pneumatic model, check the PSI right away. Most Makita brad nailers need around 70–120 PSI. I’ve been in workshops where the pressure dropped under 90, and the tool could not finish a cycle. A weak compressor or a clogged air filter can cause the same issue.
Jammed Nails and Other Obstructions
The most common issue I’ve had is a simple jam. A nail bends or shifts a bit and gets stuck near the nose. When this happens, the nailer may cycle but never send a nail. I’ve had this happen in small hallway jobs, where the angle and tight space make me move the tool fast.
A half-driven brad is a big sign. If you see a nail sitting halfway in the wood, the next shot will usually fail. The magazine may also stop feeding, and the strip feels stiff. These tiny clues help you catch the jam before forcing the trigger again.
To fix it, I opened the quick-release nose latch. The bent nail sat right there, waiting. I pulled it out and brushed the channel with a small nylon brush. The path felt smooth again. Once I closed the latch, the tool fired clean and sharp. Many jams come from cheap or bent nails, so I learned to watch for that.
Wrong Nail Size or Bent Nails
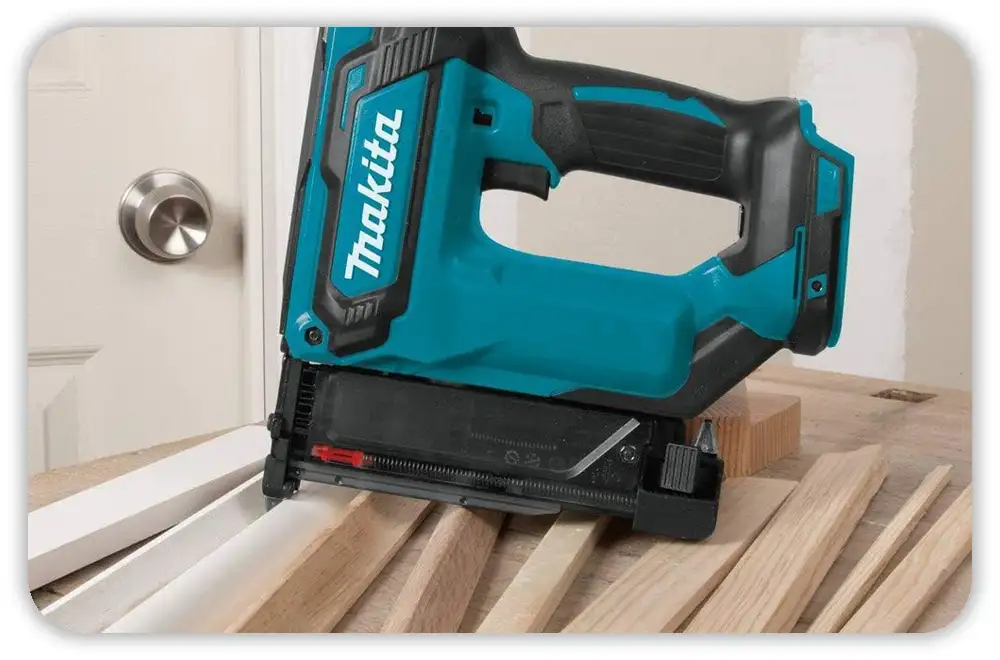
I’ve made mistakes with nail size more times than I want to admit. Makita brad nailers use 18-gauge brads, usually between 5/8″ and 2″. When I used nails outside that range, the feed system froze. The nailer fired air, but nothing came out. It felt like a ghost trigger.
Bent nails caused even more trouble. I once used a low-cost pack from a hardware store here in the USA. The nails bent too easy, and half the strip jammed inside the track. I could feel the drag each time I loaded them. Those bent brads locked the feed and stopped the tool cold.
Using the right size nails keeps things smooth. Once I switched back to better brads, the jams dropped fast. It showed me that one small detail can change the whole feel of the tool.
Magazine or Feed Spring Issues
A dirty magazine rail is a sneaky cause of misfires. I noticed it after a long week of cutting and sanding indoors. Dust from the wood sat inside the track and slowed the feed spring. The nails did not move forward, and the tool stopped firing even though everything else was fine.
I opened the magazine and wiped the rail with a dry cloth. A little resin from older boards stuck to the metal, so I scraped it off gently. When I slid the feed spring back and forth, it felt smooth again. That simple clean made the nailer fire like new.
If you use lubricant, make sure it’s dry and safe for the tool. Oil-based lubricants can attract dust, and that creates the same issue all over again. I learned that lesson the hard way one summer.
Driver Blade Problems
The driver blade is the heart of the tool. When it sticks, the nailer cannot drive anything. I had one job where the tool made a faint dent in the wood but shot no brad. That was my clue. I opened the nose and saw the blade sitting low.
A bit of debris can stop the blade from returning to the top. I cleaned the area with a brush and checked the blade again. Once it moved, the nailer came back to life. If the blade is worn or cracked, it needs a replacement. You can feel it when the blade gets dull or slow.
Always check your model’s guide before adding lubrication. Some Makita models allow it and some do not. A small detail like that makes a big difference in long-term use.
Air Leaks in Pneumatic Models
I don’t use pneumatic versions every day, but I’ve worked with them enough to spot leaks. A friend and I were working in his garage in Illinois when we heard a faint hiss from the coupler. The nailer lost pressure even though the tank was full.
Leaks cause weak strikes or no strikes at all. I checked the fittings with a wrench and found one was loose. We added fresh Teflon tape, tightened the threads, and the sound stopped. The nailer worked fine right away.
If you find a cracked O-ring inside the tool, that’s a bigger repair. It’s best to let a service center handle it. Internal air leaks can be tricky and easy to misjudge at home.
Overheating and Lockout on Cordless Models
Cordless Makita tools have a built-in lockout to protect the motor. I triggered this without knowing it one long afternoon. The tool stopped mid-shot and gave no sound. I thought it failed, but it was only hot.
I set it aside, wiped the sweat from my hands, and waited a short bit. When I picked it up again, it fired like new. Keeping the vents clean helps a lot because dust can trap heat. On warm days or long runs, I try to give the tool small breaks.
This feature is normal and helpful. It prevents permanent damage and gives the tool a much longer life.
Internal Damage or Wear
If none of the simple fixes work, the problem may be deeper. I had a case where the trigger felt soft and the nailer would not respond. A tech later told me the trigger valve was worn. These parts take stress over time, and sometimes repairs are the only answer.
Broken seals or O-rings inside the body can also create invisible leaks. You won’t always hear them, but the tool will feel weak or cycle slow. I learned not to open the valve system myself because it is easy to damage. When the motor struggles or won’t cycle, that is another sign of internal wear.
If the tool is under warranty, it’s smart to use Makita service. They check the parts and repair them with the right tools. It saves guesswork and keeps the nailer safe.
When I Knew It Was Time for Makita Service
I reached out for help when the driver blade kept sticking no matter what I did. I cleaned it. I checked the rails. I swapped nails. Nothing changed. That was my signal to stop and call support.
If you see leaking air, a dead motor, a stuck blade, or anything that repeats after basic fixes, a service check is the best move. When the nailer is still under warranty, it’s even easier. That one repair saved my nailer and made it run better than before.
Some repairs look simple but sit deep inside the tool. It’s better to get a pro to handle those.
Final Tips to Prevent Misfires
Now I follow a small routine to keep things smooth. I clean the magazine after dusty cuts and check the feed spring before each job. I use good nails because bent brads waste time. I store the nailer in a dry place so the parts do not rust.
For pneumatic users, draining the air tank makes a big difference. Moisture builds up fast in USA garages, especially in humid states. Keeping the tank dry keeps the pressure steady and the shots clean.
FAQs for Makita Brad Nailer Not Firing
Why is my Makita brad nailer not firing at all?
A weak battery or a jam can stop the shot. Check both fast to see what the tool needs so you can get back to work with ease.
Why does my Makita brad nailer click but no nail comes out?
A bent brad or a stuck strip can block the feed. Clear the nose and check the rail to fix the click and get a clean shot again.
What PSI do I need if my Makita brad nailer is not firing right?
Most jobs need around 70 to 120 PSI. Low air stops the drive so check the gauge to keep each shot smooth.
Can wrong nails cause my Makita brad nailer not firing issue?
Yes bent or off-size nails can freeze the feed. Use clean 18 gauge brads to keep the tool sharp and ready.
As an Amazon Associate, We earn from qualifying purchases