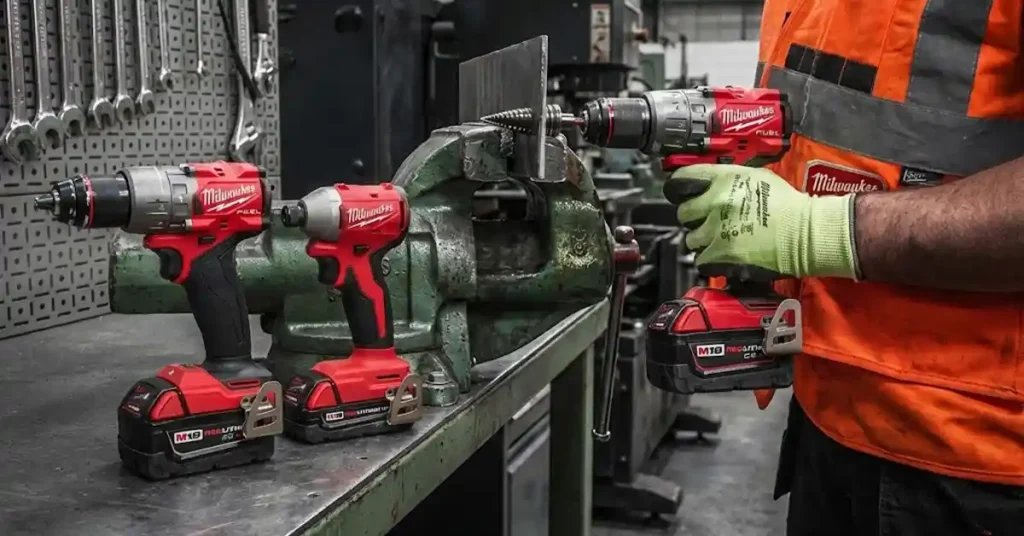
It was a slow Saturday at home when my Milwaukee M18 brad nailer refused to fire. I was on the floor with baseboards, dust on my jeans, and a warm cup of coffee that kept losing heat. I pulled the trigger and felt a small kick with no nail. That quiet miss made me stop and wonder what had gone wrong, since the nailer had worked fine for so long.
I had used this tool for many jobs in my house, so the sudden silence threw me off. I liked the power and the freedom of not dragging a hose, and I did not want to lose a full day of work. I knew many folks in the U.S. run into tool issues like this on home projects.
Table of Contents
Why I Started to Look for the Cause
When my Milwaukee M18 brad nailer was not firing, I first thought the tool was done for good. I checked the rail, checked the nose, and even checked the floor to see if nails had slipped out. None of that made sense, yet stress makes you look in odd spots. The truth turned out to be simple once I slowed down and took things step by step.
I took notes as I tried new tests so I could see what changed. I sat on cold floors with trim in my lap and dust on my shirt while I ran shot after shot. I used new strips, new boards, and new depth settings to see which thing made the tool wake up again. Small tests started to show clear signs that pointed to the real cause each time.
Nail Jams Were My Main Issue
Most of the time when the tool would not fire, the cause was a jam in the nose. These jams were odd because they made no loud sound at all. A nail would tilt or bind, and the feed would freeze even though the tool looked clean.
The cycle would feel soft, and that small slip was the first hint that something was stuck.
Dust made this even worse. My garage gets dusty fast when I cut pine or MDF, and that fine dust floats right into the nose. The jam can be tiny, yet it stops the next nail from moving through the rail.
Once I learned to feel for that dull thump, I could tell when a jam had formed.
Some nail brands jammed far more than others. My DeWalt brads caused repeated stops, often halfway through the strip. I kept thinking I had made a mistake until I saw the same thing happen again and again.
The nailer and those strips just did not work well together at all.
Switching to Hitachi and Porter Cable brads changed everything. These strips slid smooth through the rail, and the tool fired shot after shot with no drag. The work felt fast and calm again once the jams were gone.
I wish I had tried new strips much sooner because it would have saved me a lot of time.
Wrong Nails Made My Job Harder
I had no idea nail choice mattered this much. All 18-gauge brads look the same, yet some strips have hard glue or slight bends that slow the feed. A tiny flaw in a tight rail is enough to stop the tool cold.
This small detail caused more stress than I want to admit.
Nail length also plays a role. The M18 uses ¾” to 2⅛” brads, and that range works well for most U.S. home trim. Soft pine, dense oak, and MDF all take nails in different ways, and I did not think about that at first.
Some boards need more push, and the wrong nail does not sink well at all.
I now check each strip by sliding a few nails in and out of the rail before I load them. If the strip feels rough or sticks at any point, I set it aside and use a smoother one. This tiny test keeps the feed clean and stops most hang-ups.
It takes seconds but makes the tool much easier to use.
The Depth Dial Tricked Me Many Times
A few times I thought my nailer was dead, but the depth was set too low. The tool would fire with a soft click, yet the nail barely touched the wood, so it looked like nothing had happened. This fooled me for a long stretch of work in my hallway. The fix was as simple as turning the dial.
I sat with trim across my legs and pulled the trigger again and again, trying to see any mark in the board. When I finally saw the dial near the “-” mark, I turned it up and tried again on scrap. The nail sank deep, and I realized how much time I had wasted on that small setting.
Now I check the depth at the start of each job. A quick turn of the dial keeps the shots smooth and clean. The right depth feels clear as soon as the nail hits the board. This tiny habit keeps me from repeating the same long mistake.
My Grip Was Too Loose on the Tool
This part made me laugh later because the fix was so small. I was not pressing the tool tight enough against the wood, so the safety tip did not seat all the way. When the tip is not flat, the tool will not fire at all. I blamed the nailer, but it was really my own grip.
This showed up most in corners where the wall had dips or bumps. Many U.S. homes have walls that bend just a bit, and the nose of the tool will rock if the surface is not flat. That tiny tilt keeps the tip from locking in.
The tool stays silent even when you think you pressed hard enough.
Once I leaned in a little more and kept the nose flat, the shots fired clean with no pause. I took time to brace my wrist and set my stance so I could hold the tool steady. The change felt small, but it fixed a huge problem.
The tool felt strong and calm again in my hand.
A Low Battery Made the Tool Feel Weak
A low battery can trick you because the lights may still show power. The tool will fire, but the nails will sit proud or fail to sink, and sometimes the tool will not fire at all. Cold days in many parts of the U.S. make this even worse because packs drain fast. I learned this on a cold morning while working outside.
The tool felt soft, almost tired, with each pull of the trigger. When I swapped in a full pack, the tool fired strong on the first shot, and it felt like a whole new nailer. That simple swap made the rest of the job smooth and stress-free.
I now keep a spare pack near me whenever I work on long runs of trim. The nailer needs a strong battery to work right, and you can feel the drop as soon as the pack weakens. This is an easy fix, yet one many people overlook.
Dust and Glue Built Up in the Tool
Dust builds fast in my garage, and that fine dust floats right into the feed rail and nose. Even a thin coat can slow the strip or block the next nail, and I did not notice it at first. The tool would drag a bit, and each shot felt off. It took some time to catch on to this.
Now I wipe the rail with a dry cloth before I start, and I give the nose a short burst of air. These quick steps keep the tool clean and help the feed stay smooth on long jobs. It is one of the easiest ways to avoid jams and misfires.
Glue from brad strips can build on the driver blade too. After long days, the glue makes the blade sticky and slow. A light scrape takes it off and makes the tool feel crisp again. The cycle sounds clean, and the shots line up right away.
When It Was a Real Tool Issue
I had one case where the tool had a true fault inside. The driver blade stuck halfway and would not move back, and the tool felt warm with a strange smell. I knew I had to stop right away and not push it any further. No at-home fix was going to clear that jam.
Milwaukee service in the U.S. was simple to reach and fast to help. I took the tool in, and they fixed the bad part under the warranty and tested it before handing it back. The tool came back strong and ready to use. It was a rare case, but it showed me when to hand things over to a pro.
If you have tried new nails, clean rails, firm grip, and a full pack, and the tool still will not fire, it might be time to let a tech take a look. Even a strong tool can have a bad part now and then.
FAQs – Milwaukee M18 Brad Nailer Not Firing
Can dust cause my Milwaukee M18 brad nailer not firing?
Dust can block the rail and slow the feed. Wipe the rail and clear the nose with light air. A small clean can help the tool fire like it should.
How do I fix depth issues on my Milwaukee M18 brad nailer?
Turn the depth dial toward the “+” if nails sit too high. Test on scrap wood for a clean set. A quick tweak can make each shot smooth and even.
Can a low battery cause the Milwaukee M18 brad nailer not firing issue?
Yes, a weak pack can stop the tool or make nails sit high. Swap in a full pack and test a shot. A fresh charge can fix the issue in seconds.
What nails work best when my Milwaukee M18 brad nailer is not firing?
Some nail strips can stick or bend. Smooth strips like Hitachi or Porter Cable feed well and cut jams. A clean strip can help the tool fire with ease.
Why is my Milwaukee M18 brad nailer not firing at all?
Your Milwaukee M18 brad nailer may not fire due to a jam or low power. Check the nails, clear the nose, and try a full battery. This often brings it back fast.
As an Amazon Associate, We earn from qualifying purchases